

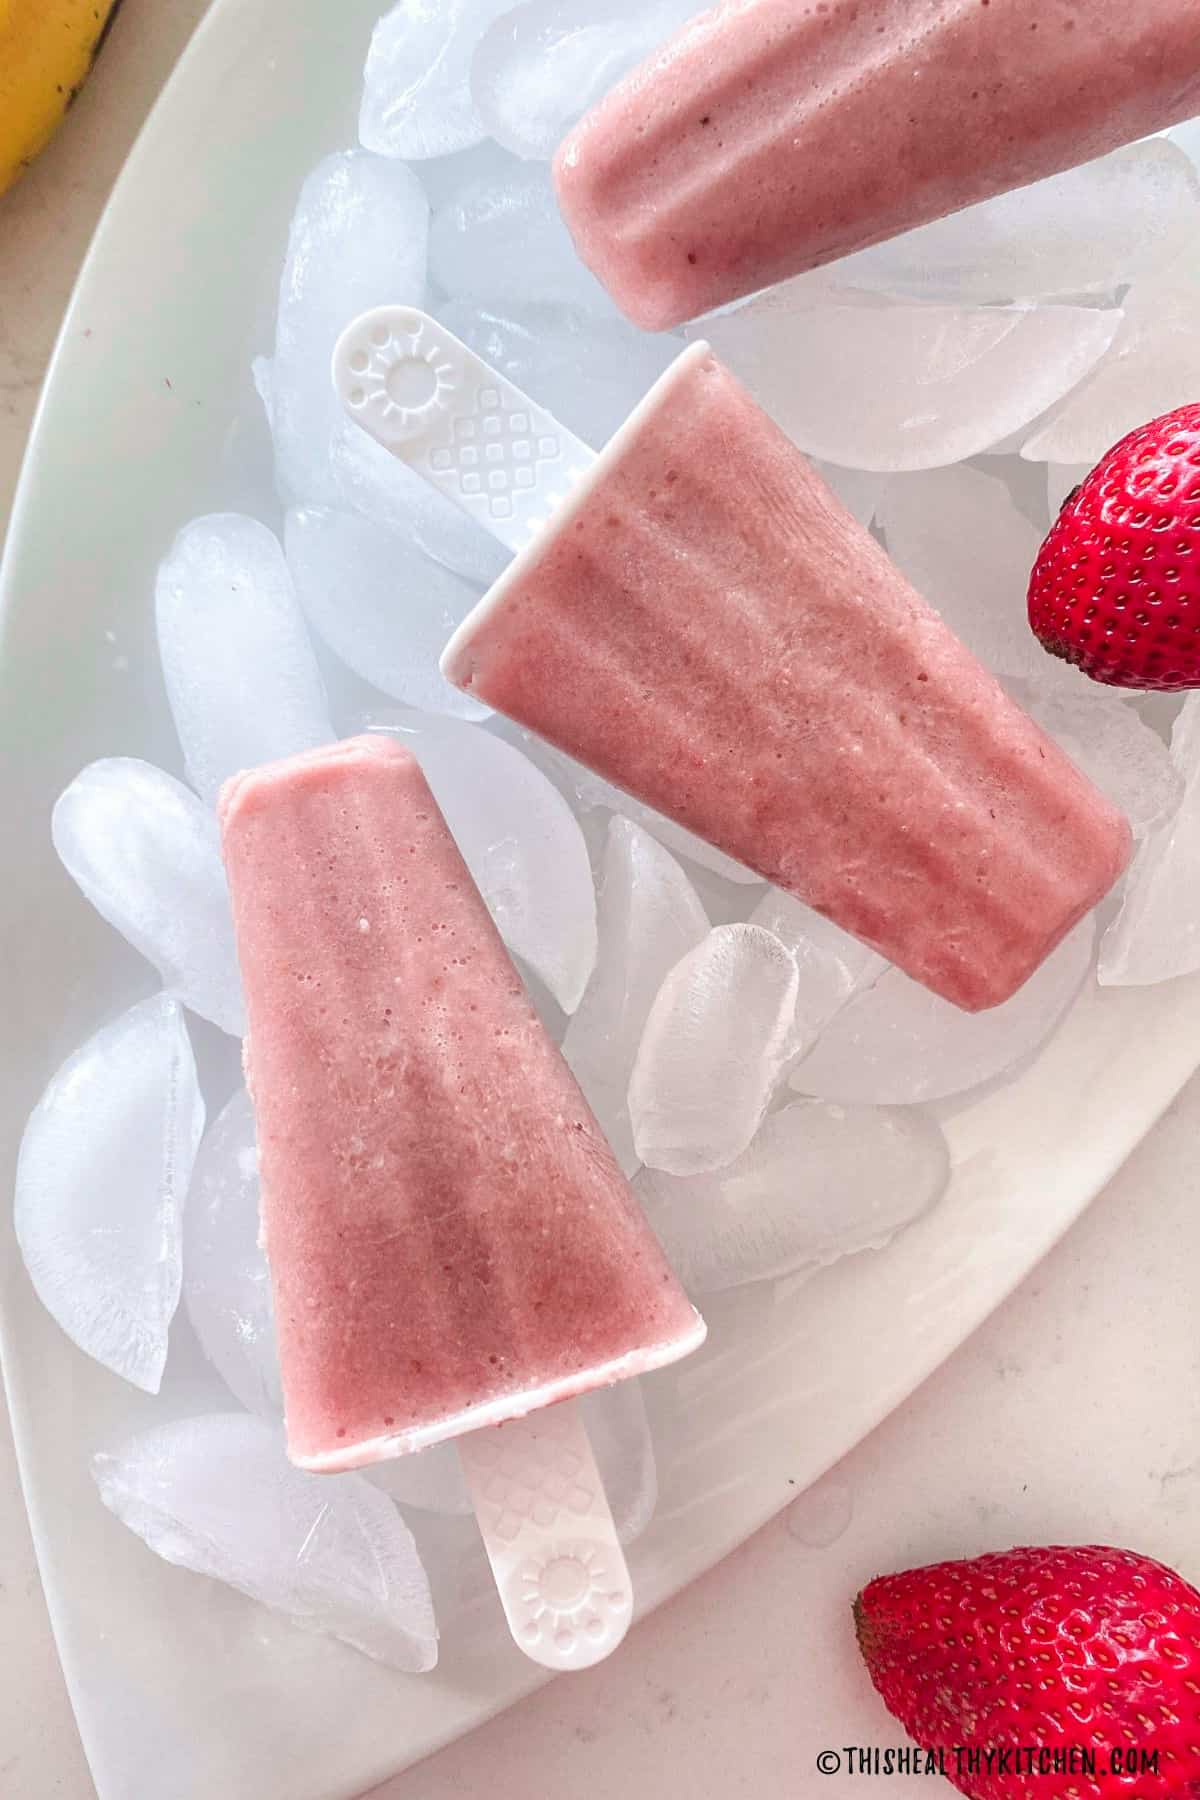
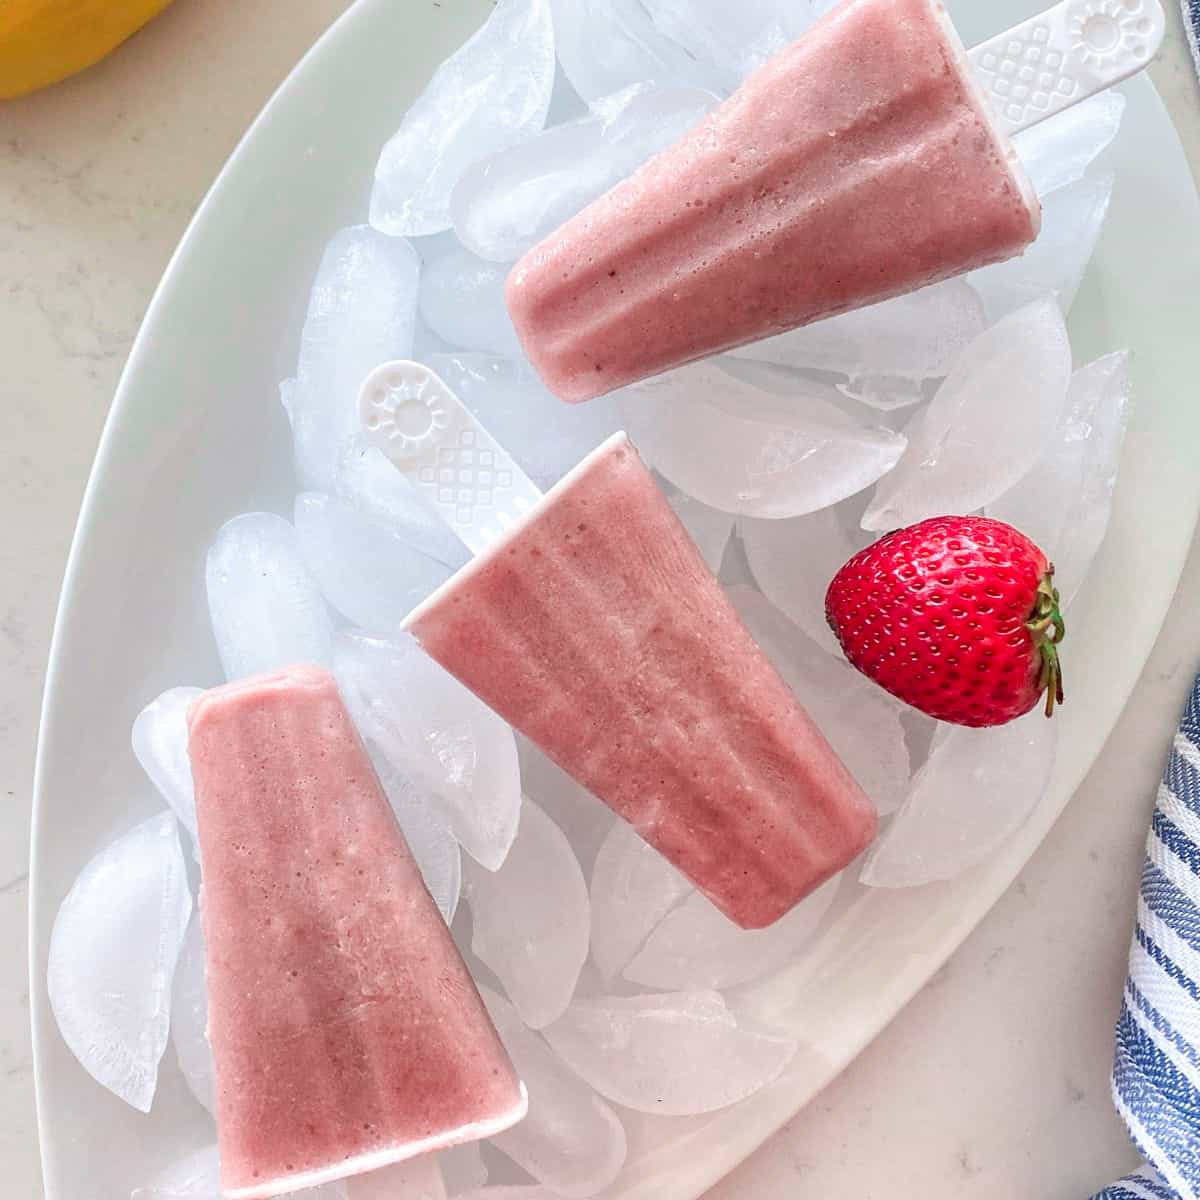
A sweet treat that you don’t have to feel guilty about! These refined sugar free strawberry banana popsicles are made using wholesome ingredients that will satisfy your sweet tooth. A fantastic way to beat the summer heat.
This recipe was originally published in August 2019. It has been updated for content and photos.
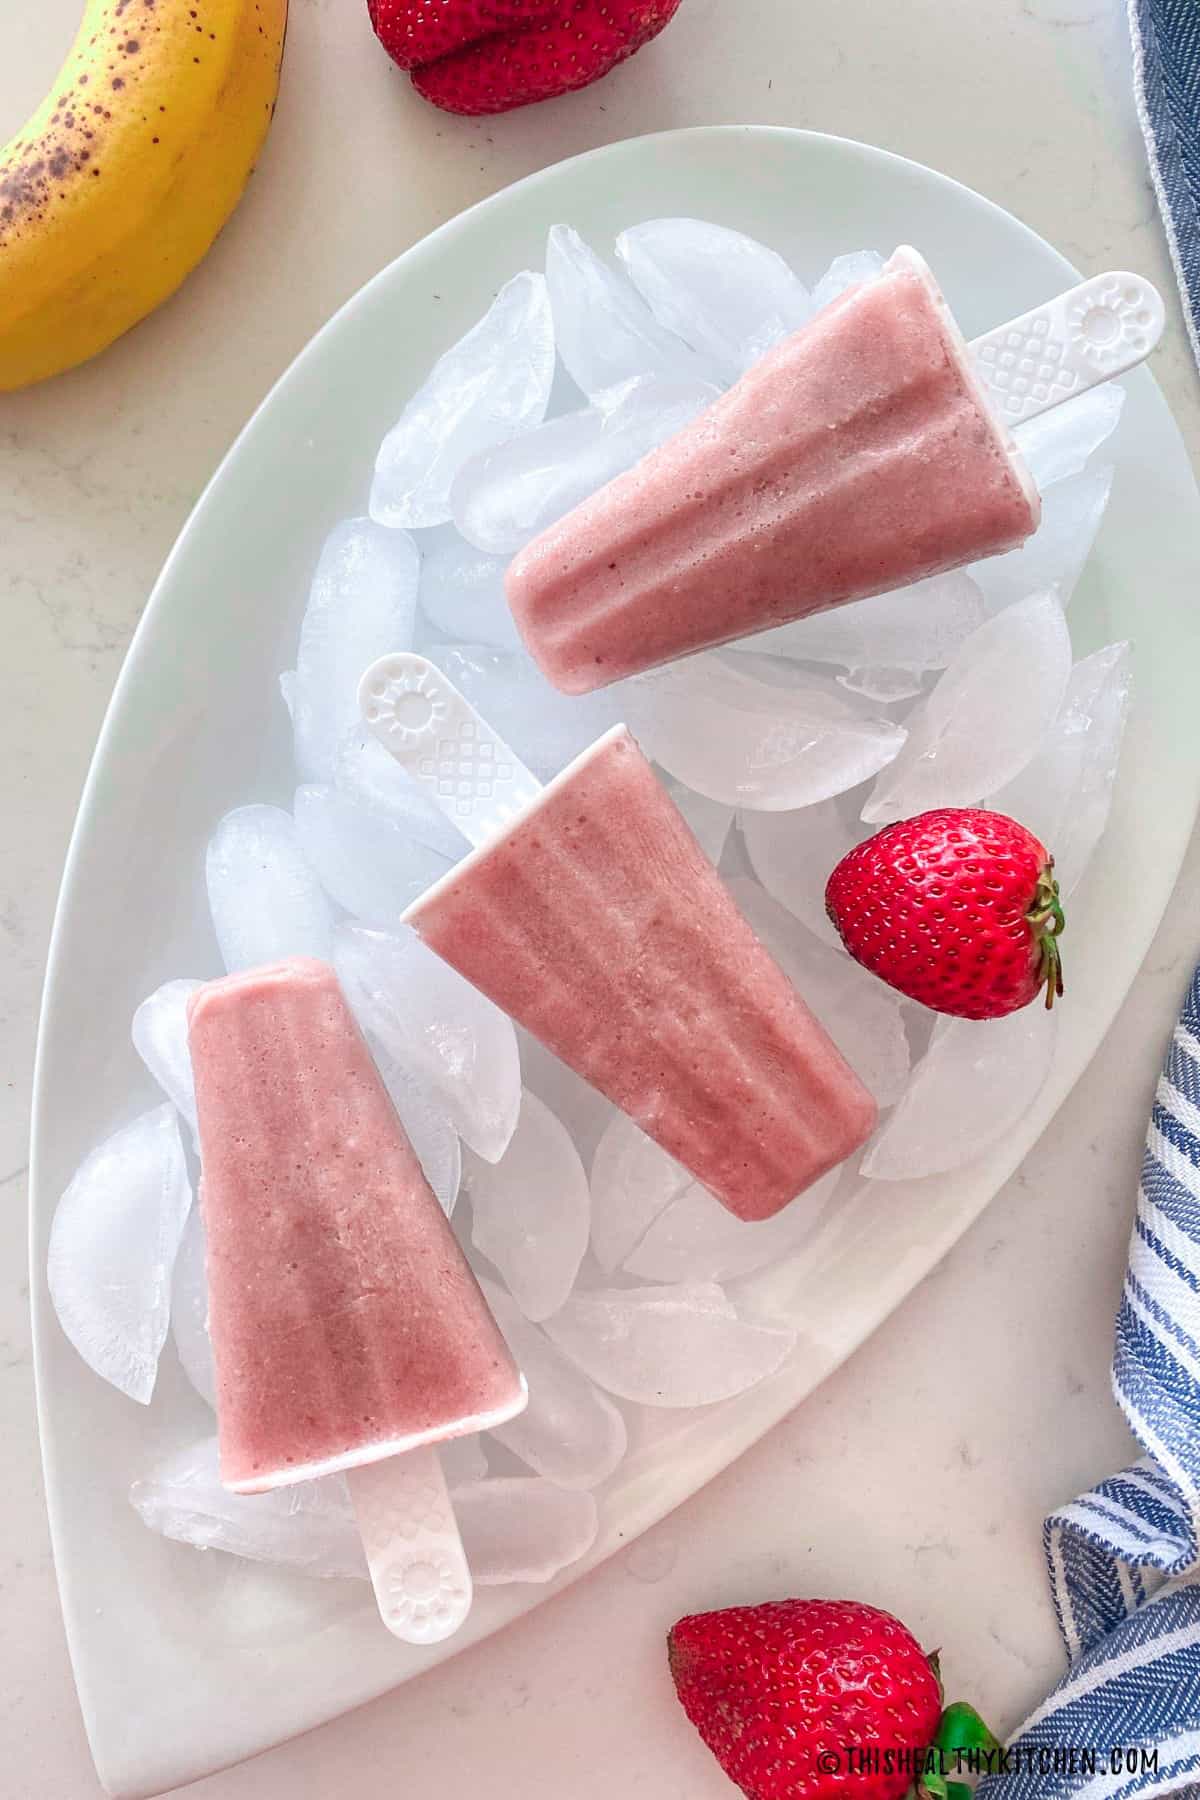
My favourite taste testers (my two young boys) tried this refined sugar free popsicle recipe and they gave it FOUR thumbs up! So rest assured, this treat will be loved by both kids and adults, alike. Woohoo!
Plus, it’s a lot of fun making homemade popsicles! This strawberry banana version only requires a few minutes of hands on time, just like my peach popsicles and coconut lime popsicles.
My boys loved “helping” me with these and barely spilled any when pouring the mixture into the popsicle molds. 😉
Of course, this was followed by “are they ready yet?” about a dozen times every hour. 🙂
Ingredients
Here’s what you’ll need:
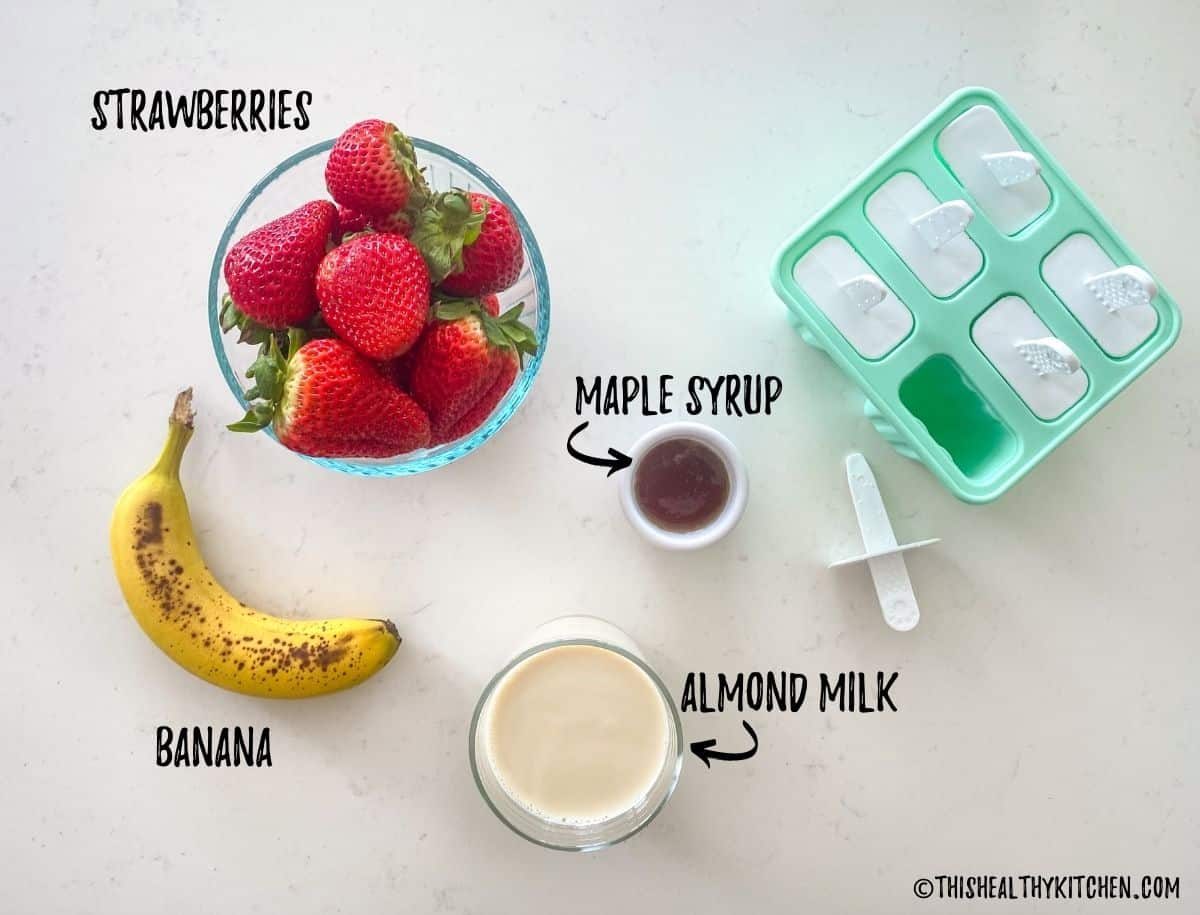
- Strawberries: Fresh strawberries, especially when in season, work best for extra natural sweetness.
- Banana: Choose a banana that is very ripe and spotted brown to add extra sweetness, without added sugar.
- Almond milk: You may choose any milk you normally use. I like almond, but soy, oat, cashew, or any other variety will work.
- Maple syrup: This is optional for added sweetness, and especially helpful if you’re not using super sweet banana or strawberries. Feel free to adjust to your taste, but start with less and only add more, if needed.
Instructions
(This is a summary with step by step photos, full recipe measurements and instructions are in the recipe card below.)
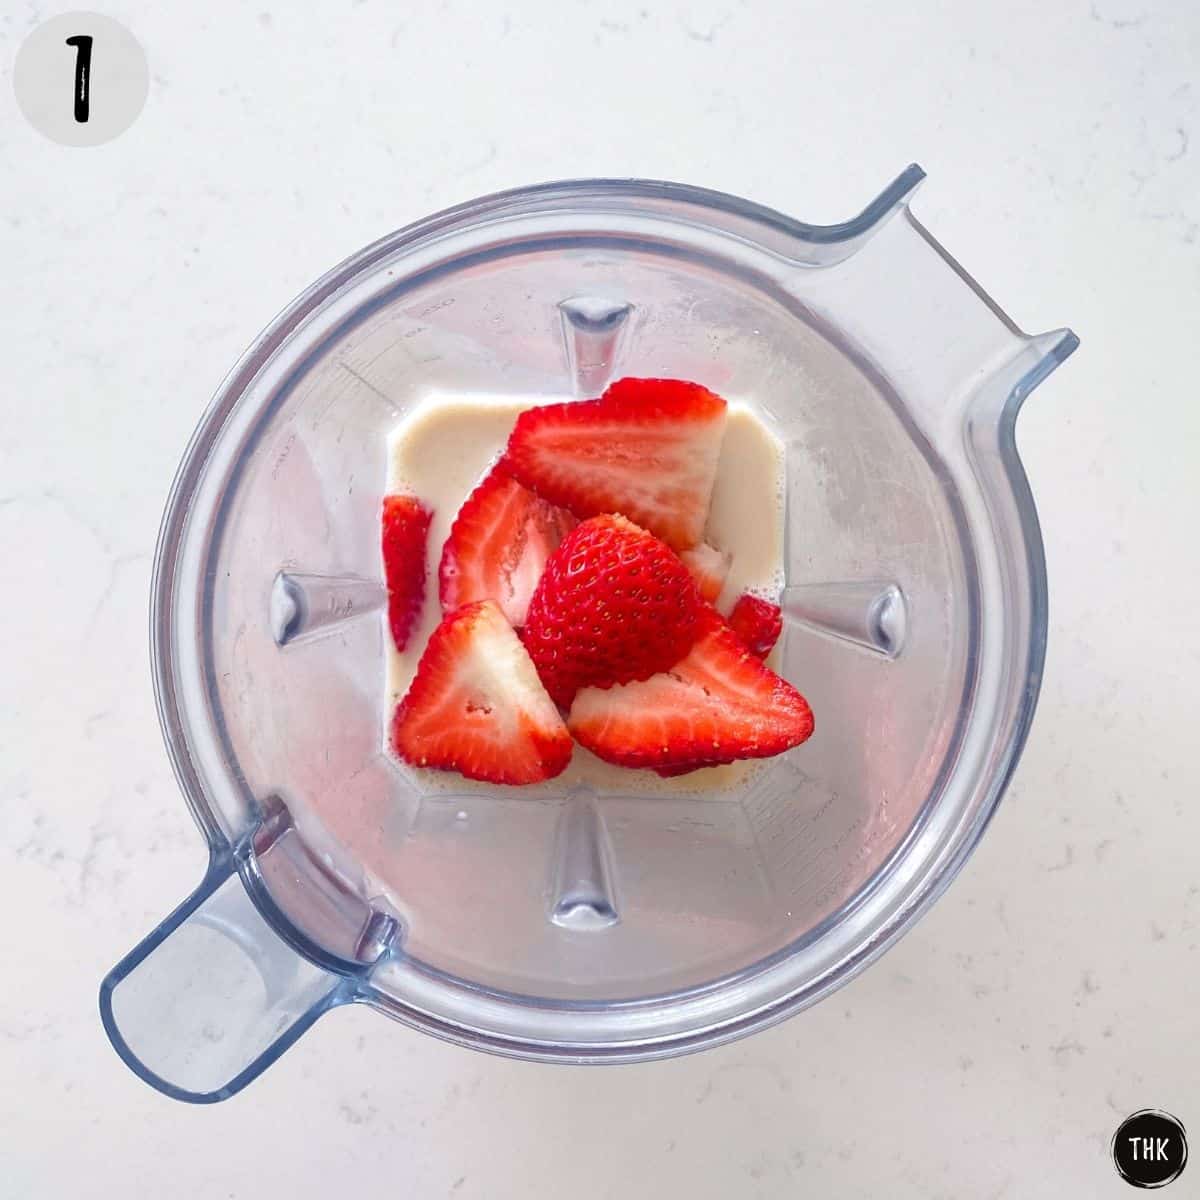
Add all the ingredients to your blender or bowl of a food processor. (photo 1)
NOTE: Use a blender for smooth consistency and a food processor to keep some chunkier pieces of fruit.
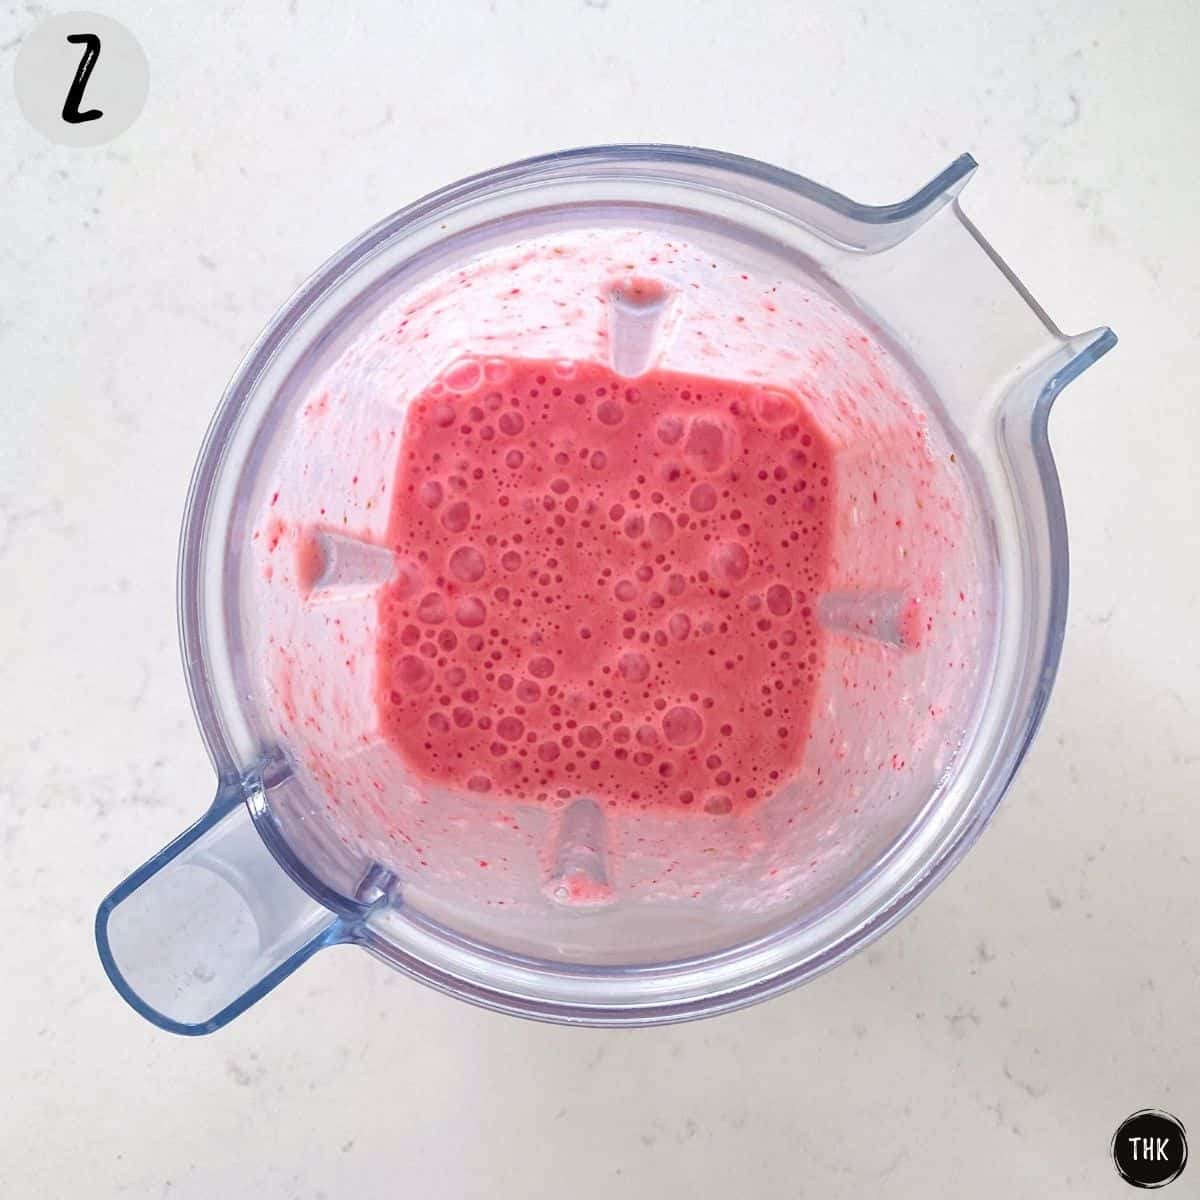
Process until smooth, or a little less if you want a few fruit chunks throughout. (photo 2)
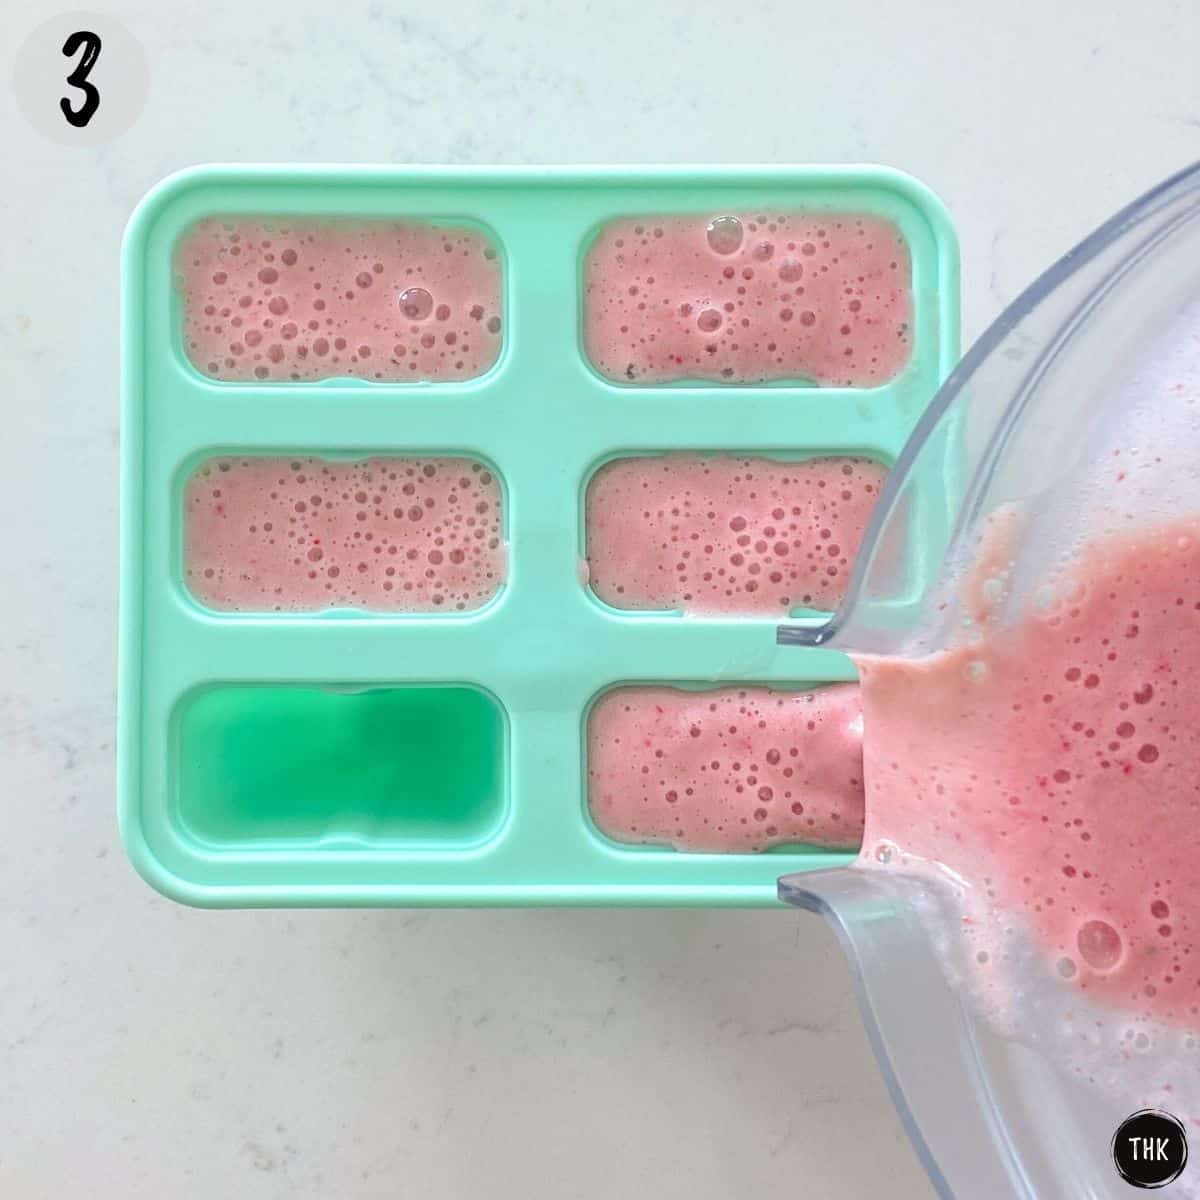
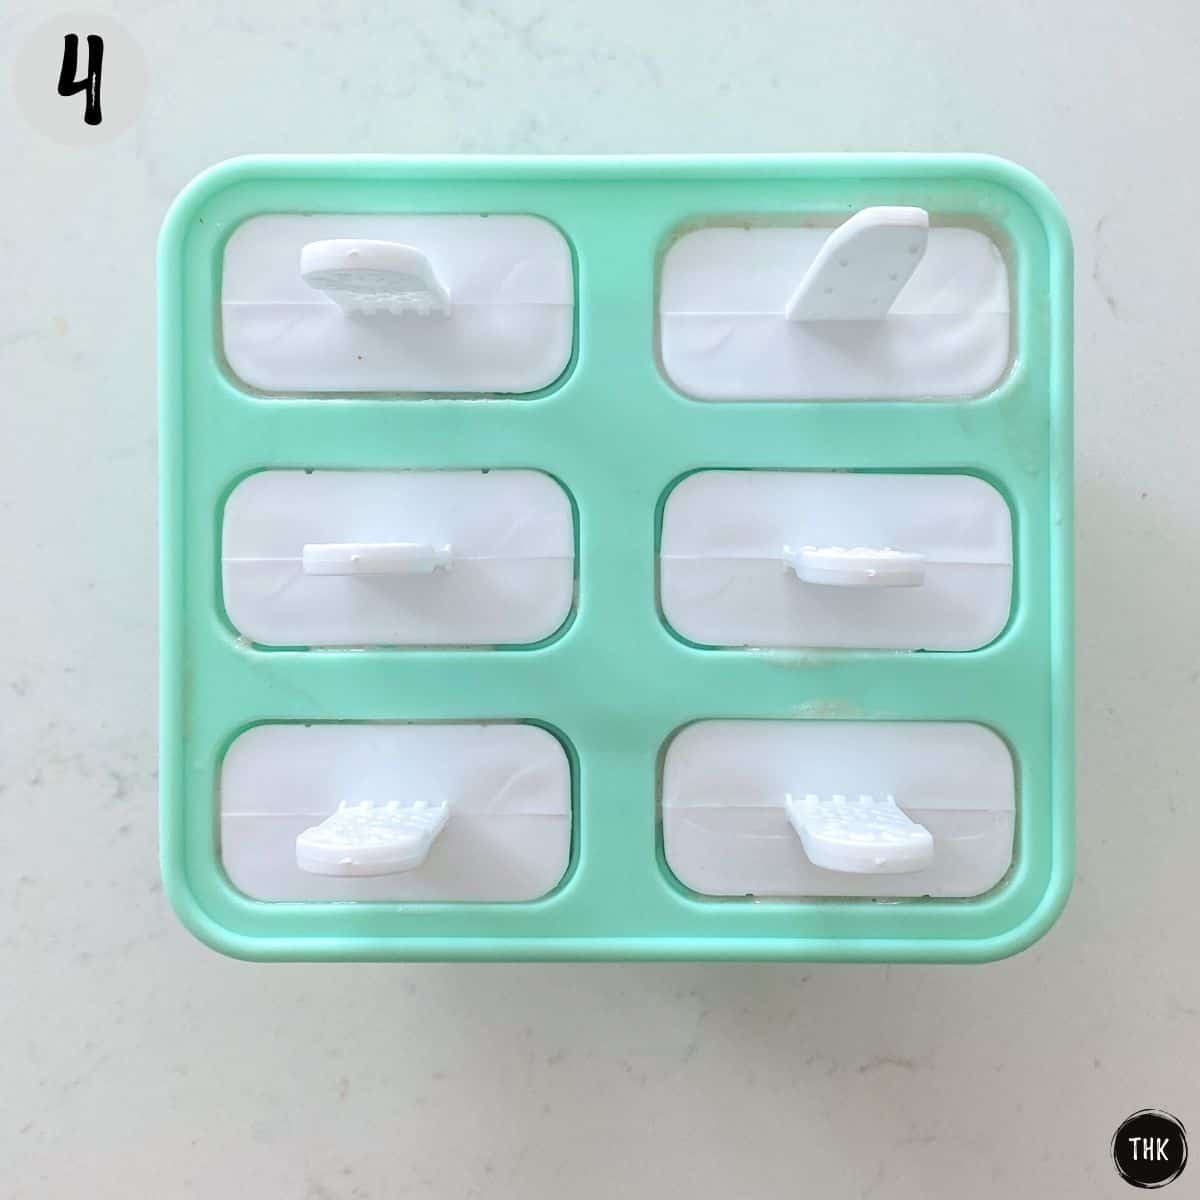
Evenly distribute your popsicle mixture into the molds, then tap the mold down on your counter to release air bubbles. Place the lids on top and freeze until sold. (photos 3-4)
NOTES: Leave a touch of space at the top of each mold to allow for expansion. If using wooden popsicle sticks, instead of the mold covers, freeze for 1-2 hours until the sticks can be placed and held upright. Then continue freezing until solid.
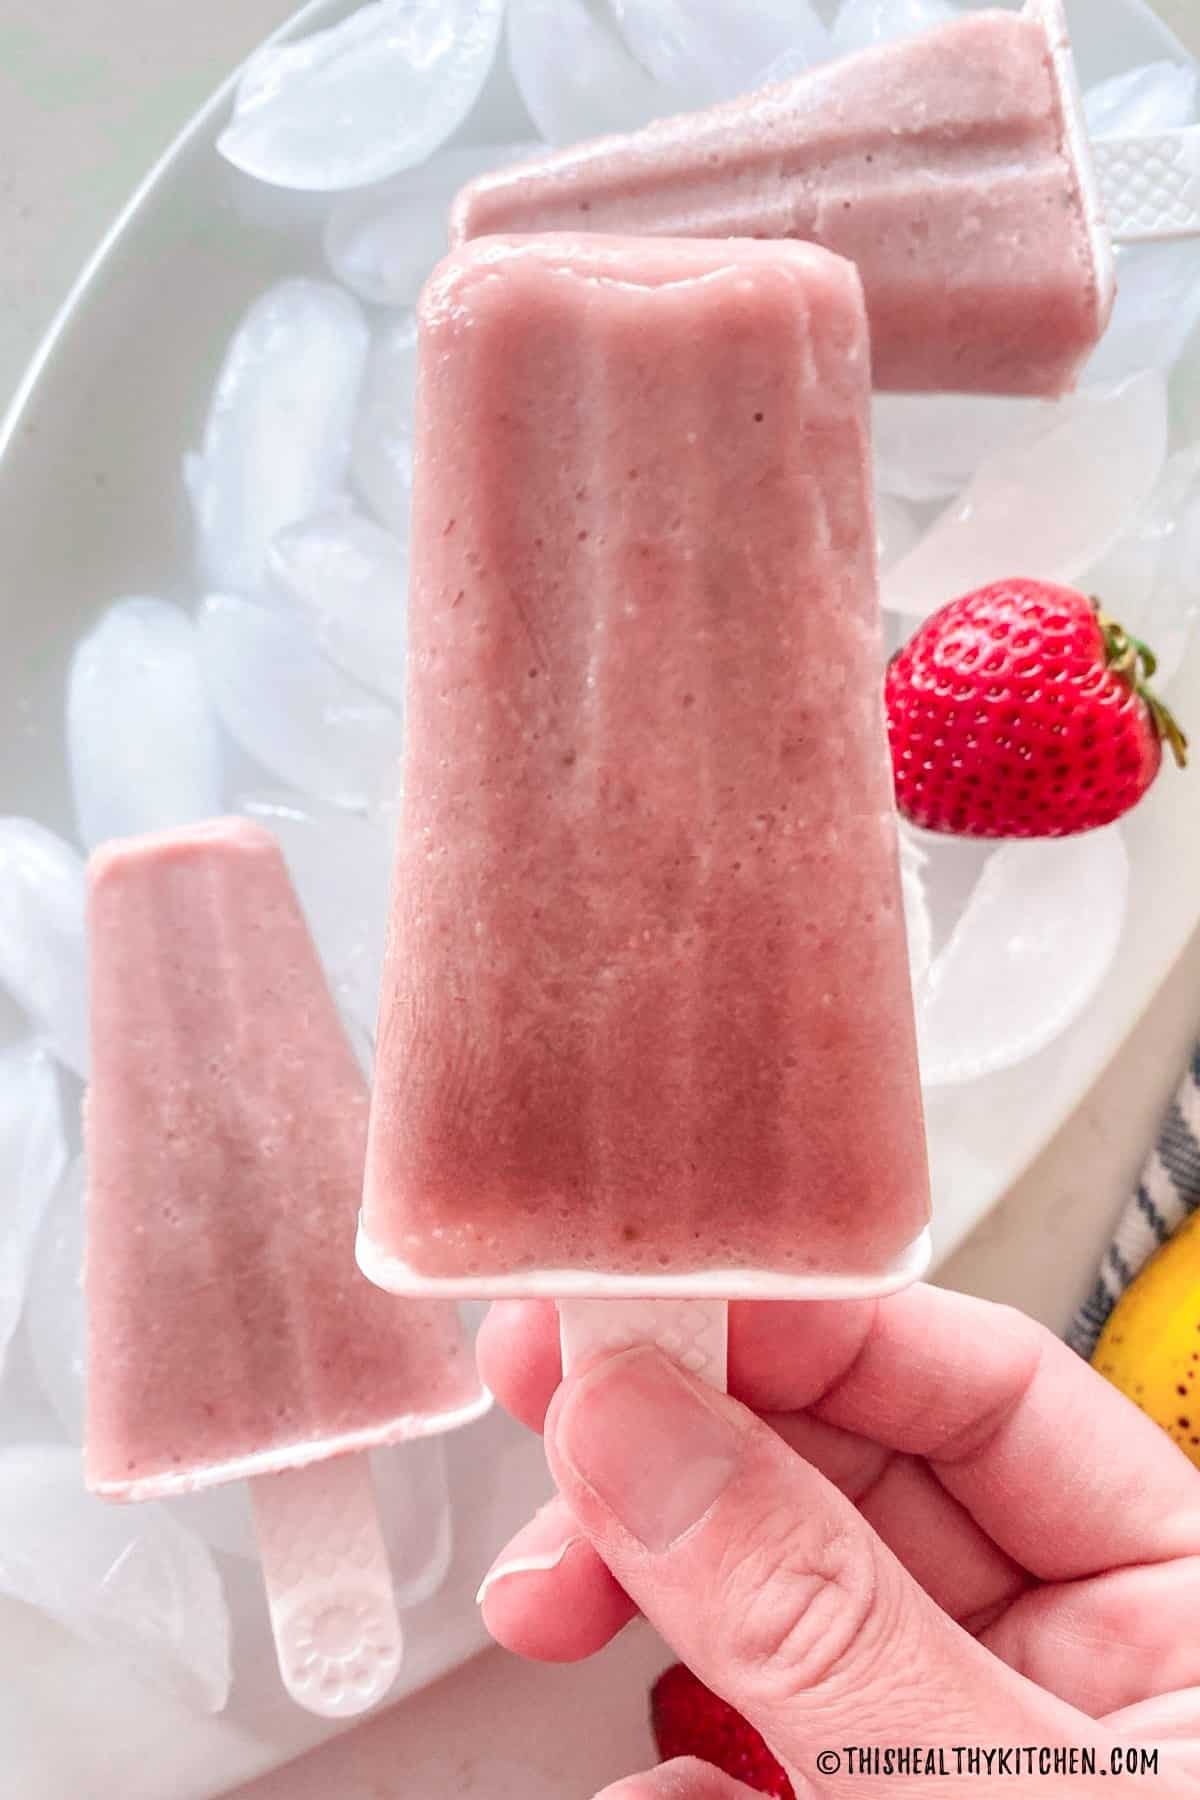
To remove from mold
- Fill a bowl with warm water, as tall as your mold, and place it inside, without overflowing the top where the sticks are. Wait 15-20 seconds before removing, and then use a side-to-side motion to remove the popsicles from the mold.
- You may also run the popsicles under warm water using your kitchen sink faucet for 15-20 seconds, or until they remove easily.
- If the popsicles are still soft, place them on a plate and return them to the freezer.
Equipment
You will need a popsicle mold and any mold will work, however, my preference is this silicone one (affiliate link). I like silicone because my plastic ones cracked after a few uses. Plus, I find it simpler to remove the frozen popsicles from a silicone mold.
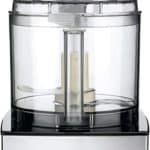
You’ll need a food processor OR a blender to make the popsicle mixture. However, if you don’t have either, you can get this done by hand, too. It won’t be as smooth, but it’ll work.
How to make the popsicles by hand
If you don’t have an appliance to blend your strawberry banana popsicle mixture, no worries! Mash the banana and strawberries in a large bowl, using a potato masher or large fork. Once mostly smooth, pour in the milk and maple syrup (if using) and whisk to combine.
You won’t get perfectly smooth popsicles this way, but they’ll be equally delicious and quite pretty too with small pieces of fruit throughout.
Variations
Tried our strawberry banana popsicles and want to change them up for next time?
- Try subbing the strawberries with raspberries, blueberries, or mixed berries, and add a squeeze of fresh lime juice.
- Or swap out the banana with melon, like honeydew, cantaloupe, or watermelon for an even fresher tasting treat.
- For a richer popsicle, use canned coconut milk to replace the almond milk. Note, that this will increase the fat content.
Expert Tips
- Use a very ripe banana that is spotted brown for natural sweetness.
- When strawberries are in season and extra sweet, you may skip the optional maple syrup for a no sugar added dessert.
- For chunkier pieces of fruit in your strawberry banana popsicles, use a food processor and do not overprocess.
- For evenly smooth pink popsicles, use a blender until pureed.
- If using popsicle sticks (instead of the lids that come with your mold), freeze the mold for 1-2 hours, just enough for the sticks to hold straight, and then add the sticks and continue freezing until solid.
- Freeze time will vary according to the thickness of your mold. Most popsicles will freeze in 4-6 hours.
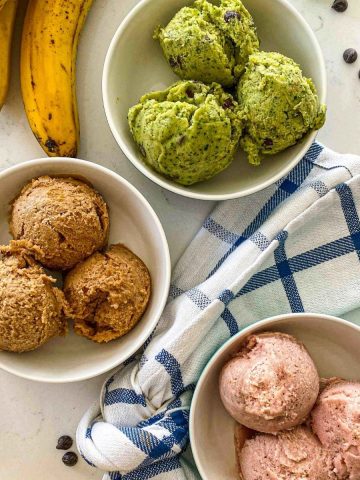
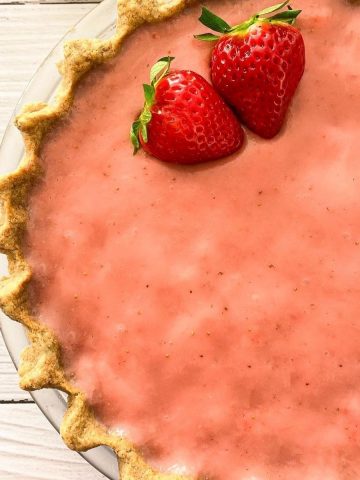
More delicious summer desserts

If you tried this recipe, please let me know about it in the comments below. I always love hearing from you! Don't forget to Subscribe to This Healthy Kitchen to be among the first to get my new recipes! You can also FOLLOW ME on Facebook, Instagram, Pinterest and Twitter to see more delicious food and get all the latest updates.
Buon appetito,
Rosa
📖 Recipe
Equipment
Ingredients
- 1 cup sliced strawberries approx. 4-6 strawberries
- 1 small banana approx. ¾ cup sliced
- 1 cup almond milk or plant milk of choice
- 2 tablespoons maple syrup optional
Instructions
- Add all the ingredients to a food processor or blender and process to your desired consistency. I made these ones smooth, but you can leave a few fruit chunks if preferred.
- Then fill your six popsicle molds, but leave a touch of space for expansion. Then tap the mold down on your counter to release air bubbles. Place the mold lids on top and freeze for 4-6 hours, or overnight. Keep frozen until serving.NOTE: If using popsicle sticks, freeze the mold for 1-2 hours, just enough for the sticks to hold straight, and then add the sticks and continue freezing until solid.
To remove from the mold
- Fill a bowl with warm water, as tall as your mold and place it inside, without overflowing the top where the sticks are. Wait 15-20 seconds before removing, and then use a side-to-side motion to remove the popsicles from the mold.
- You may also run the popsicles under warm water using your kitchen sink faucet for 15-20 seconds, or until they remove easily.
- If the popsicles are still soft, place them on a plate and return them to the freezer.
Cyndee says
These were a big hit – super simple and delicious! Can we substitute yogurt or oat milk for the coconut milk? I would think so, but I’m not sure what the amount would be. Thanks!
Rosa says
Thanks Cyndee, thrilled you enjoyed. Oat milk would be a straight swap. As for yogurt, I haven’t tried it this way, but you should be able to sub some or all of the milk without an issue. Thanks very much for the review! 🙂
Kaidence says
Made these this morning for a fun activity to do with the little guys and finally enjoying them now. They are SO delicious and I love the ingredients used. Such a great way to get my little guys to learn patience too! Haha thanks so much for the fabulous recipe!
Rosa says
Hi Kaidence, thanks so much for the lovely review. It is indeed a great lesson in teaching little one’s patience. So glad you enjoyed!