

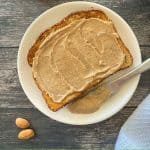
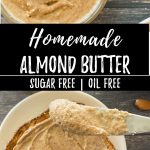
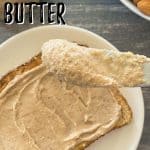
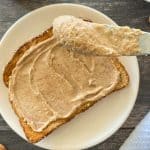
Silky smooth, incredibly nutty, earthy and delicious homemade almond butter. There’s nothing quite like homemade nut butters, and this one has only 1 ingredient required! No added oil or sugar, just a wholesome, rich and delicious spread.
This recipe was originally published in July 2019. It has been updated for content and photos.
Just like my pecan butter, this nut butter is super simple to make, requires NO OIL, it’s completely wholesome, and a fun alternative to peanut butter.
Plus, there’s so many fun ways to use it, and I know you’re going to LOVE it.
Why make homemade almond butter?
- So much cheaper to make your own, so it’s very budget friendly, compared to store bought.
- Homemade anything means YOU control the ingredients, and in this case, there’s no oil, sugar, or preservatives.
- It’s SO delicious!!
How to make it
(This is a summary with step by step photos, full recipe measurements and instructions are in the recipe card below.)
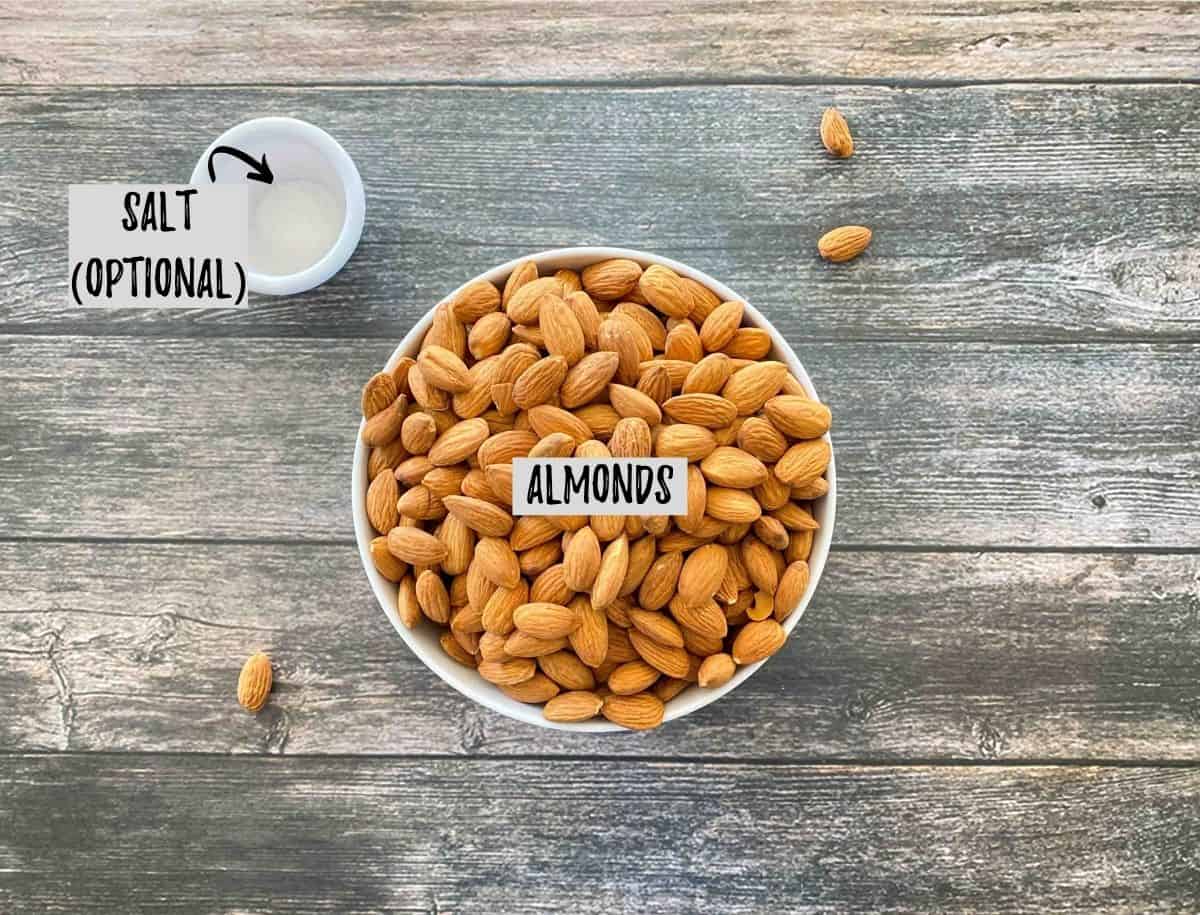
All you need is almonds, with some optional salt, if you’d like.
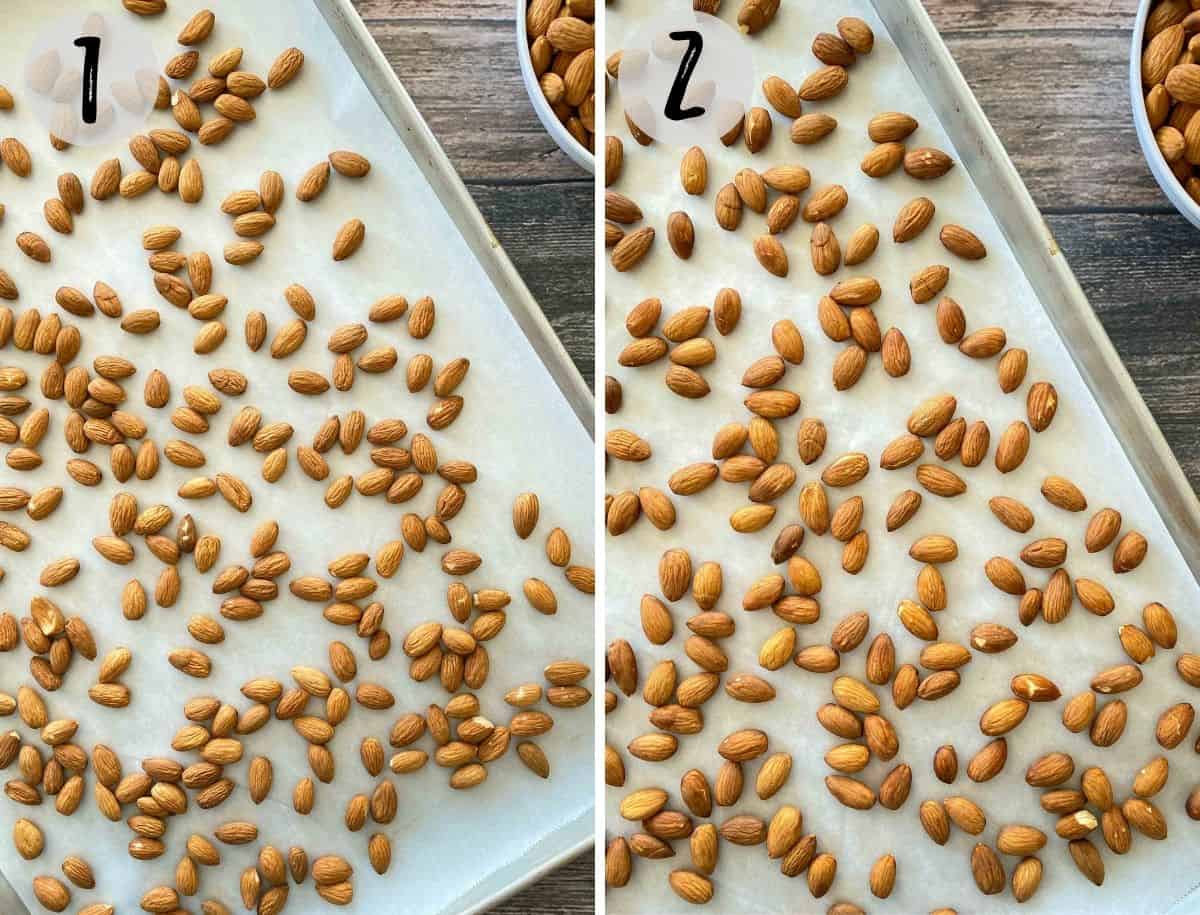
Measure the almonds and spread them on a baking tray lined with parchment paper. (photo 1)
Bake for 8-10 minutes, until golden brown, and you can start to smell them. Then remove from the oven. (photo 2)
Transfer the roasted almonds to your food processor, along with the salt, if using. (photo 3)
Now start processing them. The almonds will break down into smaller bits, and eventually a flour like consistency that is starting to clump together. (photos 4-6)
NOTE: The almonds will go through several stages and it may feel like they’ll never turn to butter, but they will! Just have patience.

Pause processing every 30-60 seconds to give your machine a small break to prevent overheating. Then continue processing.
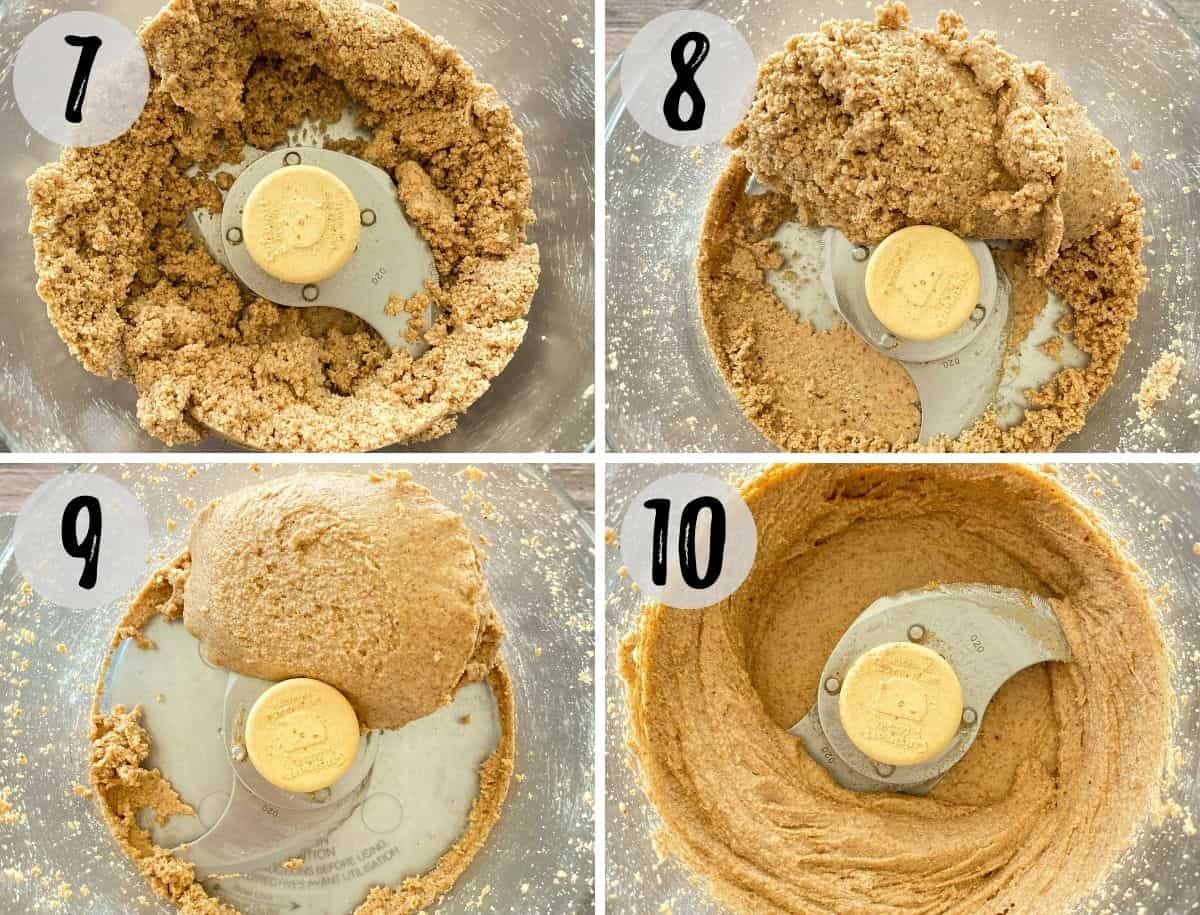
The small clumps will get larger and larger until a giant ball is formed. (photos 7-9)
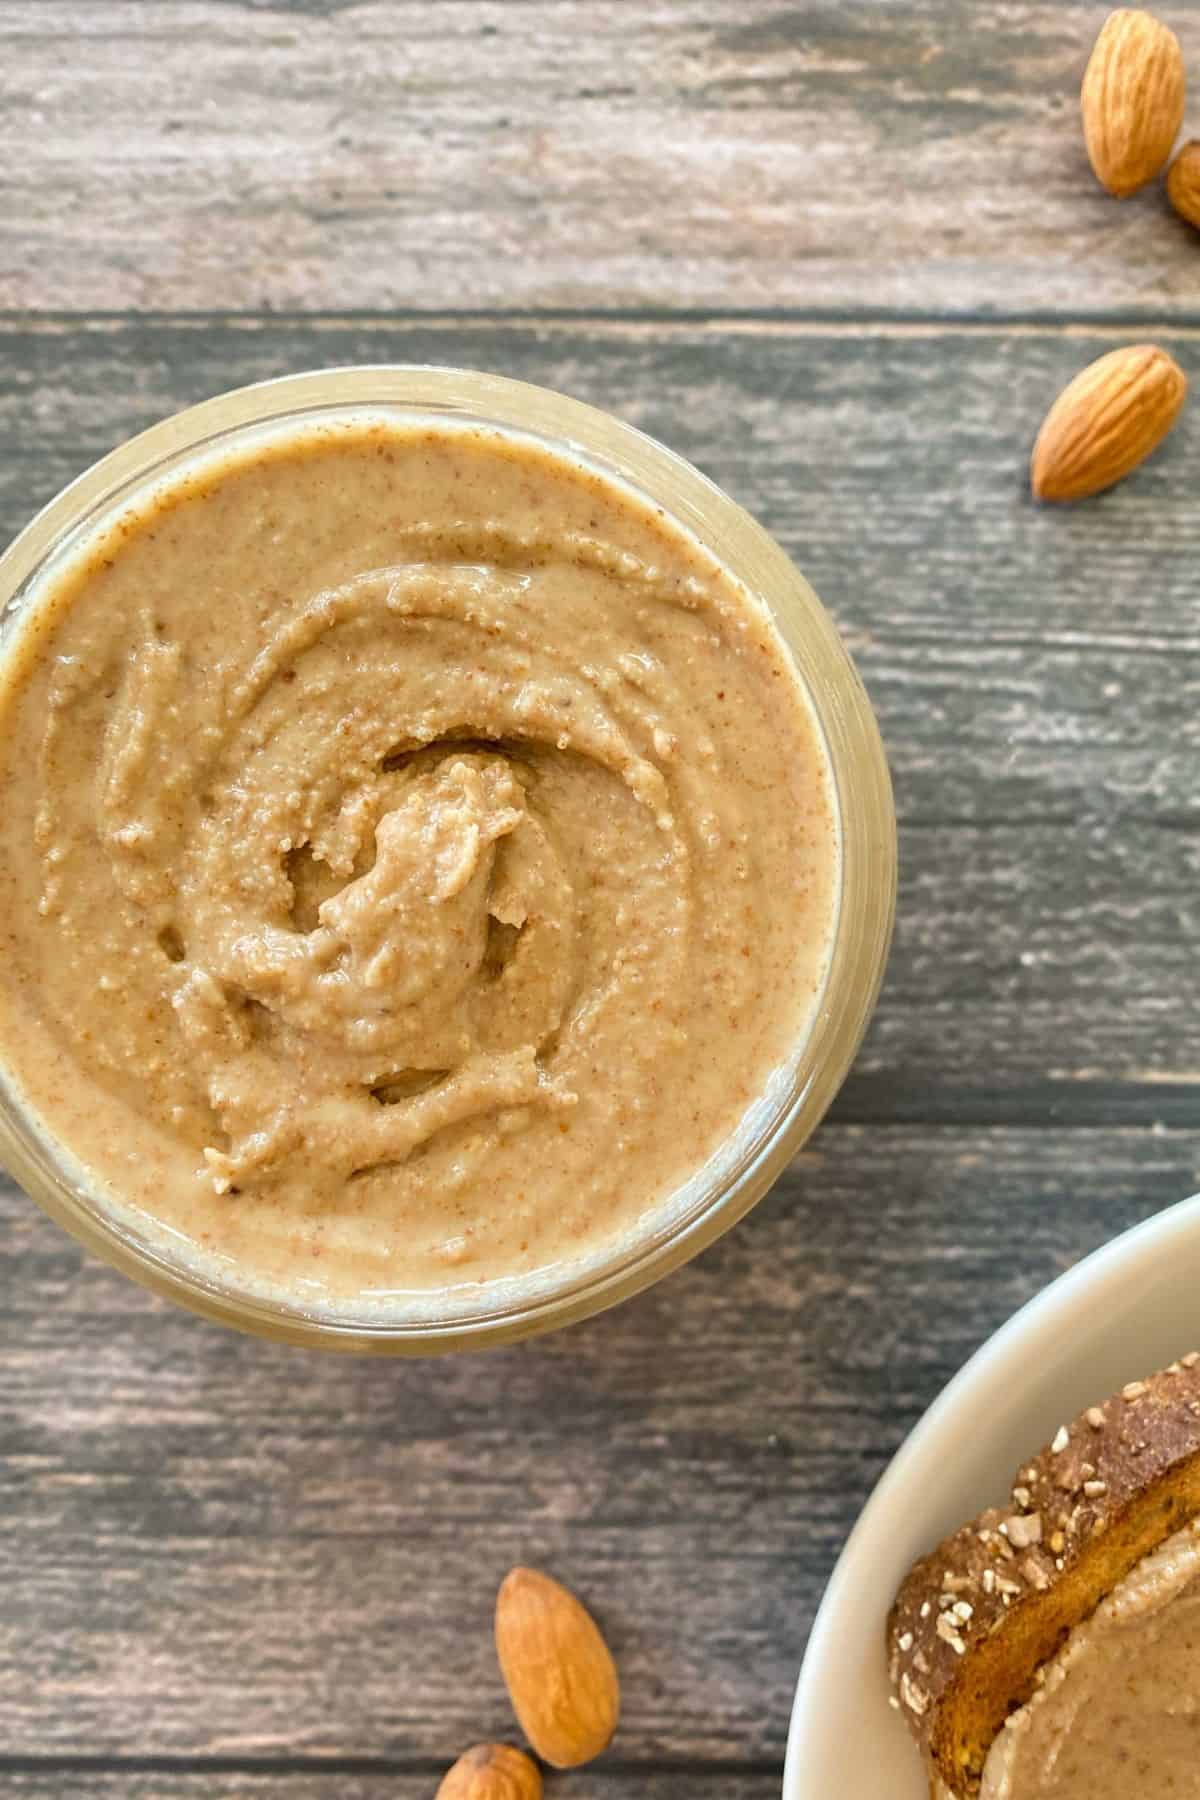
When you see a giant ball, it’s almost ready! Keep processing until you have luscious, creamy, homemade almond butter. (photo 10)
NOTES: Turn off your food processor to scrape down the sides as needed and give the motor a break, to prevent overheating. This process will take anywhere from 3-10 minutes, depending on the machine you’re using.
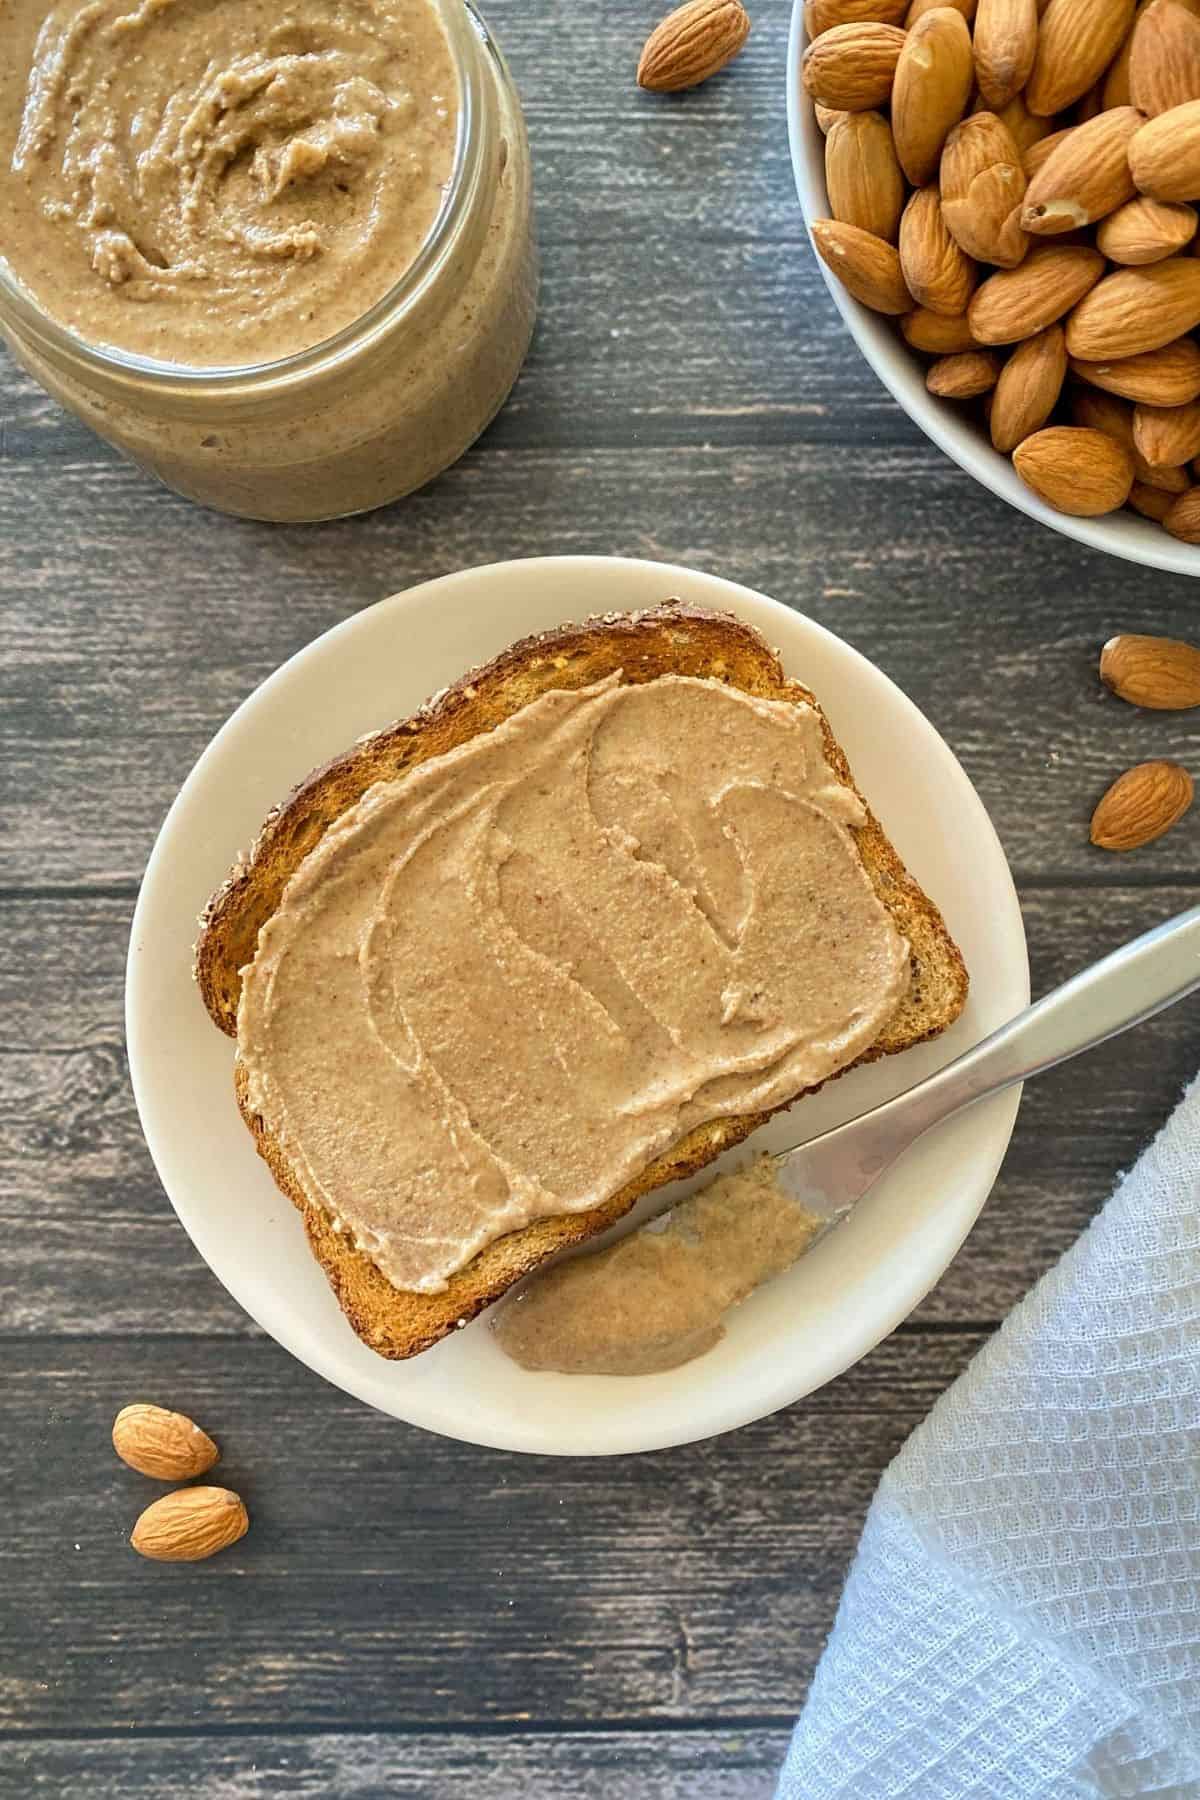
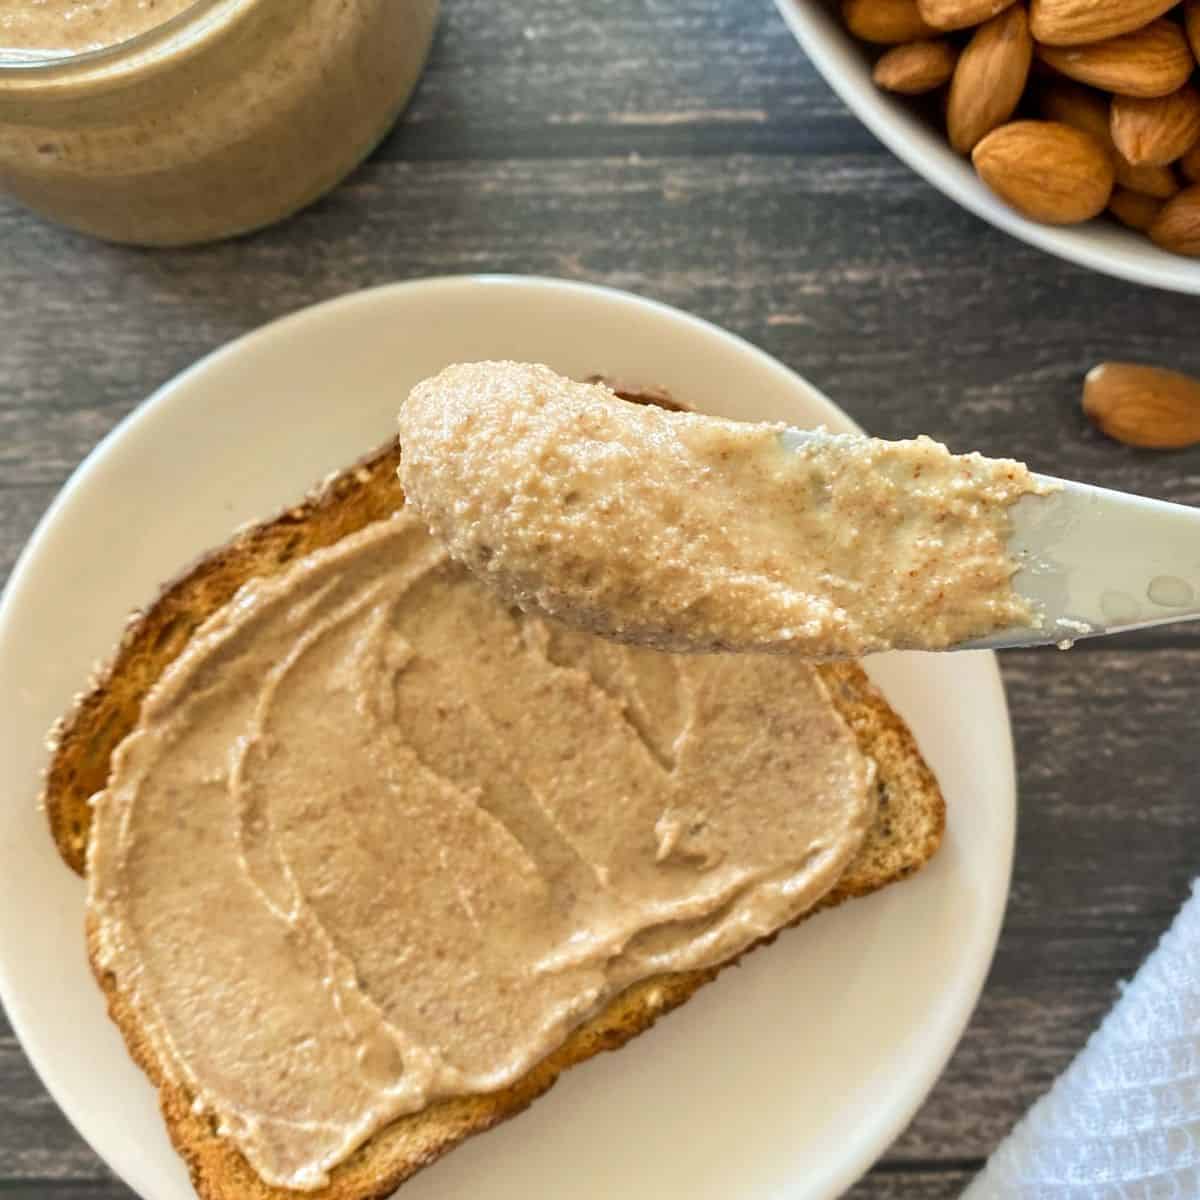
Store in a clean and dry jar or container, and use as desired.
Common Questions
Keep it in a clean and dry glass jar or container. Keep at room temperature for up to 1 week, or refrigerate for up to 4 weeks.
Although you may keep it at room temperature for up to 1 week, I recommend refrigerating for longer use.
Yes! Just make sure to use an air tight, freezer safe container and freeze for up to 4 months.
Yup. Just scoop out a few tablespoons of the broken down almond pieces towards the start of your processing. Then once the remaining batch is smooth, return the pieces to the processor and pulse once or twice to mix them in.
No. Although similar in texture and consistency, it does have a unique flavour. But if you like peanut butter and you like almonds, you’ll like this too!
The nutritional values are similar in terms of calories and fat per serving. However, almond butter has more vitamins, minerals and fiber, whereas peanut butter is slightly higher in protein. Both should be consumed in moderation as they are calorie dense, but the good news is, a little goes a long way!
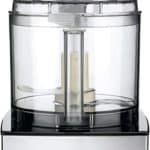
I use this Cuisinart food processor and I’ve also successfully made this in my Vitamix. (affiliate links) The results were similarly smooth in both, but the Vitamix was a little faster to process, and less worry of overheating. However, I prefer how much simpler it is to transfer the nut butter from a food processor.
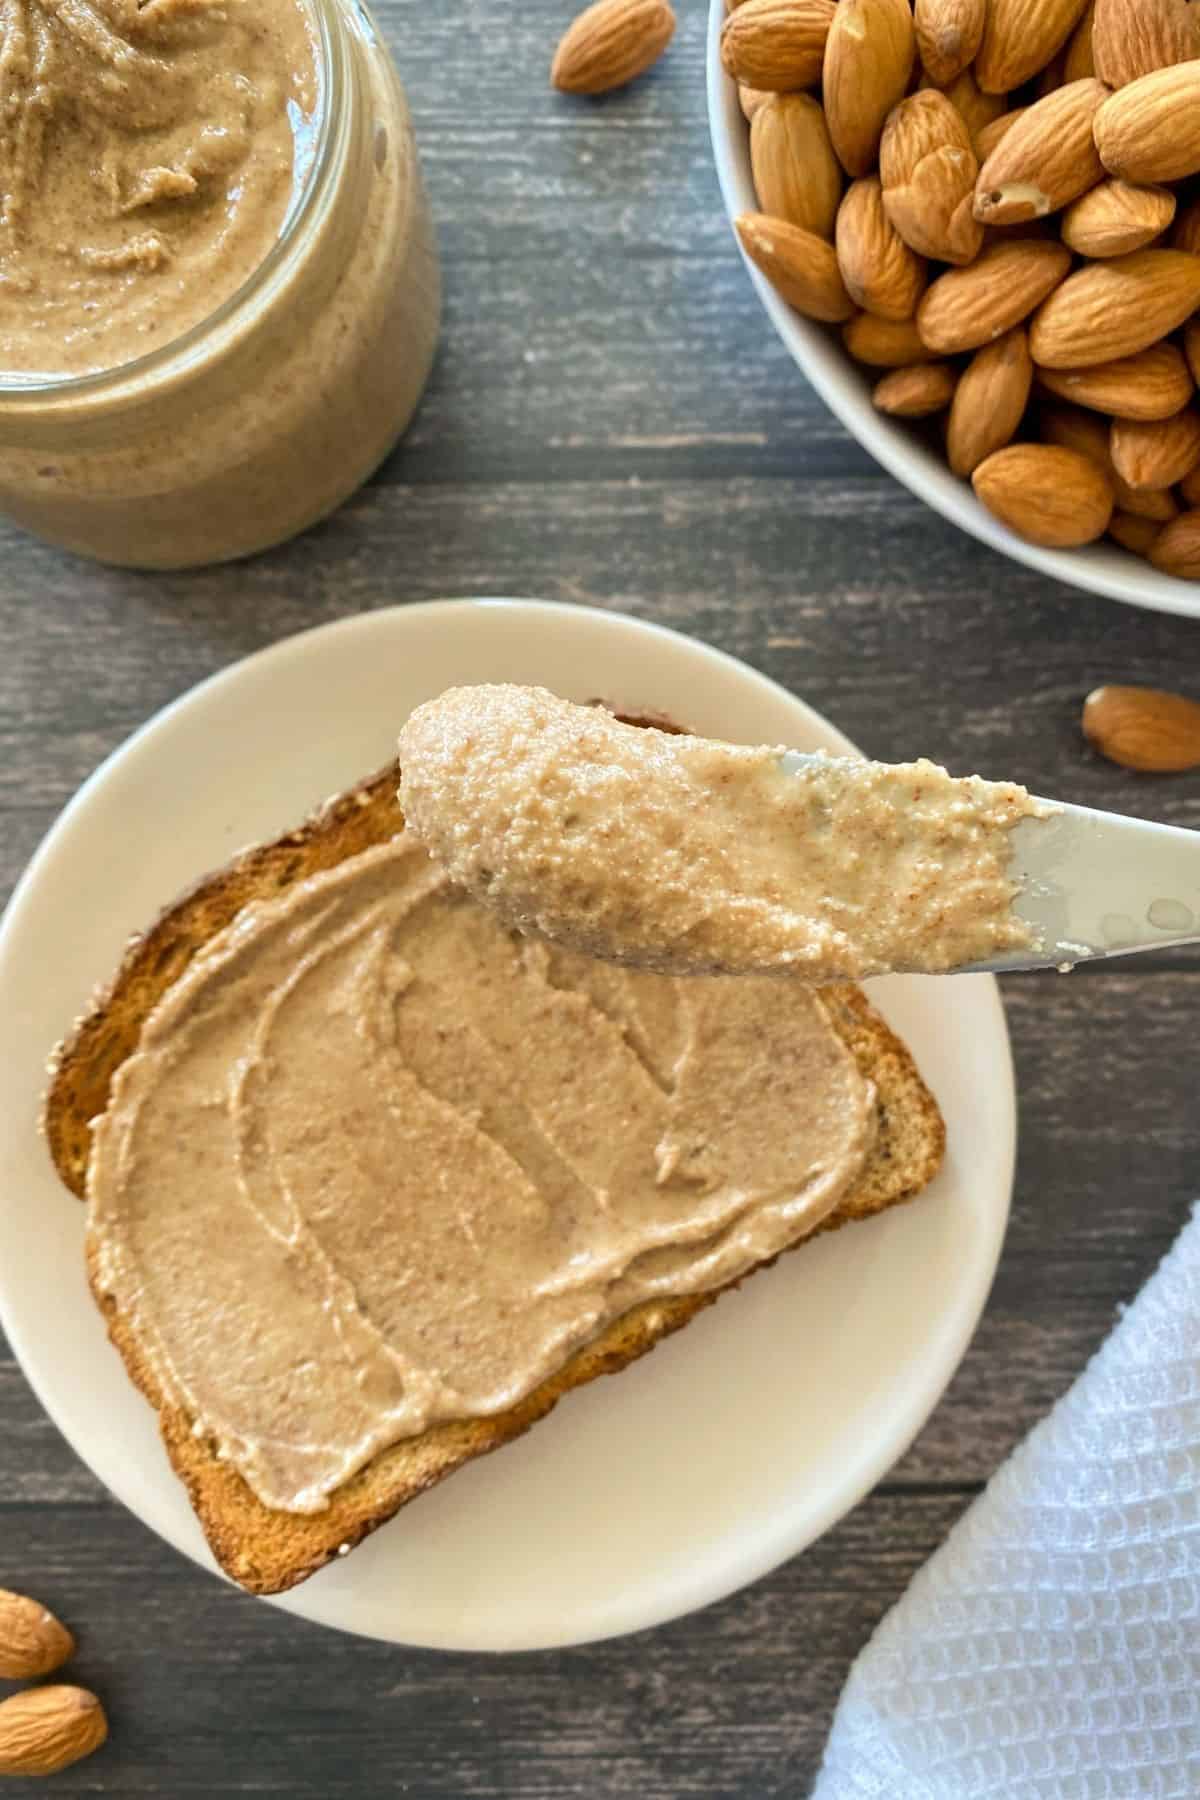
How to use it
- Stir some into smoothies or smoothie bowls.
- Spread it on toast or top waffles or pancakes.
- Mix some into your overnight oatmeal.
- Dip apples, or make a sandwich with banana slices.
- Make almond butter cookies.
- Grab a spoon!
The options…so many options.
Expert Tips
- Give your machine small breaks in between processing to prevent overheating. Turn off your food processor for 30-60 seconds at a time, as needed, and then continue. Use that break to scrape down the sides.
- Your homemade almond butter will go through many stages, and it may feel like it’s never going to become butter, but it will. It goes from whole almonds, to broken down pieces, to flour, to small clumps, then large clumps, then one giant ball, and finally creamy nut butter. (See process shots above for a visual.)
If you tried this recipe, please let me know in the comments below. I always love hearing from you! Don't forget to Subscribe to This Healthy Kitchen to be among the first to get my new recipes! You can also FOLLOW ME on Facebook, Instagram, Pinterest, and YouTube to see more delicious food.
Buon appetito
Rosa
📖 Recipe
Equipment
Ingredients
- 2 cups almonds
- ¼ teaspoon sea salt optional
Instructions
- Preheat the oven to 350 degrees and line a large baking tray with parchment paper. Arrange the almonds in a single layer and bake for 8-10 minutes. They're ready when they are golden brown, but NOT burned. Remove from the oven.
- Add the almonds and salt (if using) to a food processor. Process on high speed until creamy, stopping to scrape down the sides often. The almonds will turn from whole, to flour, to clumps, to a large ball, and eventually, creamy, luscious butter. It will take several minutes of processing, anywhere between 3-10 minutes. Give your machine 30-60 second breaks, as needed, to prevent overheating.
- Transfer to a clean and dry container or jar and use as you would any other nut butter.
Marie says
Thank you Rosa for all you do. I love almond butter. A friend of mine from Bermuda gave me a recipe using it that is absolutely delicious called Nutty Fruity Sandwich. It makes 2-4 sandwiches. Spread almond butter on two slices of toasted or untoasted bread. Cut a banana in half, then slice each half lengthwise into 4 strips each. Lay 4 strips side by side on one slice of toast on top of the almond butter. Then cut an apple of choice in half, remove the core, stem and blossom end. Slice 1/2 of the apple into 1/4″ slices from top to bottom, not cross ways, and lay 2 slices on top of the banana slices. On the opposite slice of toast that has almond butter also, cover with as many raisins as preferred, tapping them lightly to set into the almond butter. Flip it over onto the toast with the banana and apple with gentle pressure. Enjoy! This is my husband’s and my favorite breakfast sandwich. Any leftover apple can just be eaten and enjoyed. Kids love it, too.
Rosa says
Thanks so much for sharing this with us, Marie. 🙂 That sounds like a very delicious way to use almond butter!
Cheryl says
I make this all the time. Delicious!! Love it more than store-bought brand I’ve loved since I was a kid. Any tips on how to get it more creamy? Yours looks more “moist” than mine. Mine is very dry. Thanks so much! Cheryl
Rosa says
So glad you like it Cheryl. To get it creamier, you just have to process it longer. If you look at the process photos numbered 8-10 you’ll see it starts off dry and as you continue to process, you get a ball and then keep going for that silky texture. Hope that helps! 🙂
Cheryl says
Thanks so much, Rosa. I will let it blend longer and see if that works. I think I lose my patience. Haha! Cheryl
Lyn C says
I made this with 16oz of peanuts plus 2/3 cup cacao powder & 4 medjool dates for an occasional treat. Purchased a store bought version of this – expensive ($14/8 oz) with added sugar & salt. Followed the directions above. Love it!
Rosa says
Thanks for sharing your process with us Lyn. So glad you enjoyed.
Linda says
I don’t have a food processor. Can I use my vitamix instead? Thanks!
rosa says
Hi Linda, yes you may absolutely make this in your Vitamix! Enjoy 🙂
Linda says
Thank you!
Naomi says
I’ve been reluctant to try making homemade nut butters but your instructions seem so easy to follow I’m going to give it a try! I love store bought almond butter and homemade is always better so I’m sure I’ll love this!
rosa says
Nothing to fear here Naomi, enjoy! 🙂