

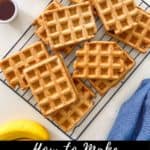

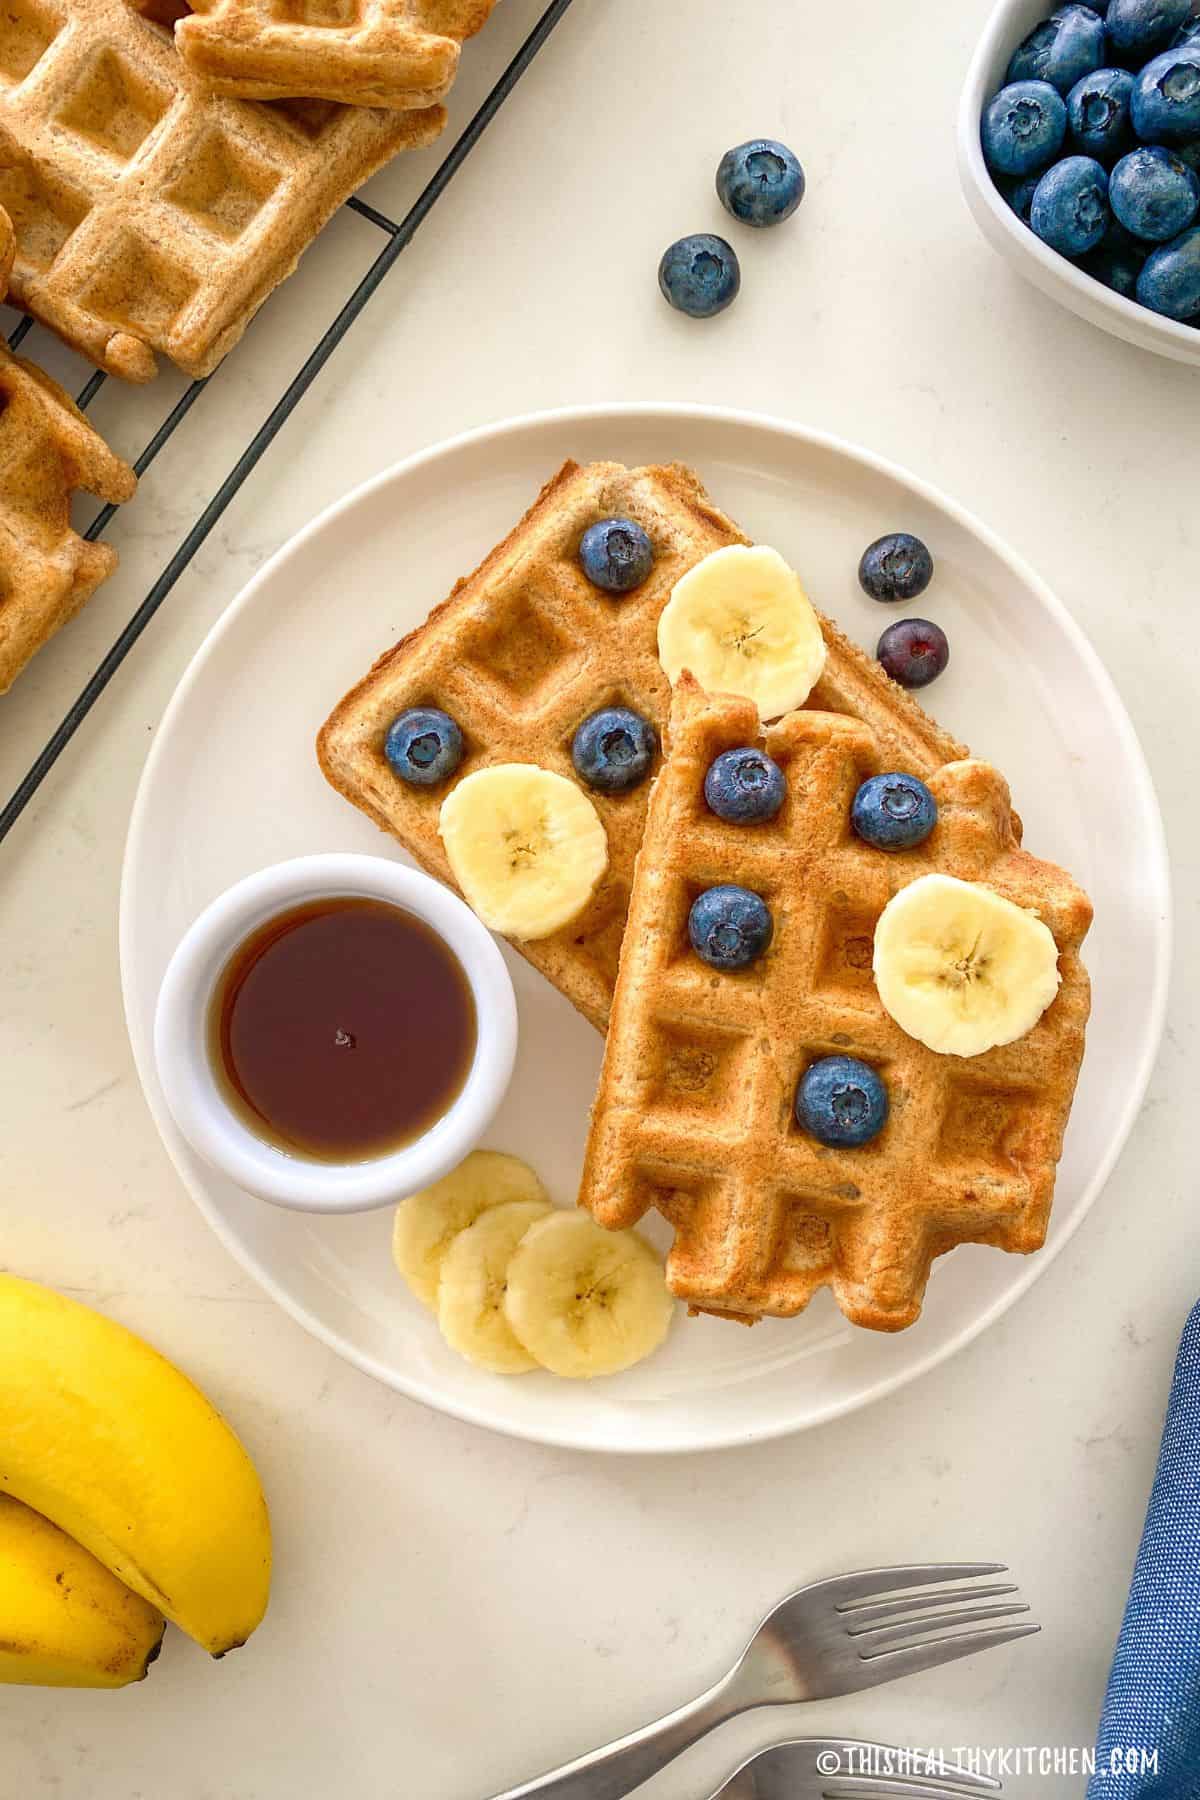
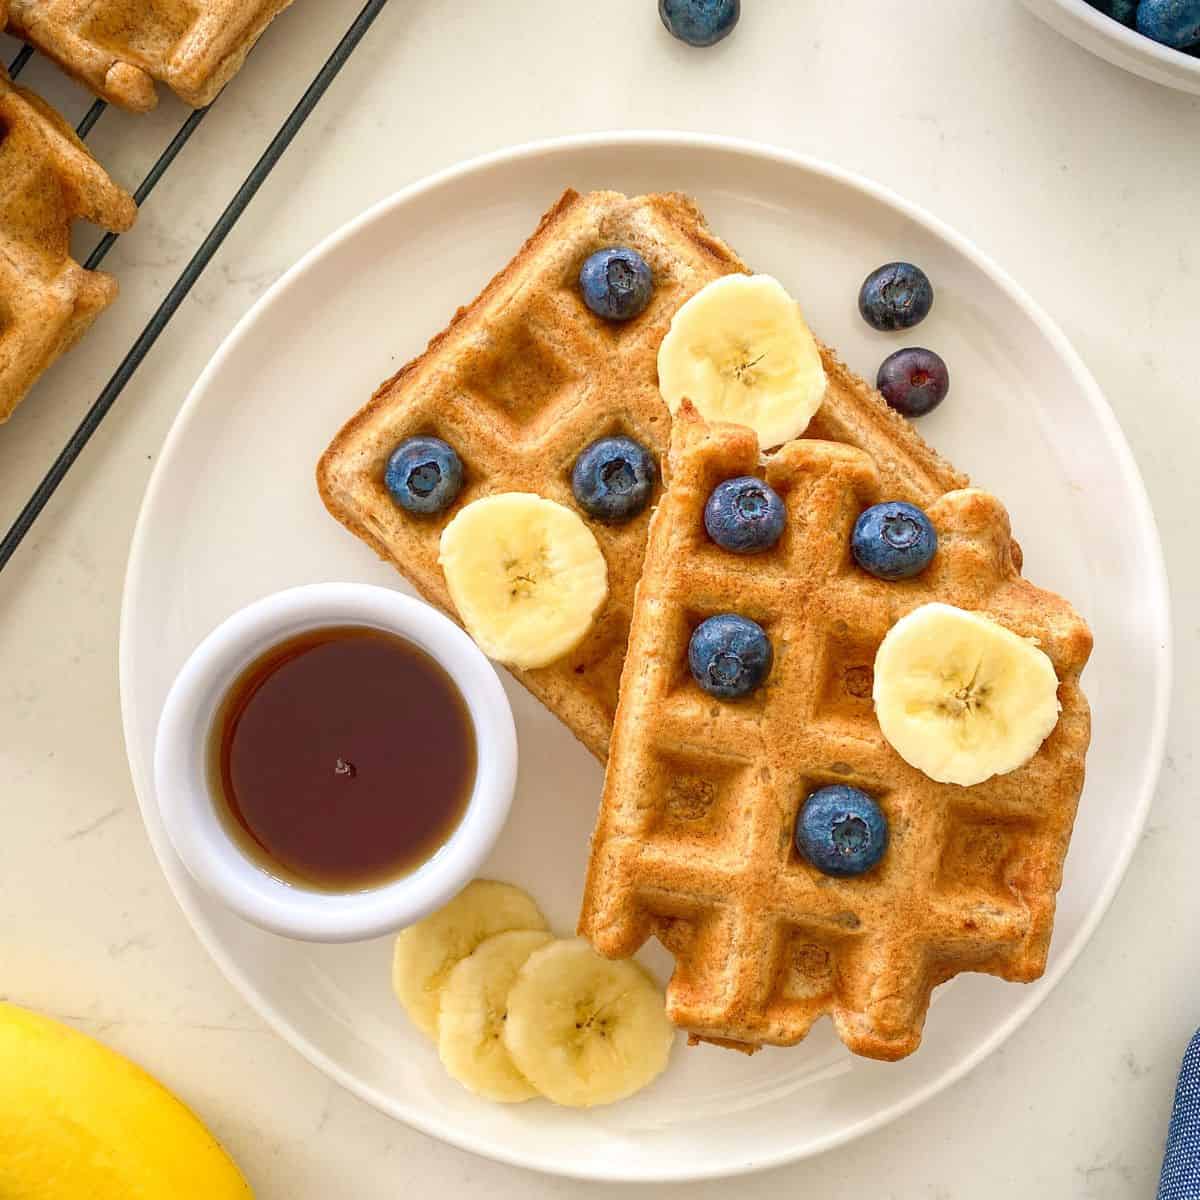
Coconut milk waffles are CRISPY on the outside, but soft and fluffy in the middle. The fat content from the coconut milk is all you need for incredibly textured waffles and no oil is needed. Perfect for breakfast or brunch, and freezer friendly too.
This recipe was originally published in September 2019. It has been updated for content and photos.
Waffles are a staple breakfast food and these ones are a must-try. They’re so simple to whip up and they taste fantastic!
Enjoy this coconut waffle recipe for brunch, Mother’s Day, or any day, all year long.
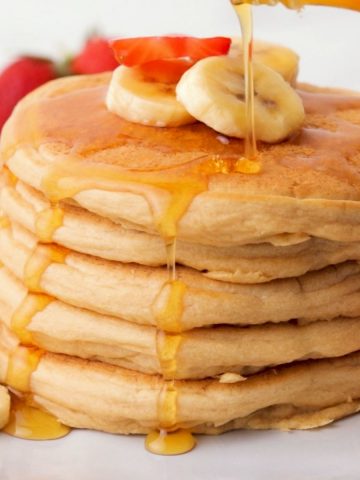
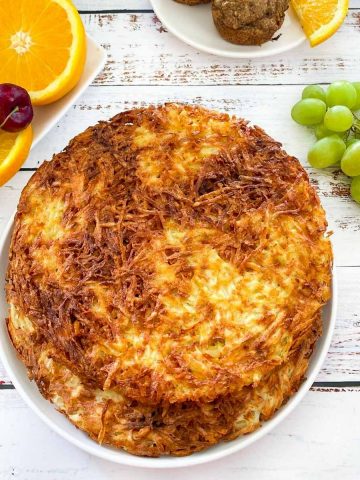
For the ultimate brunch, pair these with hashbrowns, home fries, fresh fruit and/or this green smoothie.
Why you’ll love these waffles
- Easy to make and JUST 5 ingredients!
- Made using whole wheat flour and NO sugar for a more wholesome waffle choice.
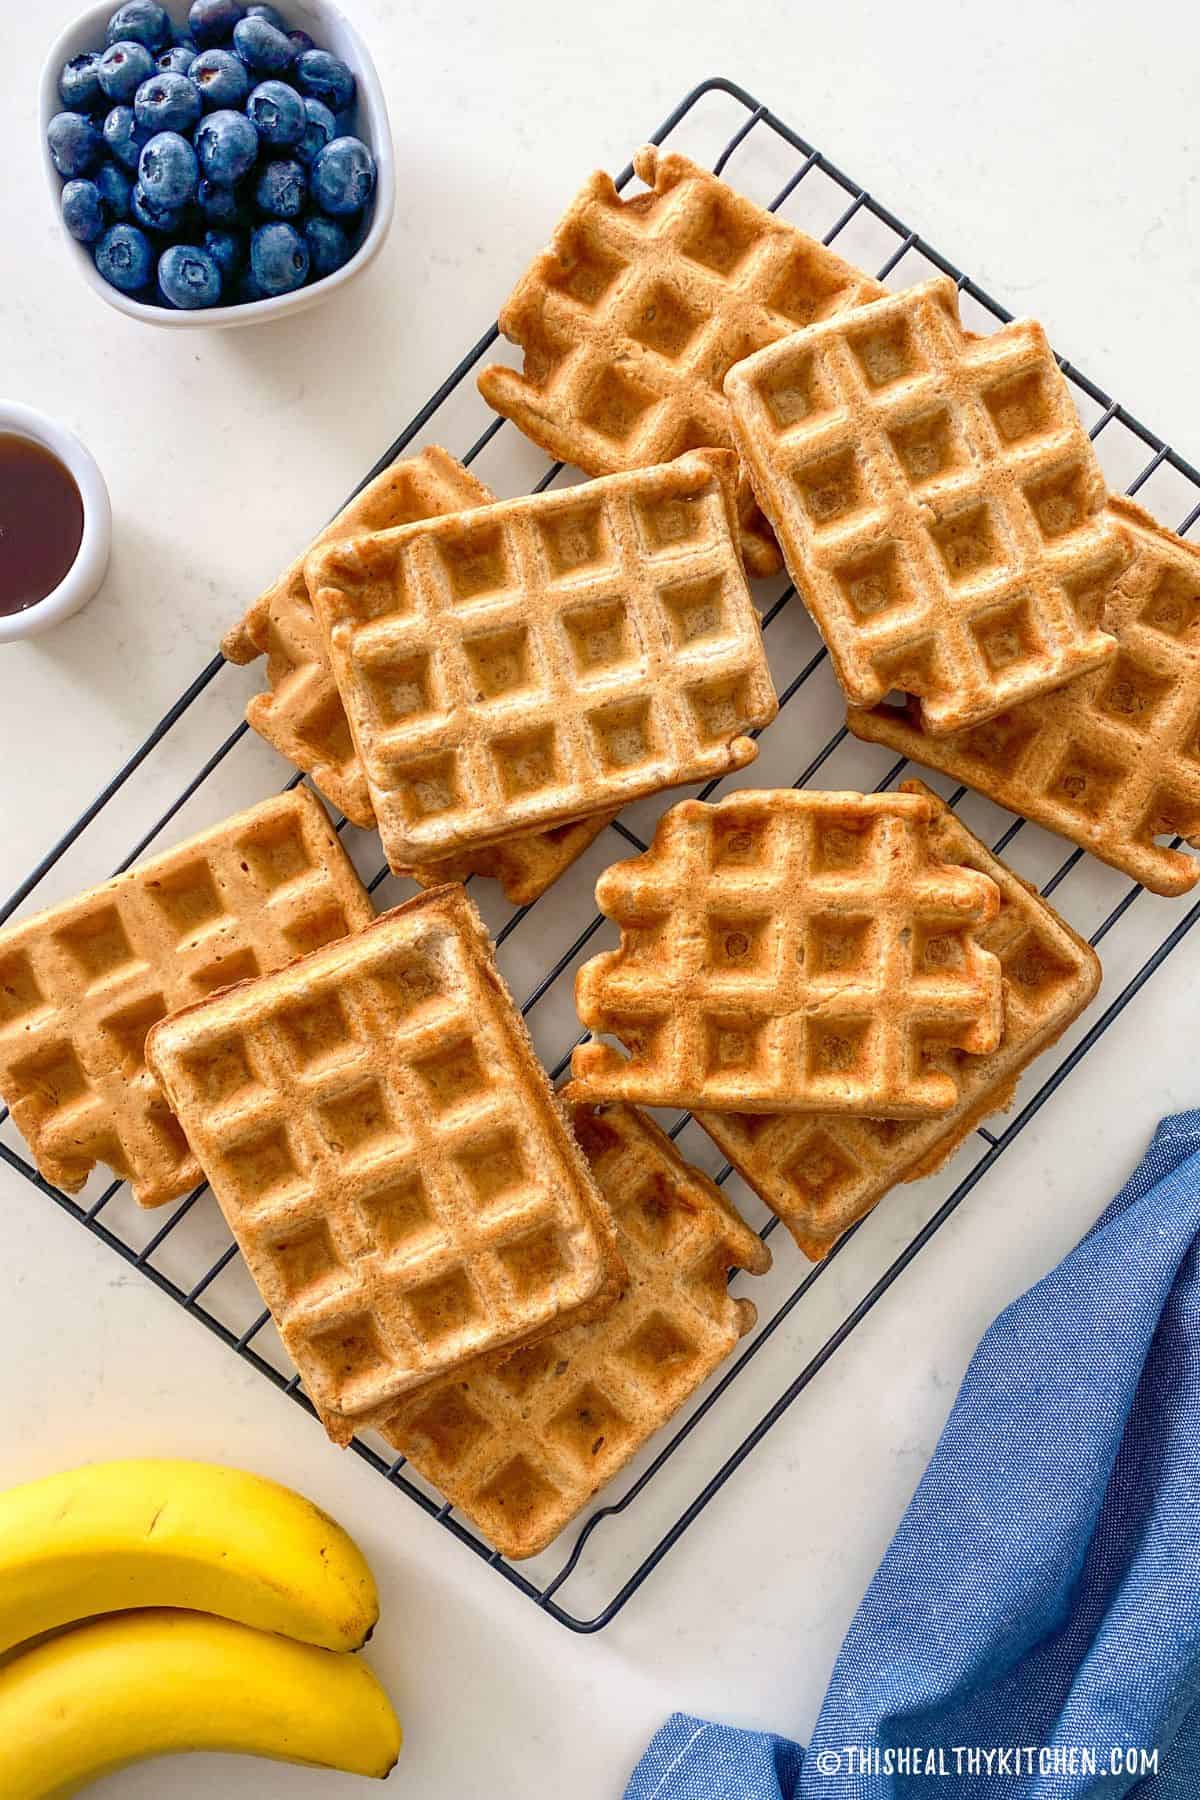
- Freezer friendly! Make a huge batch and freeze some for a quick breakfast later.
- Plus, they’re naturally vegan, oil free, egg-free, and dairy-free, making them suitable for most dietary needs.
Ingredients + Substitutions
All you need is FIVE ingredients to make these coconut milk waffles.
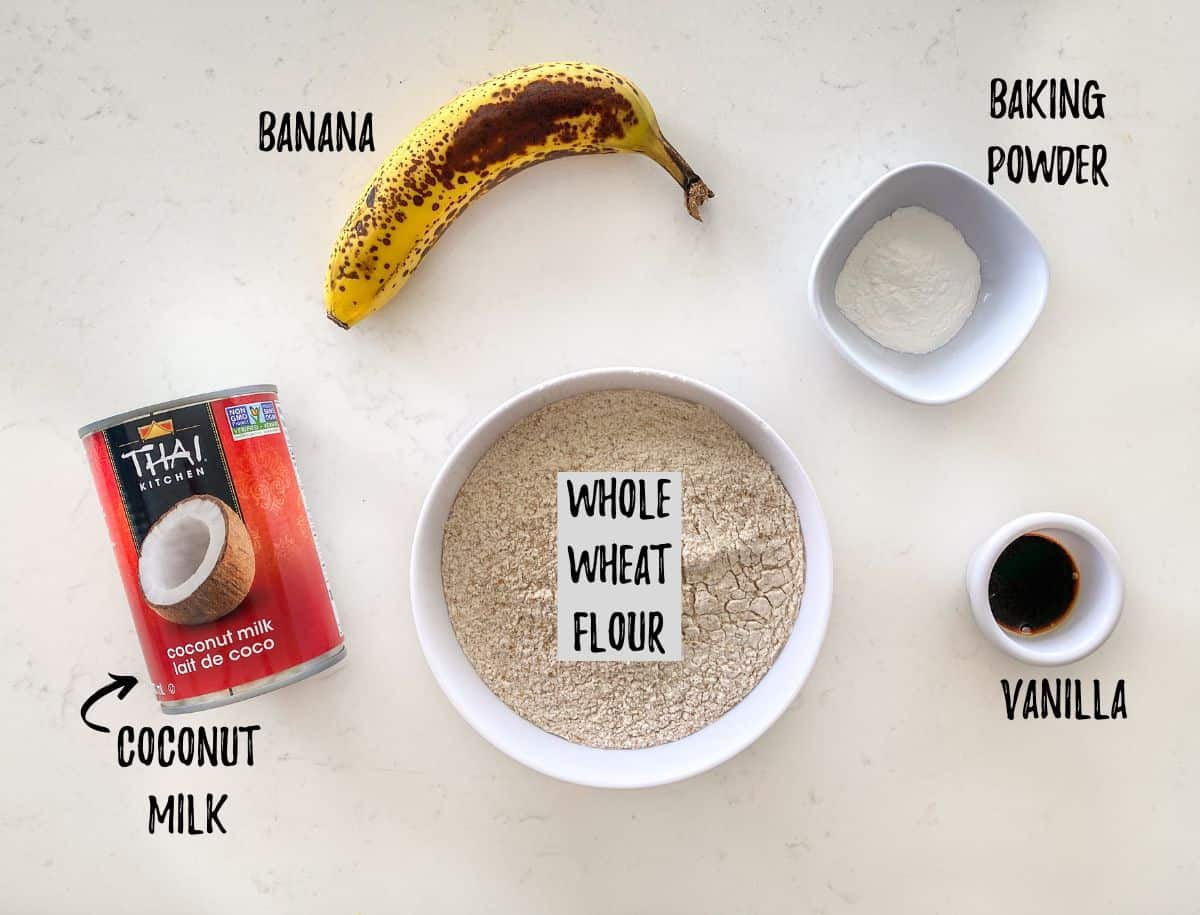
- Whole wheat flour: I prefer to use unrefined flour when possible and I promise you won’t even notice the difference. Using whole wheat all purpose flour keeps these far more wholesome compared to waffles made with white flour.
- Coconut milk: This is our fat content to produce crispy waffles, without using any oil. I have tested these with LIGHT coconut milk if you want to reduce the fat and that works just fine, however, full fat will have more coconut flavor.
- NOTE: I have not tested these with any other plant-based milk and I suspect the result will not be the same since some fat is needed to produce these perfectly crispy results. (After all, nobody likes a soggy waffle.)
- Banana: Make sure to use an overly ripe, spotted brown banana for natural sweetness. The banana serves two purposes and replaces the need for any added sugar or eggs.
- Baking powder: Our rising agent, do not skip. But make sure to use baking powder that is active. Open bottles of baking powder sitting in the pantry for 6+ months may start to lose their effectiveness.
- Vanilla: Use pure vanilla extract without any artificial flavours. While optional, it provides a nice flavour to your waffles. But if you don’t have any on hand, just skip it.
Instructions
(This is a summary with step by step photos, full recipe measurements and instructions are in the recipe card below.)
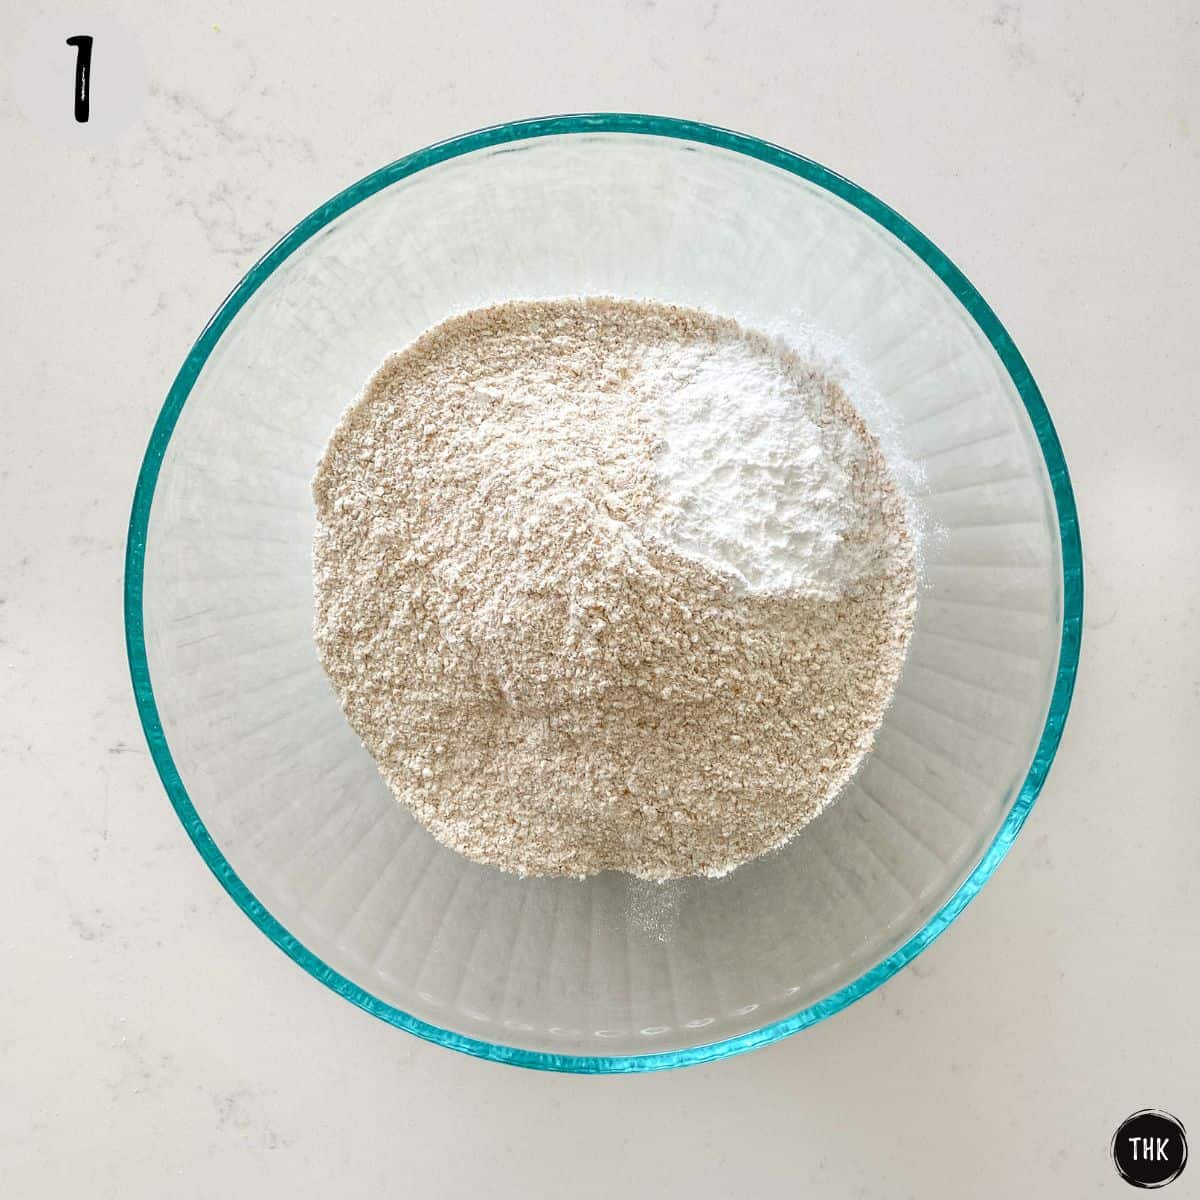
Add the dry ingredients (flour + baking powder) to a medium bowl and whisk to combine. (photo 1)
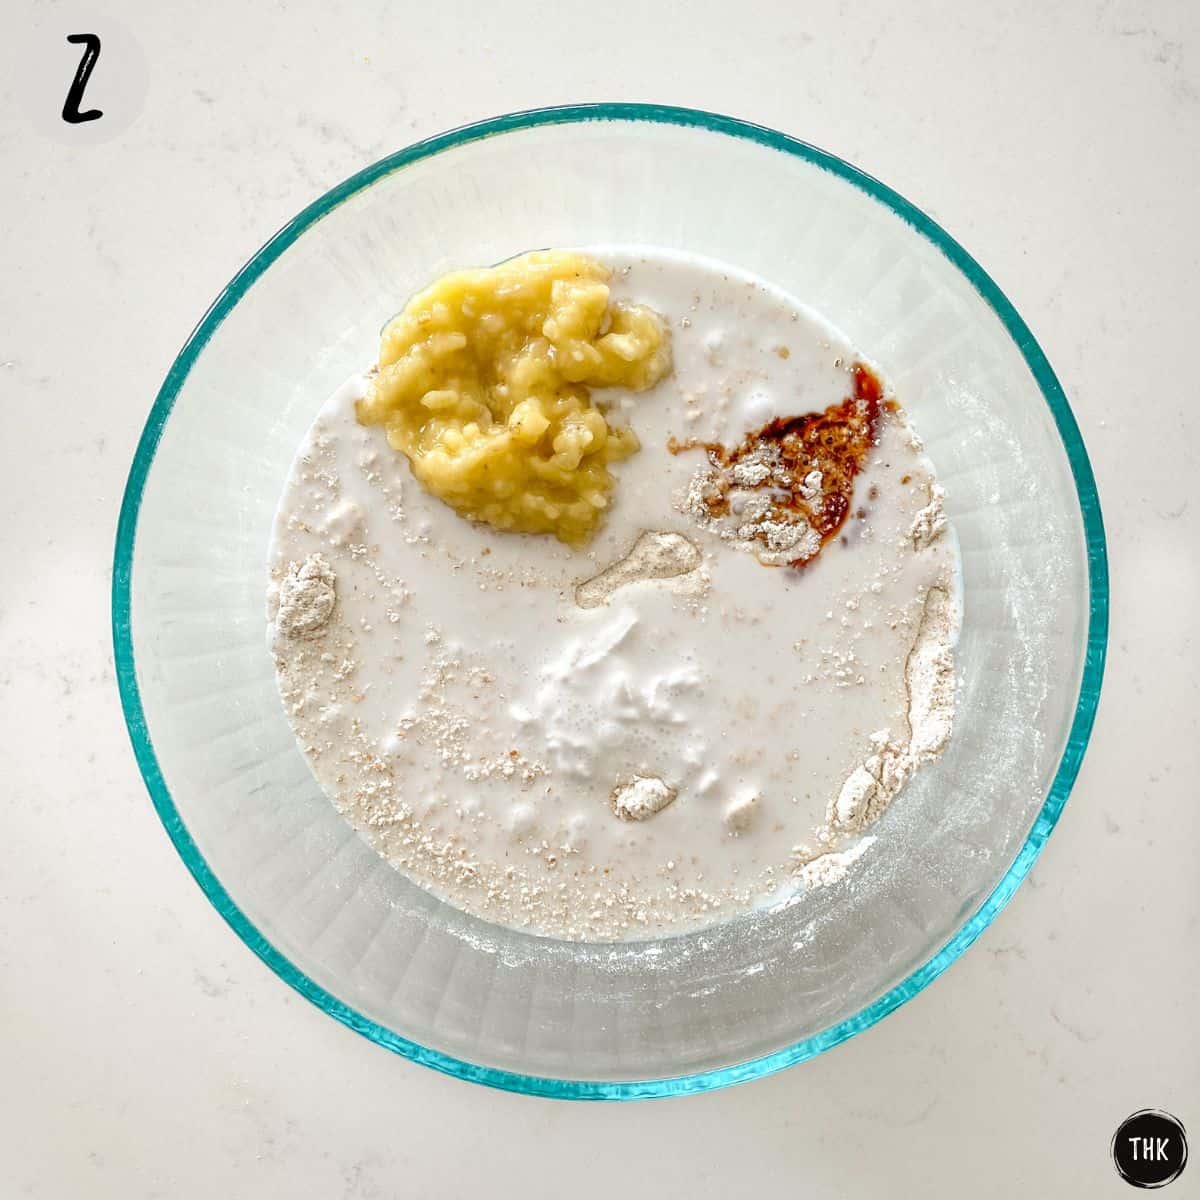
Then add the coconut milk, banana, and vanilla. Mix until combined, without overmixing. (photo 2)
NOTES: Add a few drops of water to your mixture if it appears too thick and not “pourable”. Mix the batter until no floury bits remain, but don’t worry about every single lump. Do not overmix as this overworks the gluten and may alter the final texture.
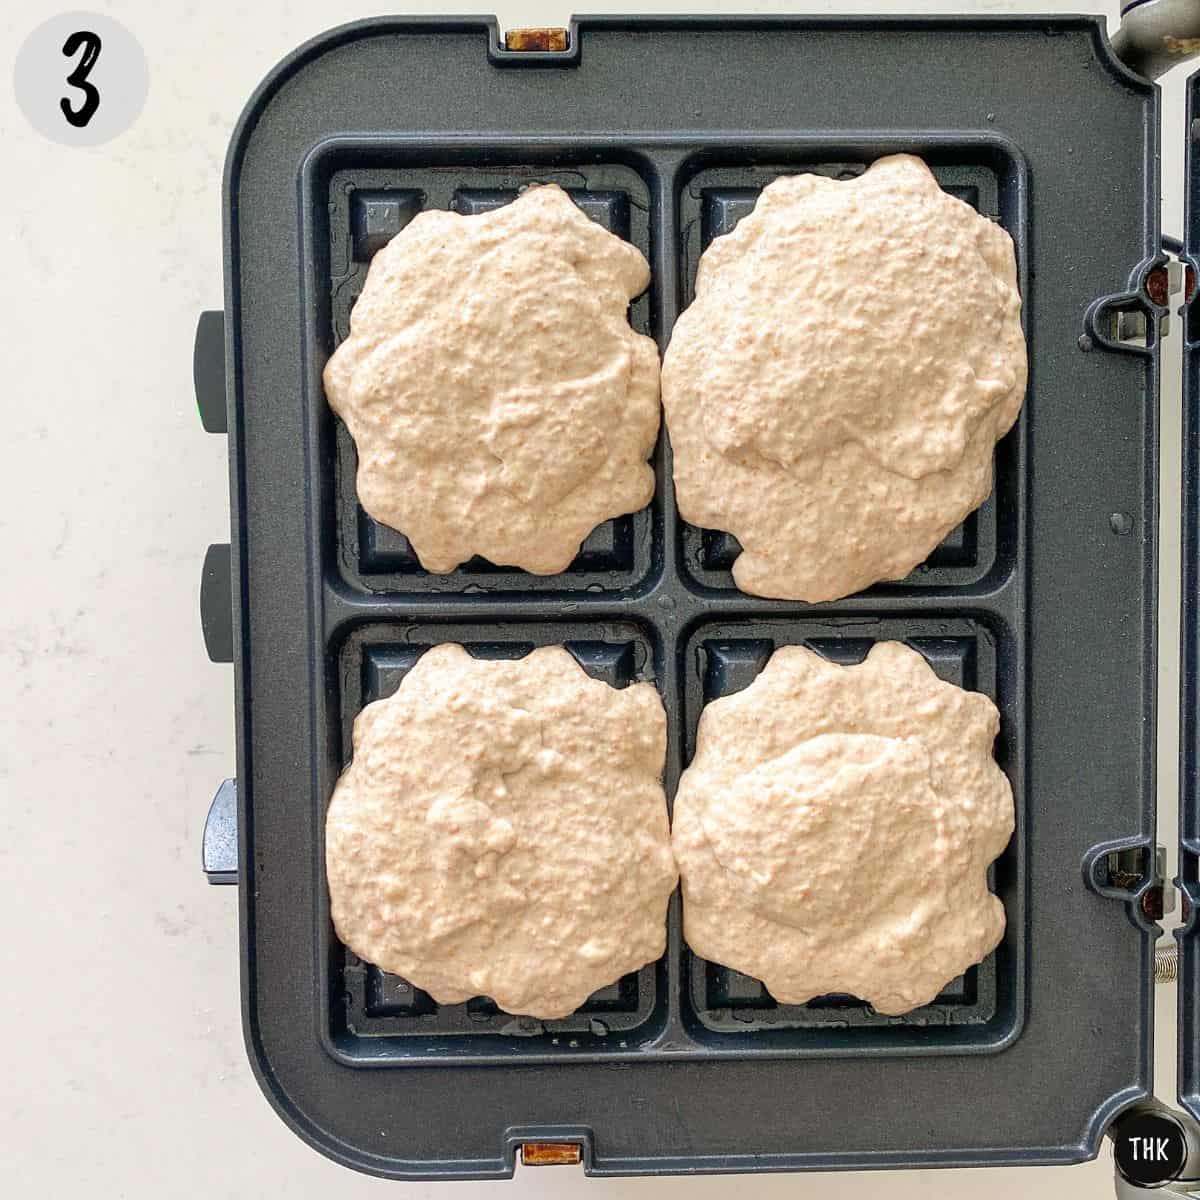
Pour batter into the center of each waffle tin. (photo 3)
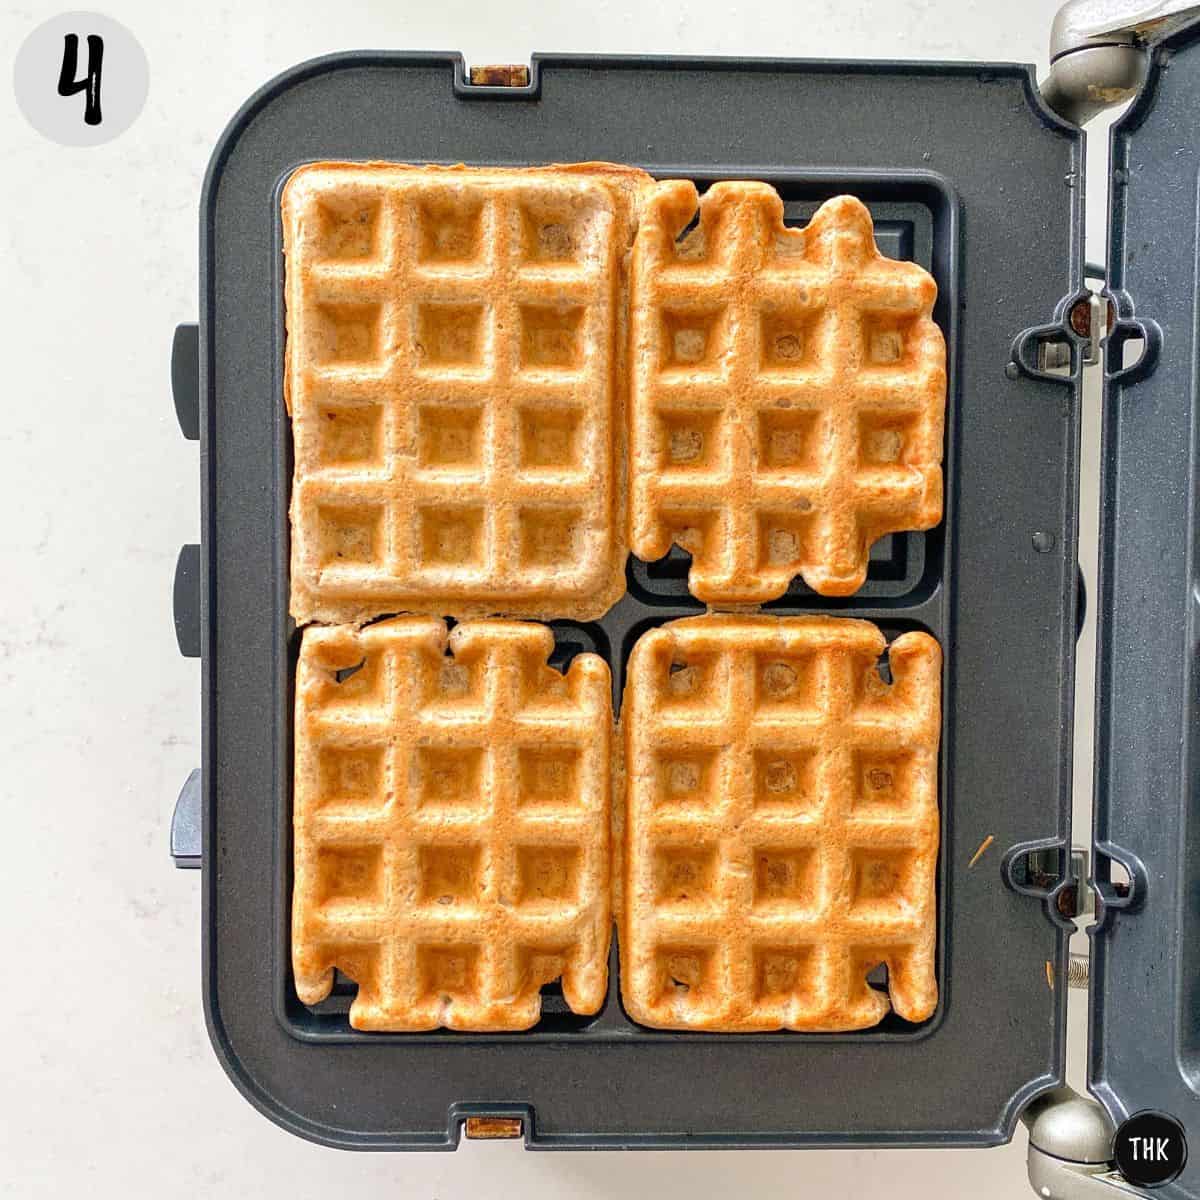
Cook until golden brown, approx. 5-6 minutes per batch. (photo 4)
NOTE: Make sure to use a preheated waffle iron before pouring the batter on it to prevent sticking.
What toppings should I use?
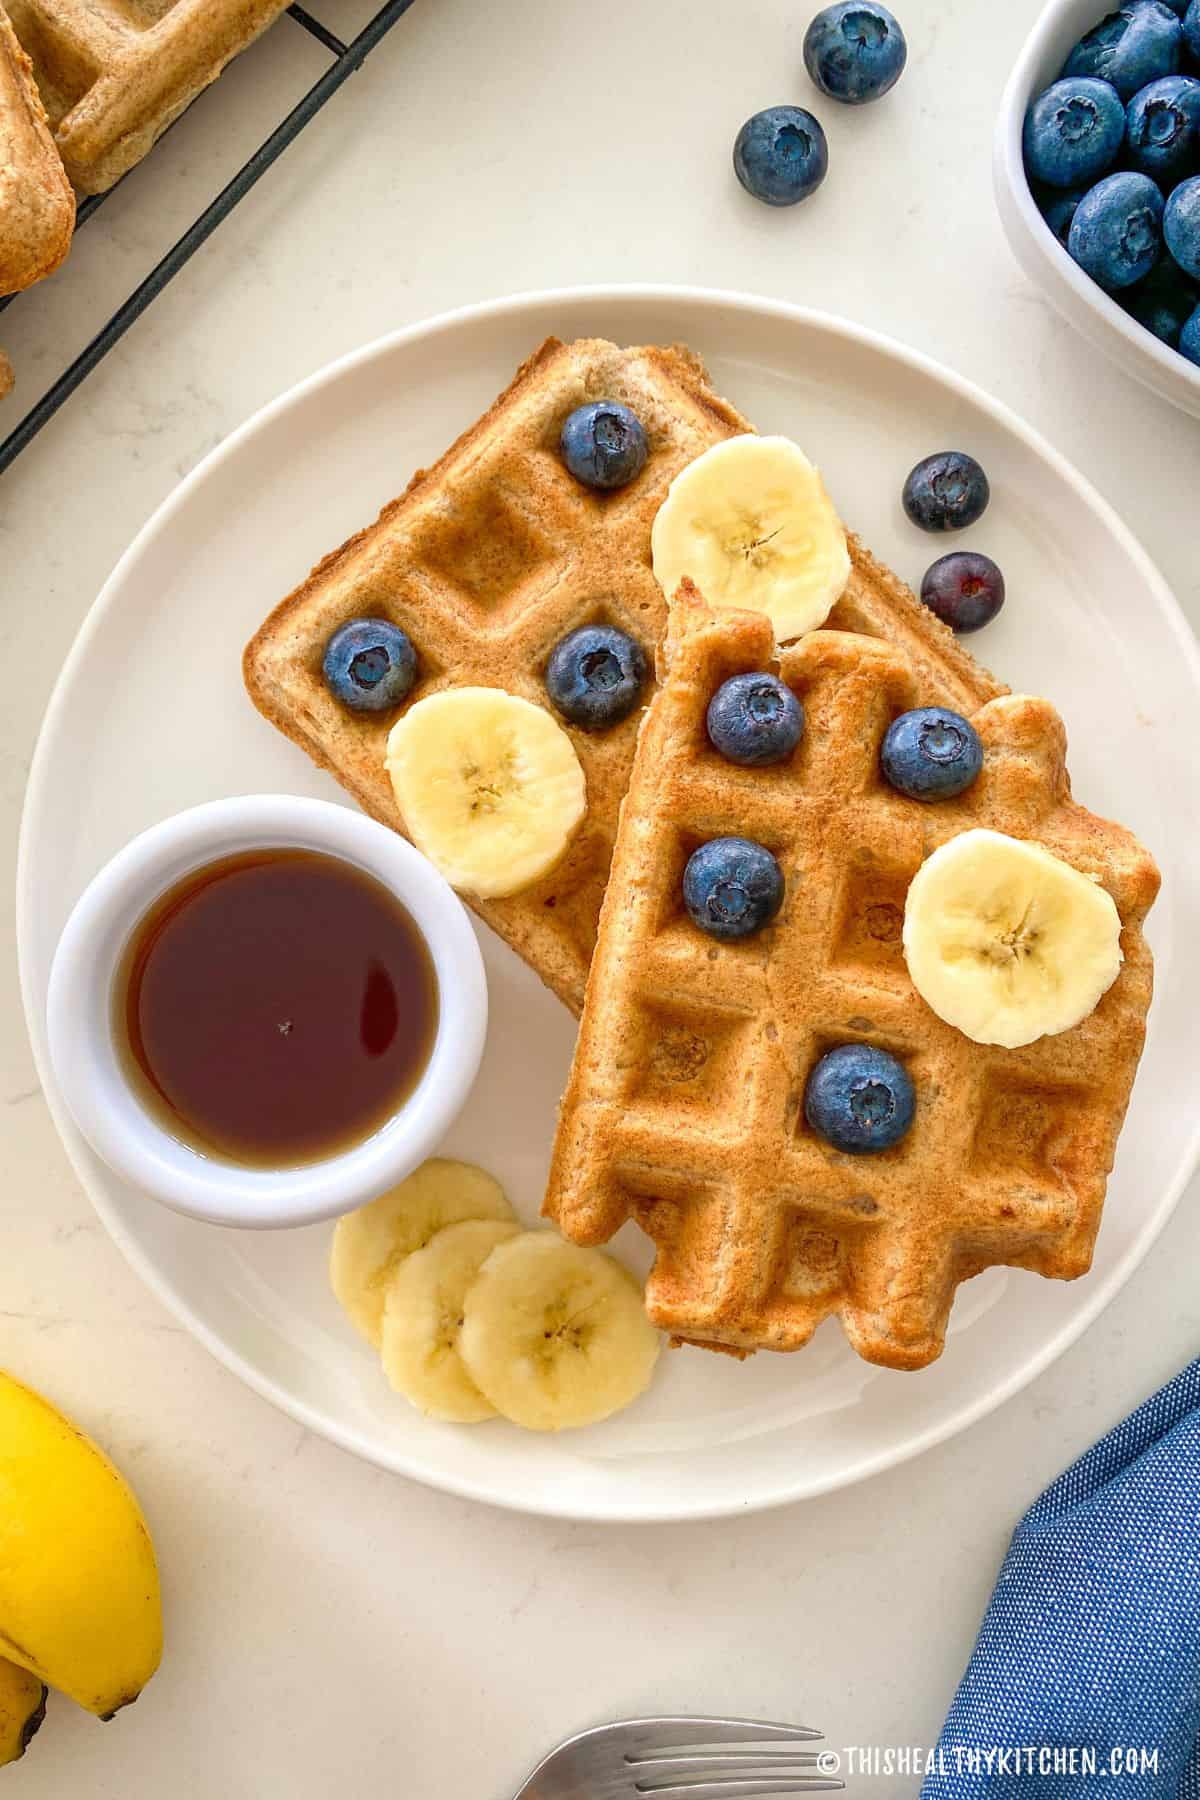
Serve these coconut milk waffles with ANY of your favourite waffle toppings.
Some of my favourites include:
- Blueberry chia jam or strawberry chia jam.
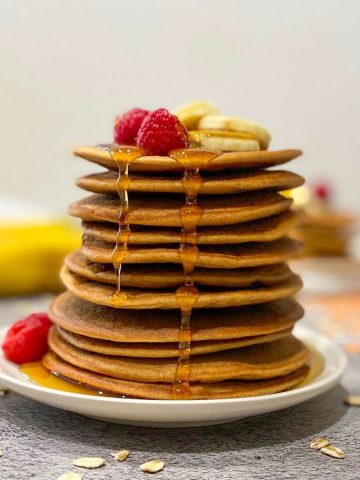
- Sliced bananas, fresh berries, or any other fruit you like.
- Chopped walnuts or pecans.
- Unsweetened shredded coconut.
- Chocolate chips, this healthy “Nutella“, or maple syrup.
Equipment
I use this Cusinart Griddler for which I purchased these waffle plates. (affiliate link) which is nonstick and works perfectly well without any added oil.
I like this particular Griddler because it’s one appliance that I can use to make pancakes, grill veggies, AND make waffles.
If you do not have a nonstick waffle iron, you may need to spray or grease the tins to prevent sticking. (I’d use coconut oil for extra coconut flavour, if necessary.)
Storage
These coconut milk waffles taste best when warm and freshly made.
However, if you have leftovers, store them in a sealed container in your fridge for 3-4 days and reheat in the toaster, or toaster oven.
These freeze very well. Store them in an airtight freezer-safe container and freeze them for up to 6 months. Then pop them in the toaster from frozen to thaw and reheat for a quick and easy breakfast.
Make sure your coconut waffles are COMPLETELY cooled before freezing.
Expert Tips
- Use canned coconut milk, (full fat OR light) but do not sub for another plant milk. The fat content is needed for crispier waffles, especially since this recipe does not call for oil or butter.
- Weigh your flour for the best results. If you’re scooping flour from a bag, you’ll likely end up with too much, and you’ll need more liquid to get the batter just right.
- If you don’t have a kitchen scale, spoon the flour into your measuring cup and use a knife to scrape off the excess.
- Use a very ripe banana that is spotted brown for natural sweetness and the best flavour.
- Make sure your waffle maker is HOT before adding the waffle batter to it, to prevent sticking.
- Do not lift the lid too soon or your waffles may break. Wait at least the minimum number of minutes as set out by the manufacturer instructions before checking the level of doneness
- Subsequent batches of waffles cook a little bit faster than the first batch so watch closely.
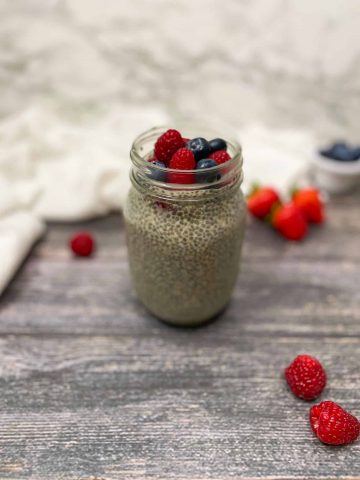
More delicious vegan breakfast recipes
If you tried this recipe, please let me know about it in the comments below. I always love hearing from you! Don't forget to Subscribe to This Healthy Kitchen to be among the first to get my new recipes! You can also FOLLOW ME on Facebook, Instagram, Pinterest and Twitter to see more delicious food and get all the latest updates.
Buon appetito,
Rosa
📖 Recipe
Equipment

Ingredients
- 270 grams whole wheat flour approx. 2 cups spooned + leveled
- 2 teaspoons baking powder
- 400 ml Thai Kitchen unsweetened coconut milk approx. 13.5 ounce can
- ⅓ cup mashed banana approx. 1 very small banana or half a large
- 1 teaspoon pure vanilla extract
- 2-4 tablespoons water if needed
Optional Toppings
- blueberry chia jam
- fresh fruit
- maple syrup
Instructions
- Preheat your waffle iron to medium-high heat.
- In a large mixing bowl, whisk together the flour and baking powder. Then add the coconut milk, banana, and vanilla and mix until just combined, and no floury bits remain but don't overmix. A few lumps are perfectly fine.NOTE: If the batter appears too thick (it should be pourable similar to pancake batter), add the optional water and give everything another quick stir.
- Cook the waffles according to the manufacturer's instructions, approx 5-6 minutes for each batch. Cook longer for crispier waffles, and less for softer waffles.
- Serve with blueberry chia jam, maple syrup, or fresh fruit.
Leave a Comment + Star Rating ⭐⭐⭐⭐⭐