


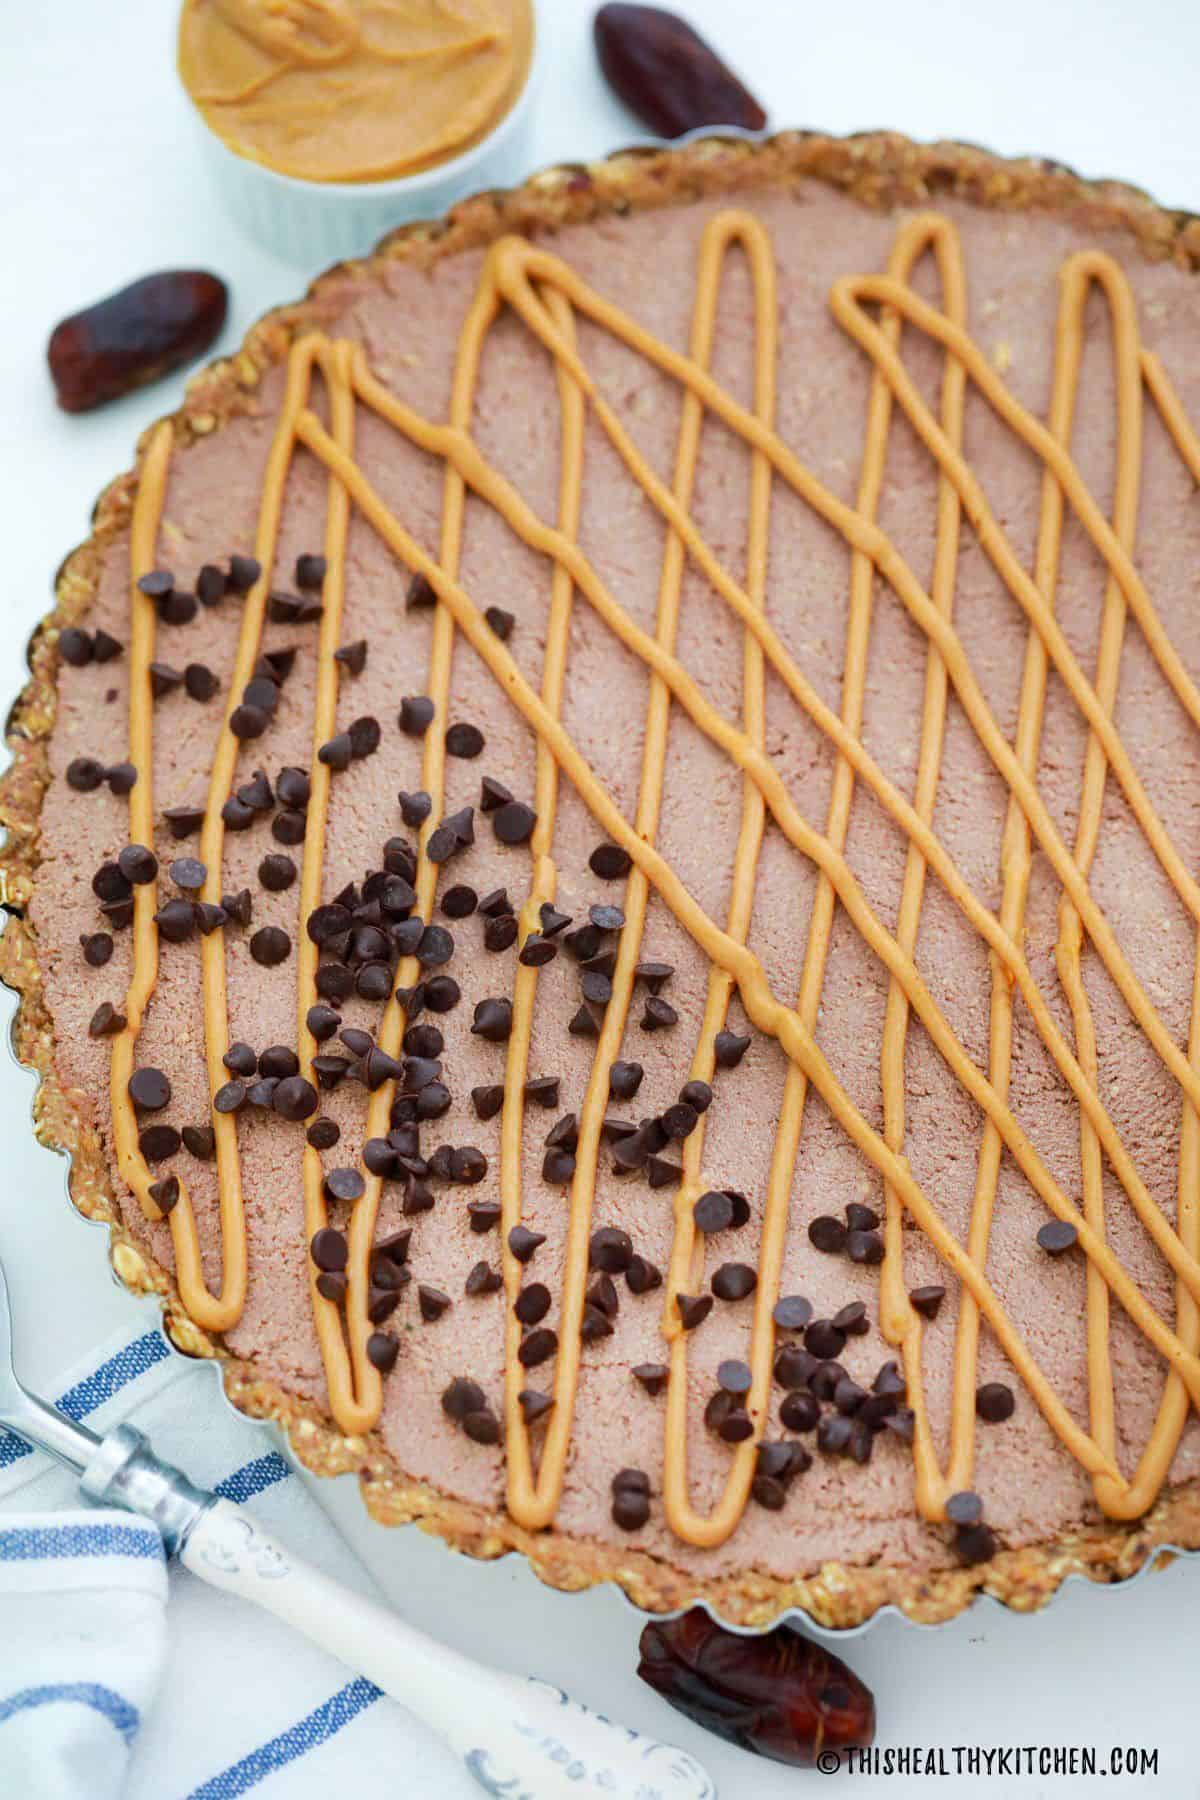
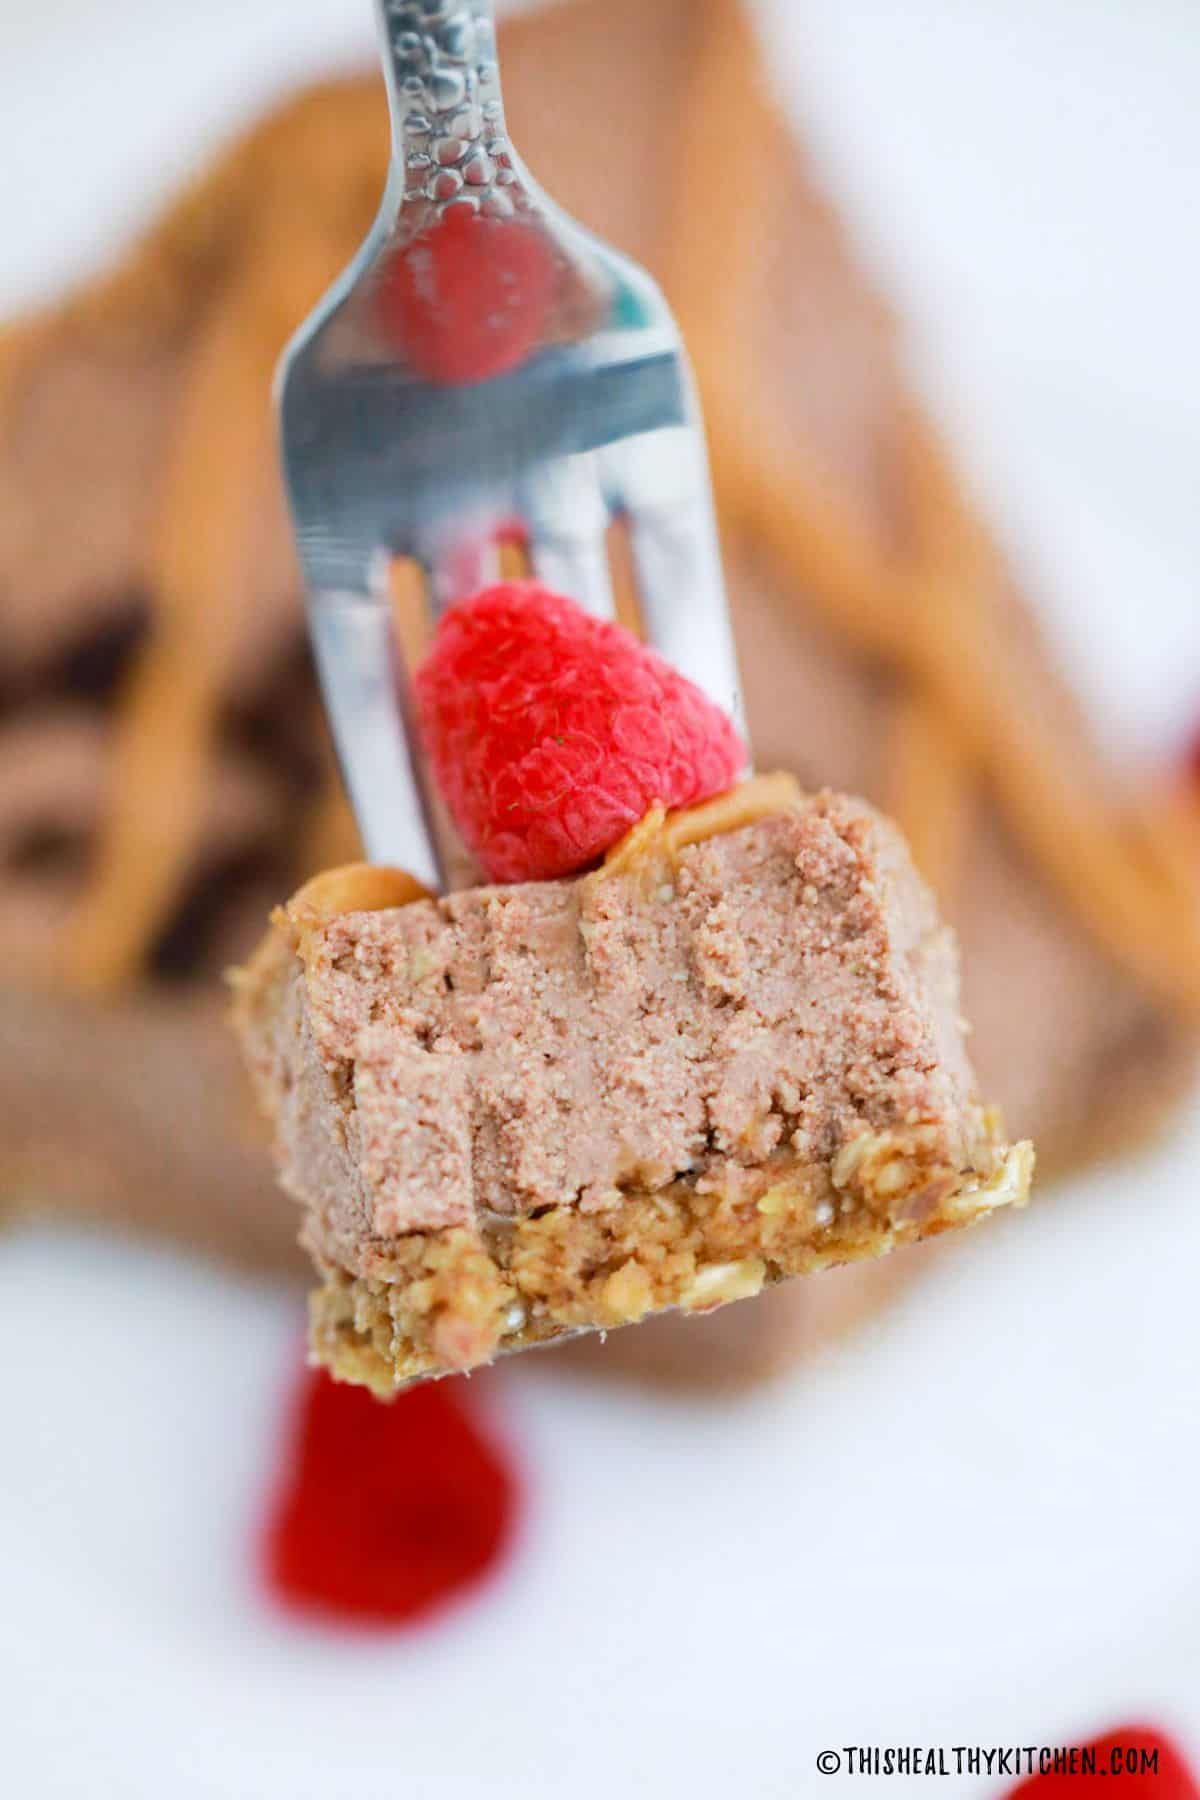
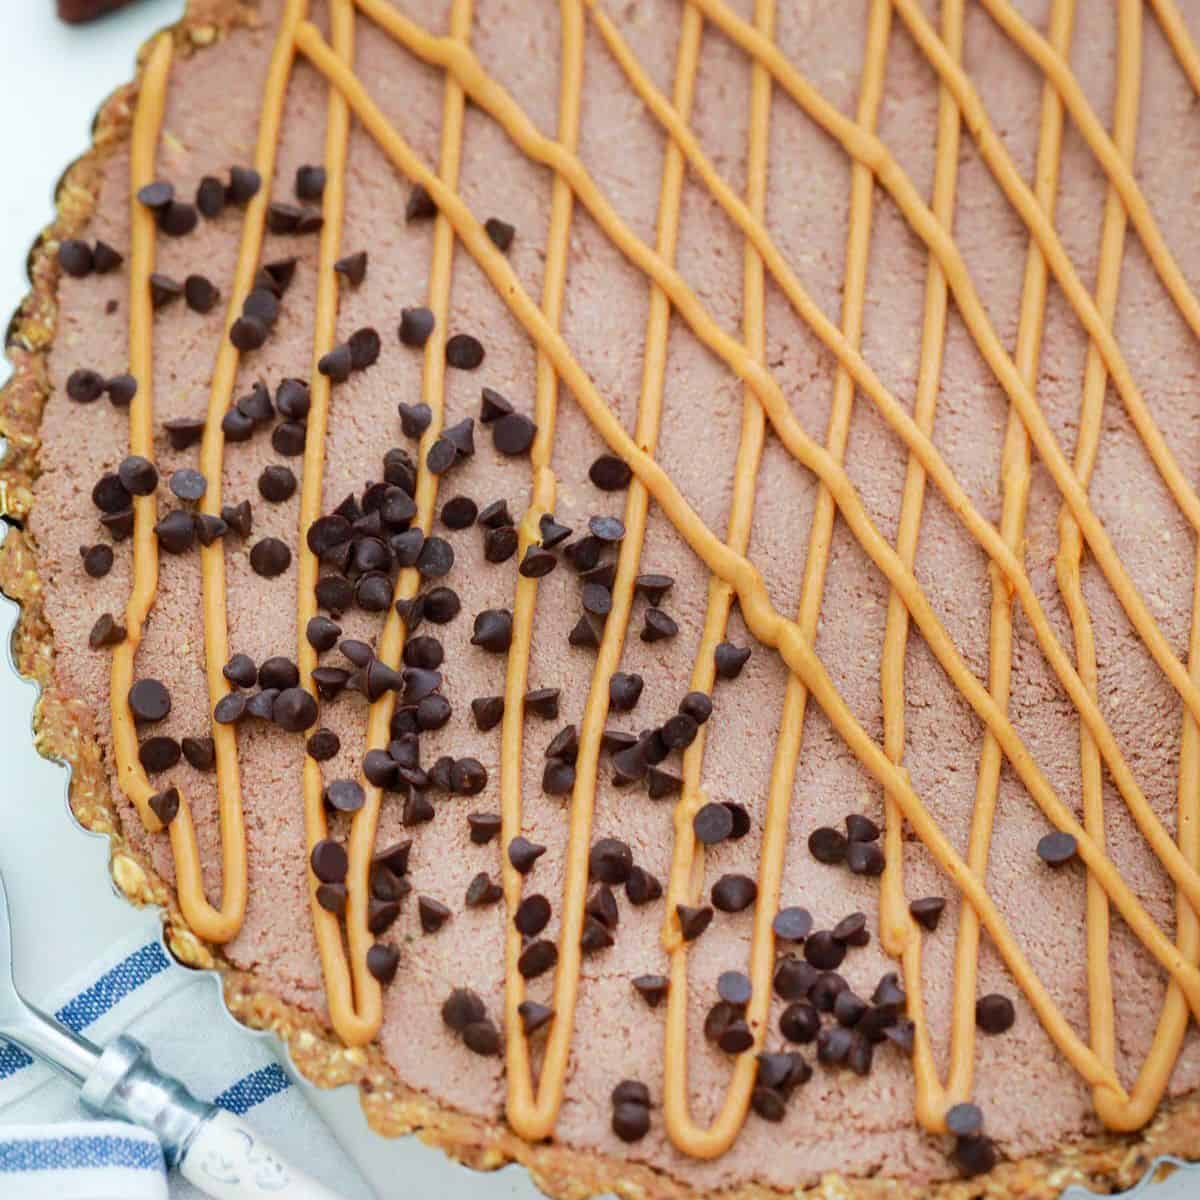
Smooth, rich, creamy, pudding-like vegan peanut butter pie that dreams are made of! You will LOVE this incredible no-bake dessert that’s not only delicious but SO easy to make. Just blend, pour and freeze.
Pie isn’t exactly a health food, but this version is FAR more wholesome than your average peanut butter pie.
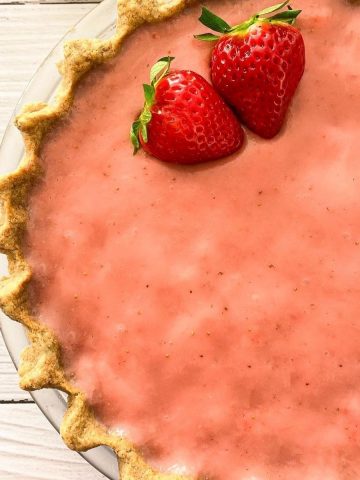
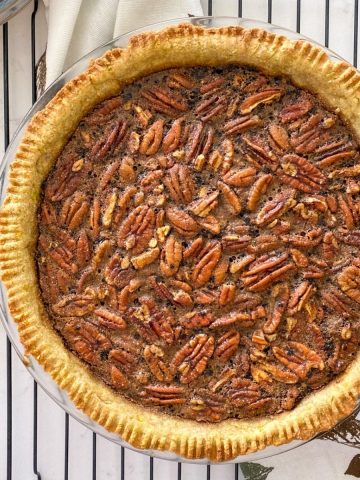
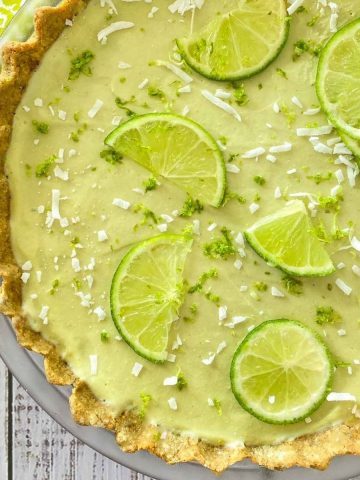
Just like my fruity pies (lemon pie, strawberry pie, and blueberry pie) and my caramelly pecan pie on the blog, this vegan peanut butter pie is made using healthier ingredients.
So you can feel good about indulging in this incredibly rich and delicious dessert.
Jump to:
Reader Feedback
⭐⭐⭐⭐⭐ “This was fantastic!! Perfect amount of peanut butter flavour and the right amount of sweetness for me.” - Katherine

Why you’ll love it
- It’s super easy to make, and no mixer is needed, just a food processor. So you can whip this up in no time.
- Far more wholesome than your classic pie options, using protein-dense tofu as the base for our creamy peanut butter filling.
- No refined sugar is used to sweeten this dessert, just dates for the crust and maple syrup for the filling. (No powdered sugar or other white sugars.)
- It’s also oil-free, and yes that includes no coconut oil and no vegan butter.
- Suitable for most eaters as it’s naturally dairy-free, egg-free, and gluten-free. (Be sure to sub the peanut butter for sun-butter if you need it nut-free.)
- Makes a fantastic dessert for holidays like Thanksgiving and Christmas, but great for birthdays and plain ole Tuesdays, too. 😉
Ingredients
Here’s what you’ll need for this creamy peanut butter pie.
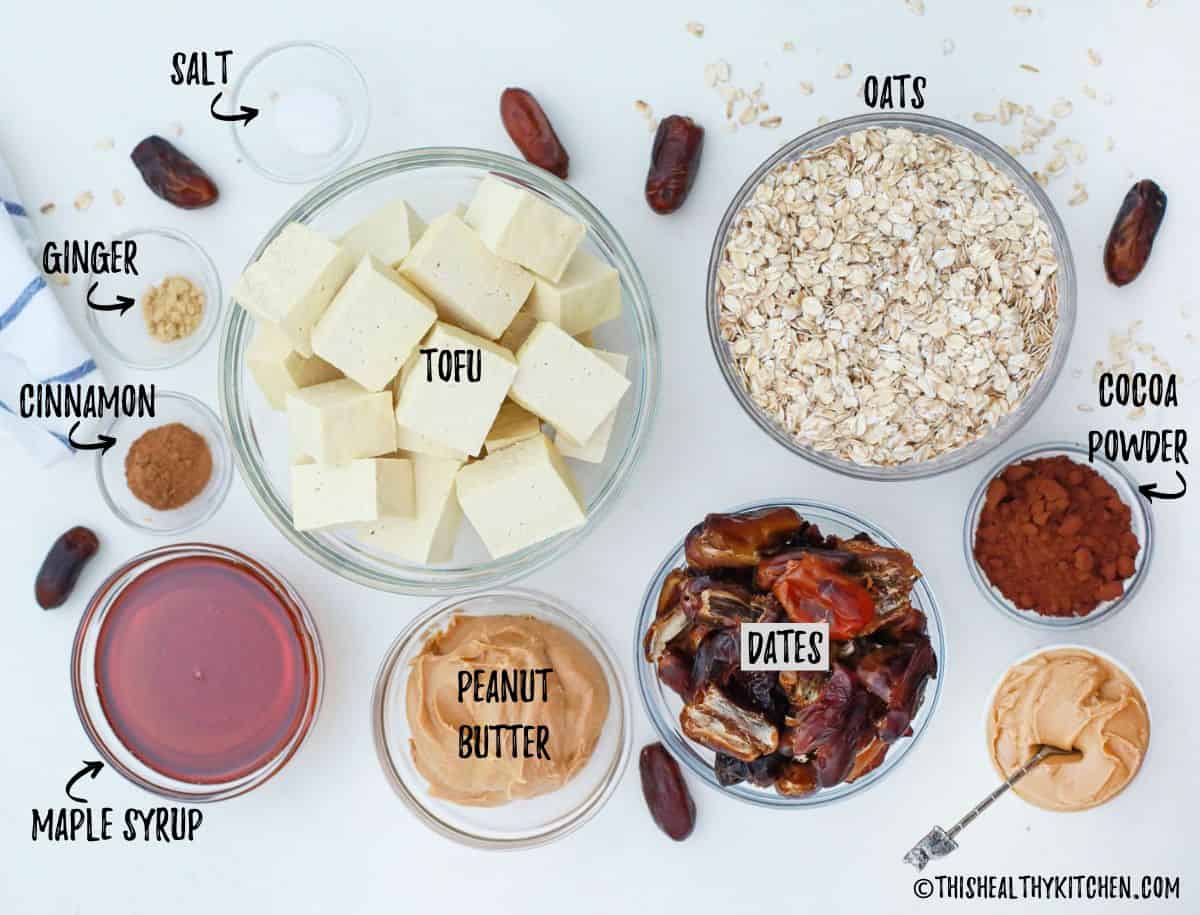
- Oats: Use rolled oats or old-fashioned oats, but not instant oats. Choose certified gluten-free oats, if needed.
- Dates: I like pitted dates for convenience, but use what you have and prefer.
- Tofu: Use medium or firm (or medium/firm) tofu for a thicker pudding-like consistency. Or for a silkier finish try it with silken tofu.
- Peanut Butter: I like natural creamy peanut butter without any added sugar or oil to keep this dessert oil-free and refined sugar-free.
- Maple Syrup: Again, this keeps your dessert refined sugar-free, but if preferred, you may use another liquid sweetener of your choice.
- Cocoa Powder: To give your dessert some chocolatey goodness.
- Cinnamon + Ginger: These ingredients are optional, but they add fun flavour to your vegan peanut butter pie.
Instructions
(This is a summary with step by step photos, full recipe measurements and instructions are in the recipe card below.)
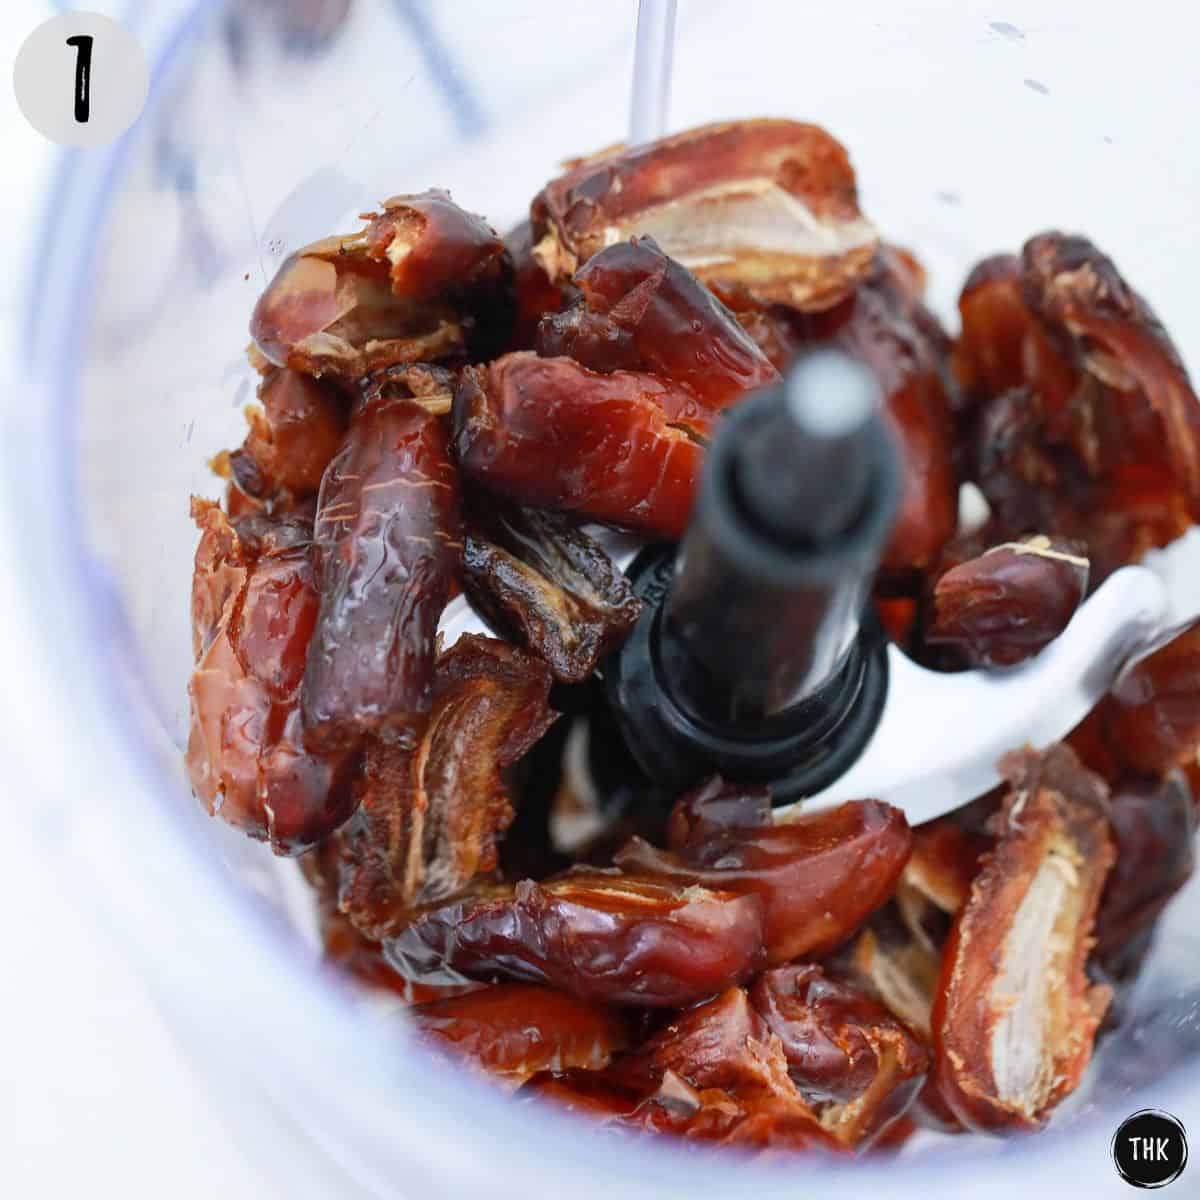
Add the dates and hot water to the bowl of your food processor and blend until smooth. (photo 1)
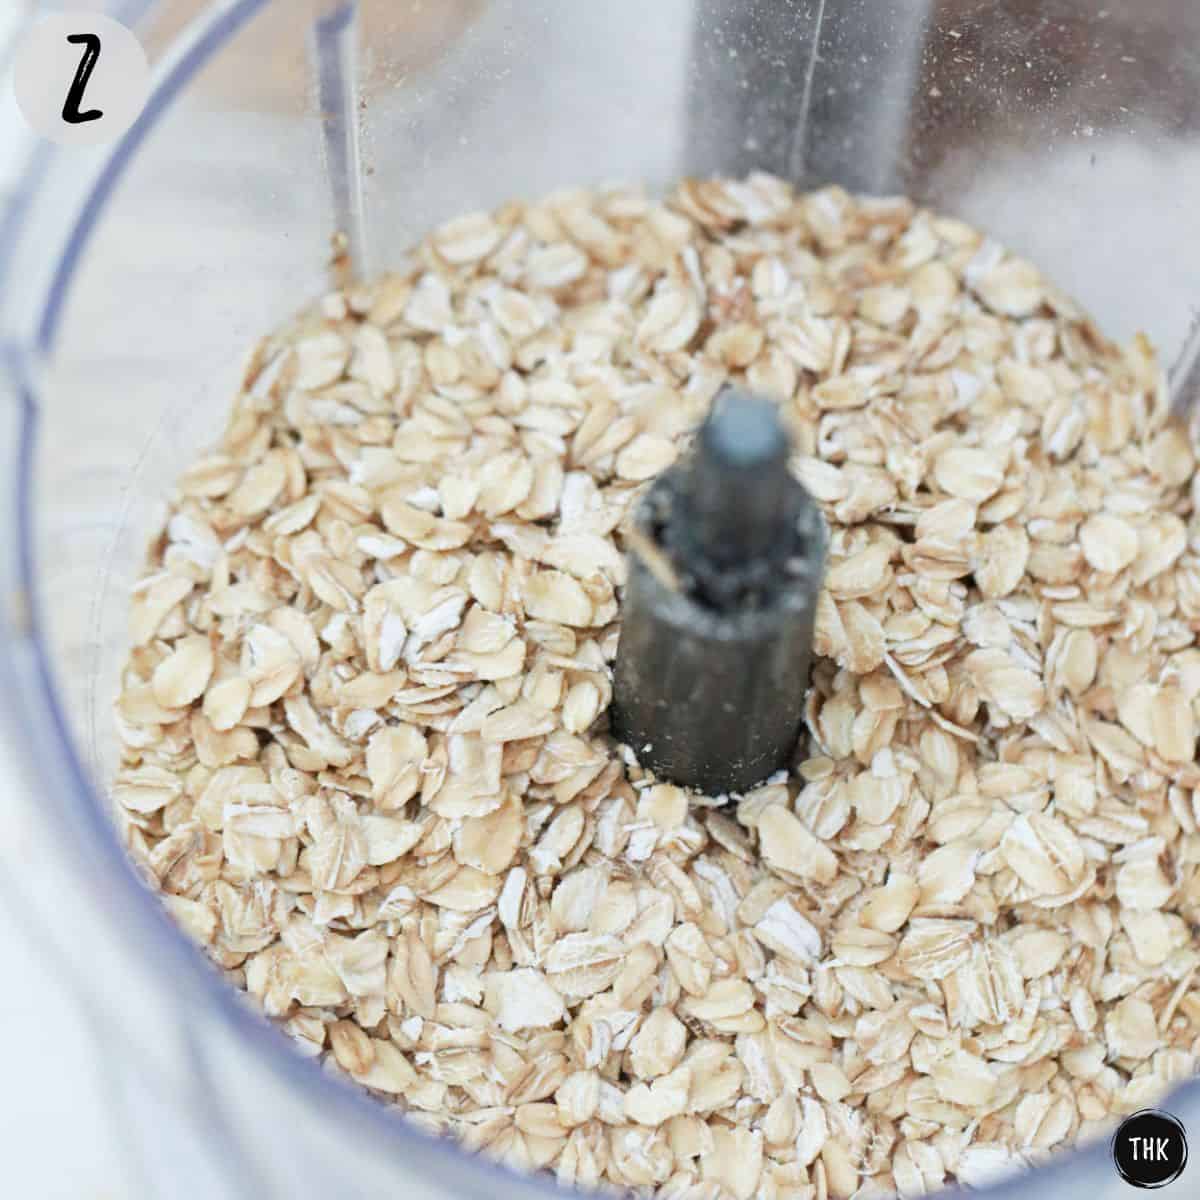
Then add the oats and pulse to combine and slightly break down, but don’t make it smooth. (photo 2)
NOTE: A blender works too, but it’s easier to transfer the mixture from a food processor.
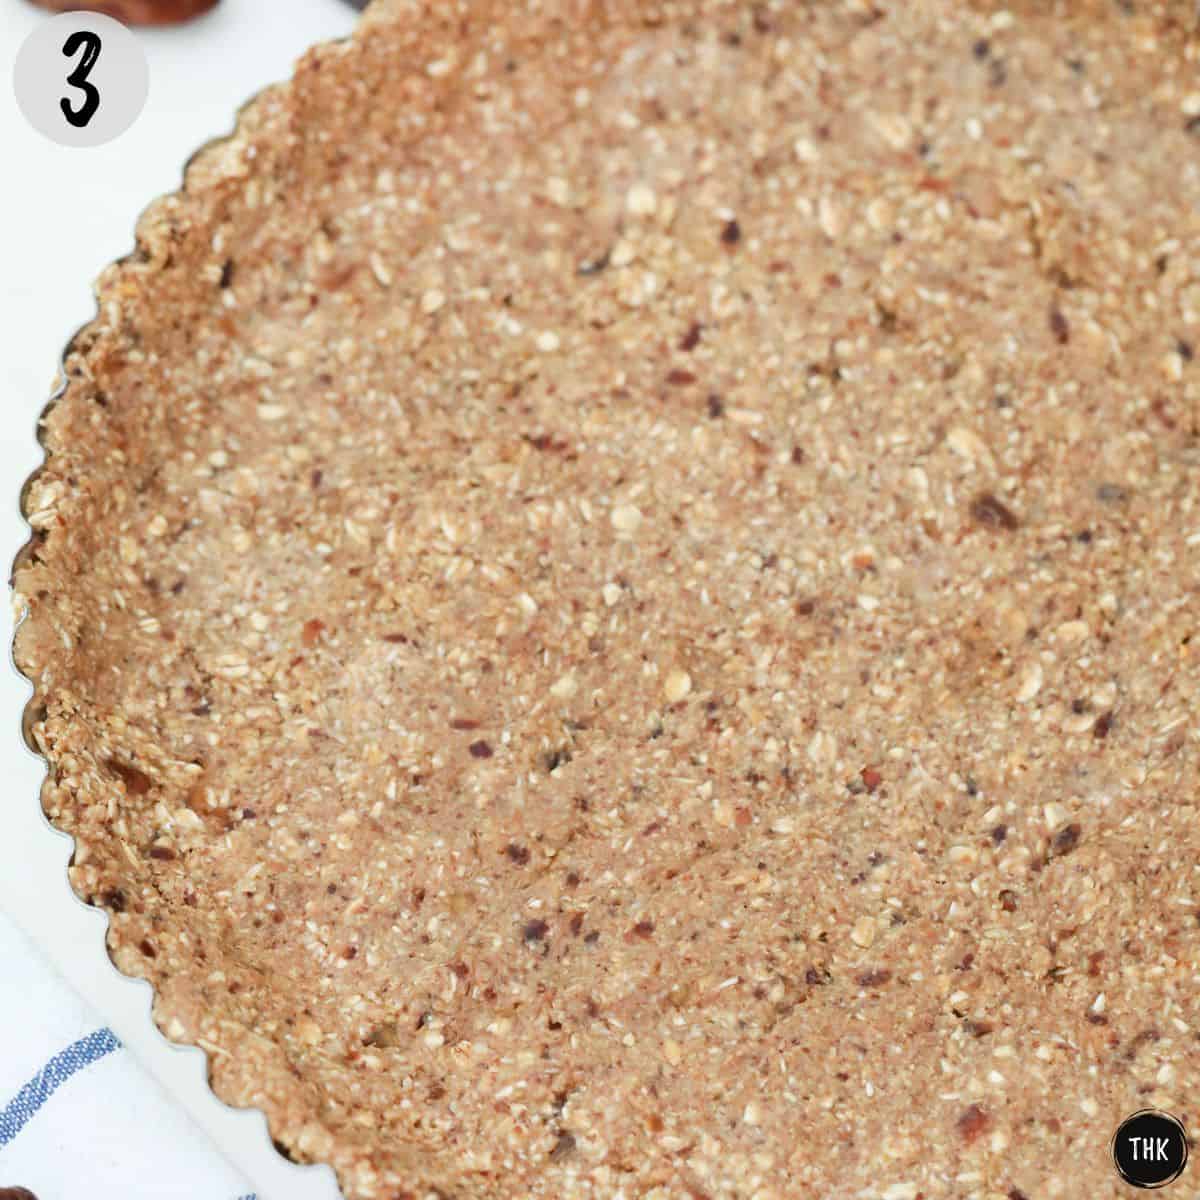
Transfer to a nonstick pie dish, and press the crust along the bottom and sides. Set aside. (photo 3)
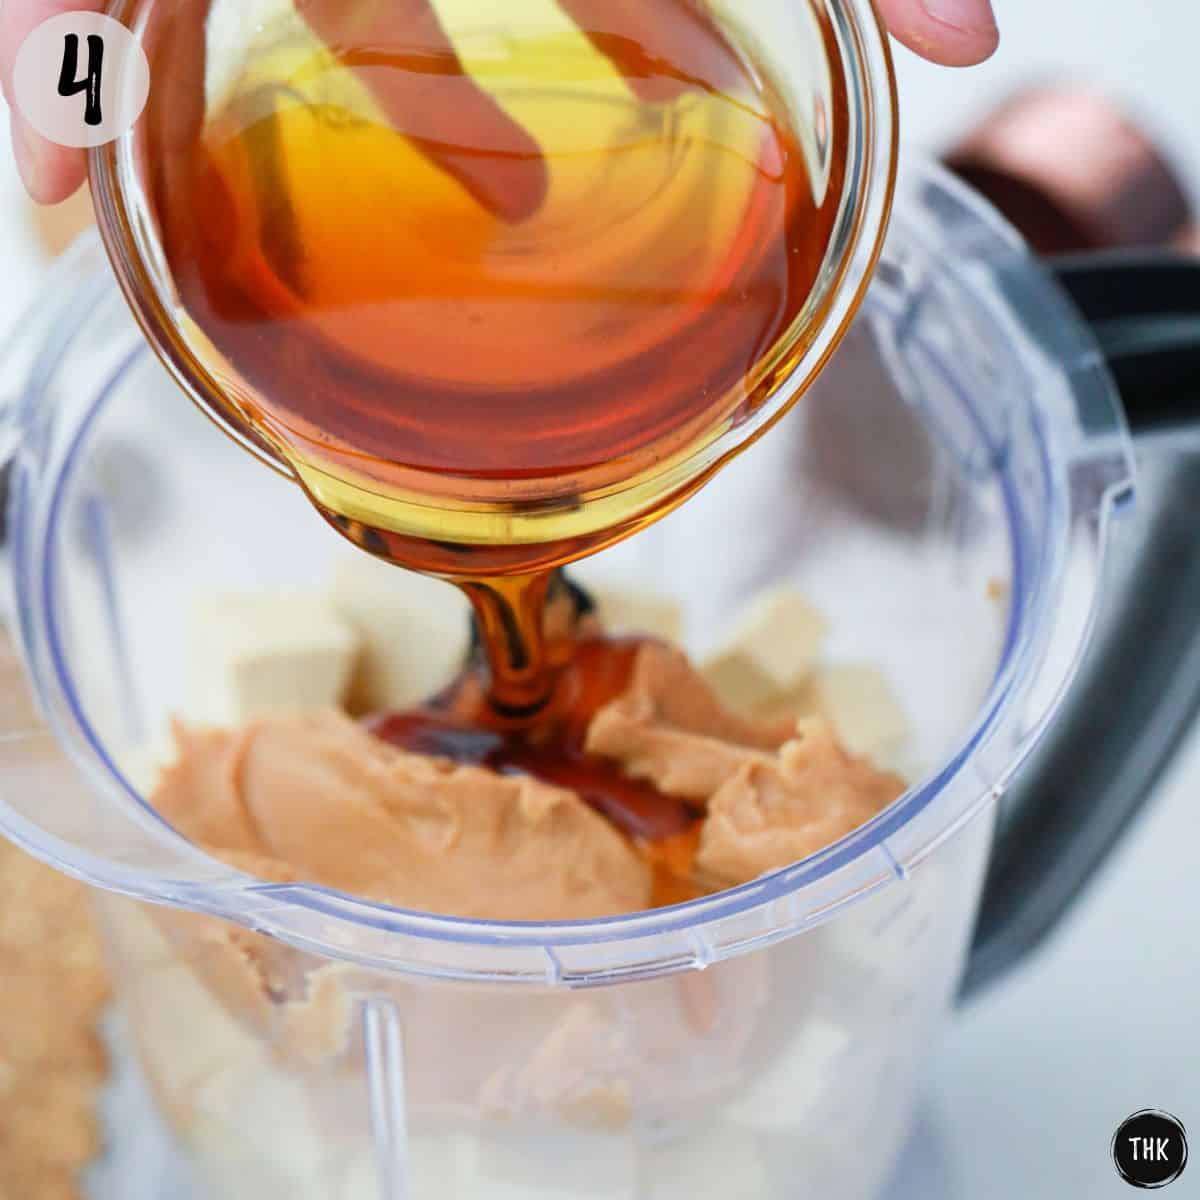
Next, add all of the filling ingredients to the same food processor. (photo 4)
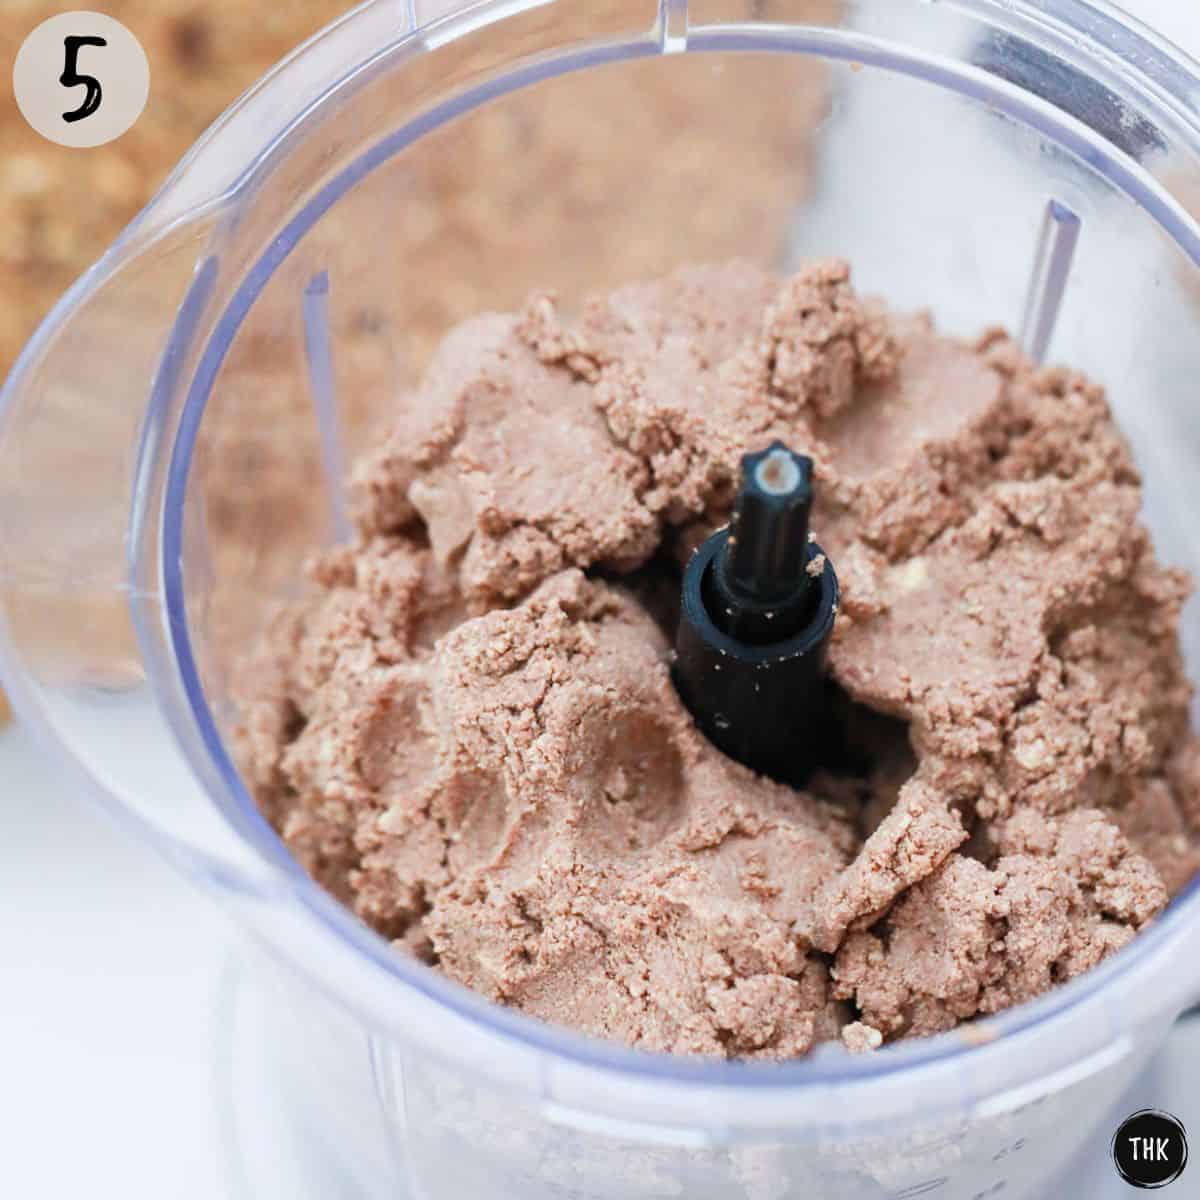
Blend until smooth, scraping down the sides as needed. (photo 5)
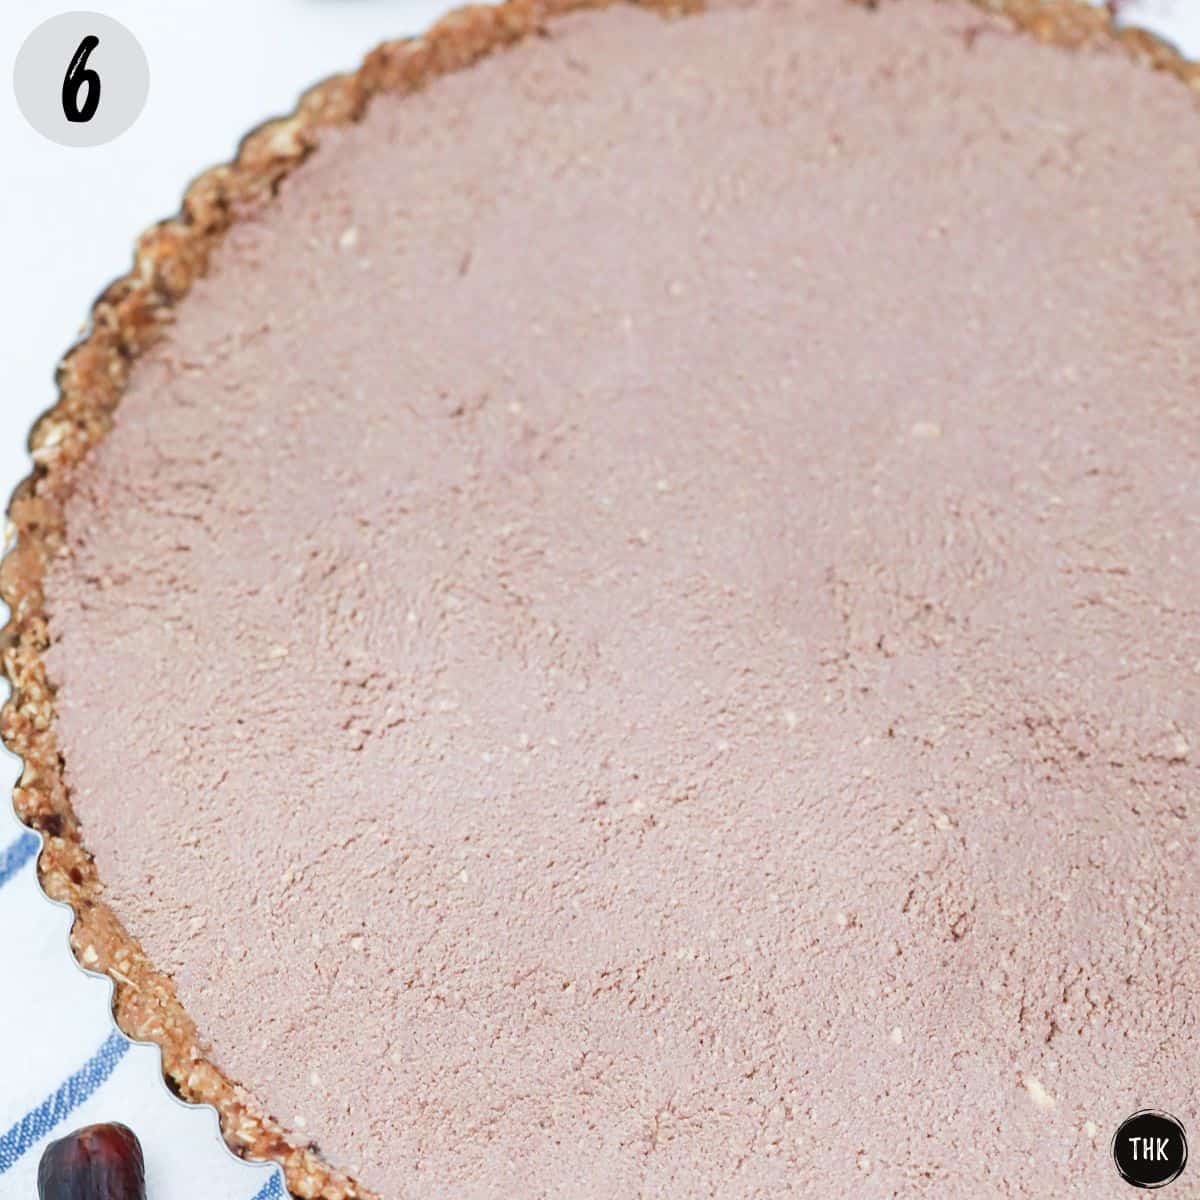
Pour the filling onto the crust and spread it to the edges. (photo 6)
Freeze your pie for 2 hours and then garnish with a drizzle of peanut butter (or vegan chocolate ganache) and chocolate chips, if you’d like. Or go extra indulgent with coconut cream or coco whip if you’re not counting calories.
NOTE: If freezing for more than 2 hours (or overnight), remove the pie from the freezer 20-30 minutes before slicing.
Slice and serve with fresh berries and more chocolate chips, or enjoy as is.
NOTE: Skip the chocolate chips for refined sugar-free dessert.
Dig in!
Substitutions + Variations
For gluten-free, use certified gluten-free oats. The remaining ingredients are already naturally gluten-free.
For nut free, you may swap the peanut butter with soy or sun butter with similar results.
Or change up this vegan peanut butter pie with other kinds of nut butter such as almond butter, cashew butter, walnut butter, or pecan butter.
For soy-free, you may swap the tofu for unflavoured cashew cream, but note that this will increase the calories and fat.
Equipment
I use this Cuisinart food processor but you may also use a powerful blender to process your crust and filling. If you have both options available, I prefer the food processor for the ease of transferring to your tart pan.
Use a nonstick tart pan (or pie pan) with removable bottom for the simplicity of transferring your pie to a cake plate for serving. Photographed is an 11-inch pan, but this recipe will also work using a 9-inch or 10-inch pan and be just a tad thicker.
Storage
Tightly wrap your pie in plastic wrap and keep frozen until 20-30 minutes before serving.
If you won’t be consuming it all, return leftovers to the freezer immediately. Don’t let it fully thaw and then refreeze as it alters the flavour and texture.
If you don’t mind the pie being very soft, you may also store leftovers in the fridge for 3-4 days.
Expert Tips
- Use a nonstick tart pan with a removable bottom. This will make transferring your pie MUCH simpler.
- Use wet hands to press the crust into your tart pan, to prevent the crust from sticking to your fingers.
- If you have a sweet tooth, taste the filling once processed (before pouring over your pie crust) and add an additional ¼ cup of maple syrup if preferred.
More delicious vegan pies

If you tried this recipe, please let me know in the comments below. I always love hearing from you! Don't forget to Subscribe to This Healthy Kitchen to be among the first to get my new recipes! You can also FOLLOW ME on Facebook, Instagram, Pinterest, and YouTube to see more delicious food.
Buon appetito
Rosa
📖 Recipe
Equipment
Ingredients
For the Crust
- 1 cup pitted dates
- ½ cup hot water + 1-2 tablespoons if needed
- 1.5 cups rolled oats not instant oats
For the Filling
- 454 grams medium/firm tofu drained and patted dry (Use GMO free if possible.)
- ⅔ cup natural peanut butter
- ⅔ cup maple syrup
- 2 tablespoons raw unsweetened cocoa powder
- ½ teaspoon cinnamon optional
- ½ teaspoon ground ginger optional
- ¼ teaspoon sea salt optional
Instructions
For the Crust
- Add the pitted dates and half a cup of hot water to your food processor and process until smooth, scraping down the sides, as needed. Add another tablespoon or two of hot water, if needed to get a smooth consistency.
- Add the rolled oats to your date paste mixture and process until combined, and most of the oats are broken down, but no need to make it smooth.
- Transfer the mixture into your nonstick tart pan and use wet fingers to press down evenly on the base and sides. Set aside.
For the Filling
- Add all the filling ingredients to your food processor and process until completely smooth, scraping down the sides as needed.
- Then pour the filling over your prepared crust and use a silicone spatula to evenly spread it and smooth out the top.
- Freeze for 2 hours and then garnish with chocolate chips and a drizzle of extra peanut butter before serving, if desired.
Video
Notes
- If you won’t be consuming all the pie, return leftovers to the freezer immediately. Don’t let it fully thaw and then refreeze as it alters the flavour and texture.
- If you don’t mind the pie being very soft, you may also store leftovers in the refrigerator for 3-4 days.
Nutrition
FAQ
Classic versions are made using an oreo cookie crust, with a filling of creamy peanut butter, cream cheese, powdered sugar, and heavy cream. In the interest of healthier desserts, we’ve swapped these items with wholesome alternatives.
Most flavours of Oreo cookies do not contain animal-derived products and are “accidentally” vegan. However, there is a possibility of cross-contamination. That said, I opted not to use an oreo cookie crumbs crust to keep this pie healthier than classic versions.
This will keep 3-4 days in the fridge but will be soft in texture. For a firmer, ice cream-like texture, freeze the pie for 20-30 minutes before serving.
LaVon Lockner says
So happy I found this recipe.. I did a test run to see if I wanted to make it for Thanksgiving.. The family loved it and yes, it will be on my Thanksgiving table.
It makes a big pie. Great to have for company.
Rosa says
Yay! So happy you and the family enjoyed it. Thanks very much for sharing. 🙂
Jen says
I have been making tofu based pies for at least 30 years. What about switching sweetener to monk fruit or another of the newer products now available to lighten the calories as well.
I just came across your postings & I am impressed.
Rosa says
Hi Jen, I didn’t try that, but sounds great! Glad you found me. 🙂
Katherine says
This was fantastic!! Perfect amount of peanut butter flavour and the right amount of sweetness for me.
Rosa says
Thrilled you enjoyed Katherine!
Janice says
I can’t do dates because of their high sugar content. Could I sub equal amounts of granulated Stevia successfully when you use dates? We are no oil, no dairy so the recipe fits outside of the dates.
Rosa says
Hi Janice, I haven’t tried that, so I’m not sure how it would turn out, but if you give it a try, please let us know how it goes.
Adina Hirschmann says
I’ve found stevia to have a bitter aftertaste like saccarin. At least in already prepared foods I’ve tried. Monk fruit might work. However, maple syrup has a stickiness to hold the filling together that a powdered or granulated sweetener might not. You could try agave syrup, but it won’t have the same flavor as maple.
Amelia says
Do you think this would work with reconstituted pb2 powder?
Rosa says
Hi Amelia, I haven’t tried that, but it might work.
SA says
I made the filling part and poured it into a baked shell it was delicious, not an accurate name though.
Rolled oats, tofu, peanut butter, maple syrup, and cocoa powder are all cooked foods.
Rolled oats are steamed at a very high temperature otherwise they would crush instead of flatten.
Tofu is boiled soy beans pressed into a brick. Peanut butter is roasted peanuts ground into a paste.
Maple syrup is tree sap that has been boiled for several hours.
Cocoa powder is roasted cacao beans ground into a powder.
It’s an no-bake pie or unbaked pie, definitely not a raw pie.
Rosa says
Thanks for your perspective. Glad you enjoyed the pie.
Ruth says
Really? lol
Ava says
We really enjoyed this! It wasn’t overly sweet, which is perfect for me. My kids also enjoyed it. Thank you!
Rosa says
Thrilled to hear that Ava. Thanks so much for sharing. 🙂