

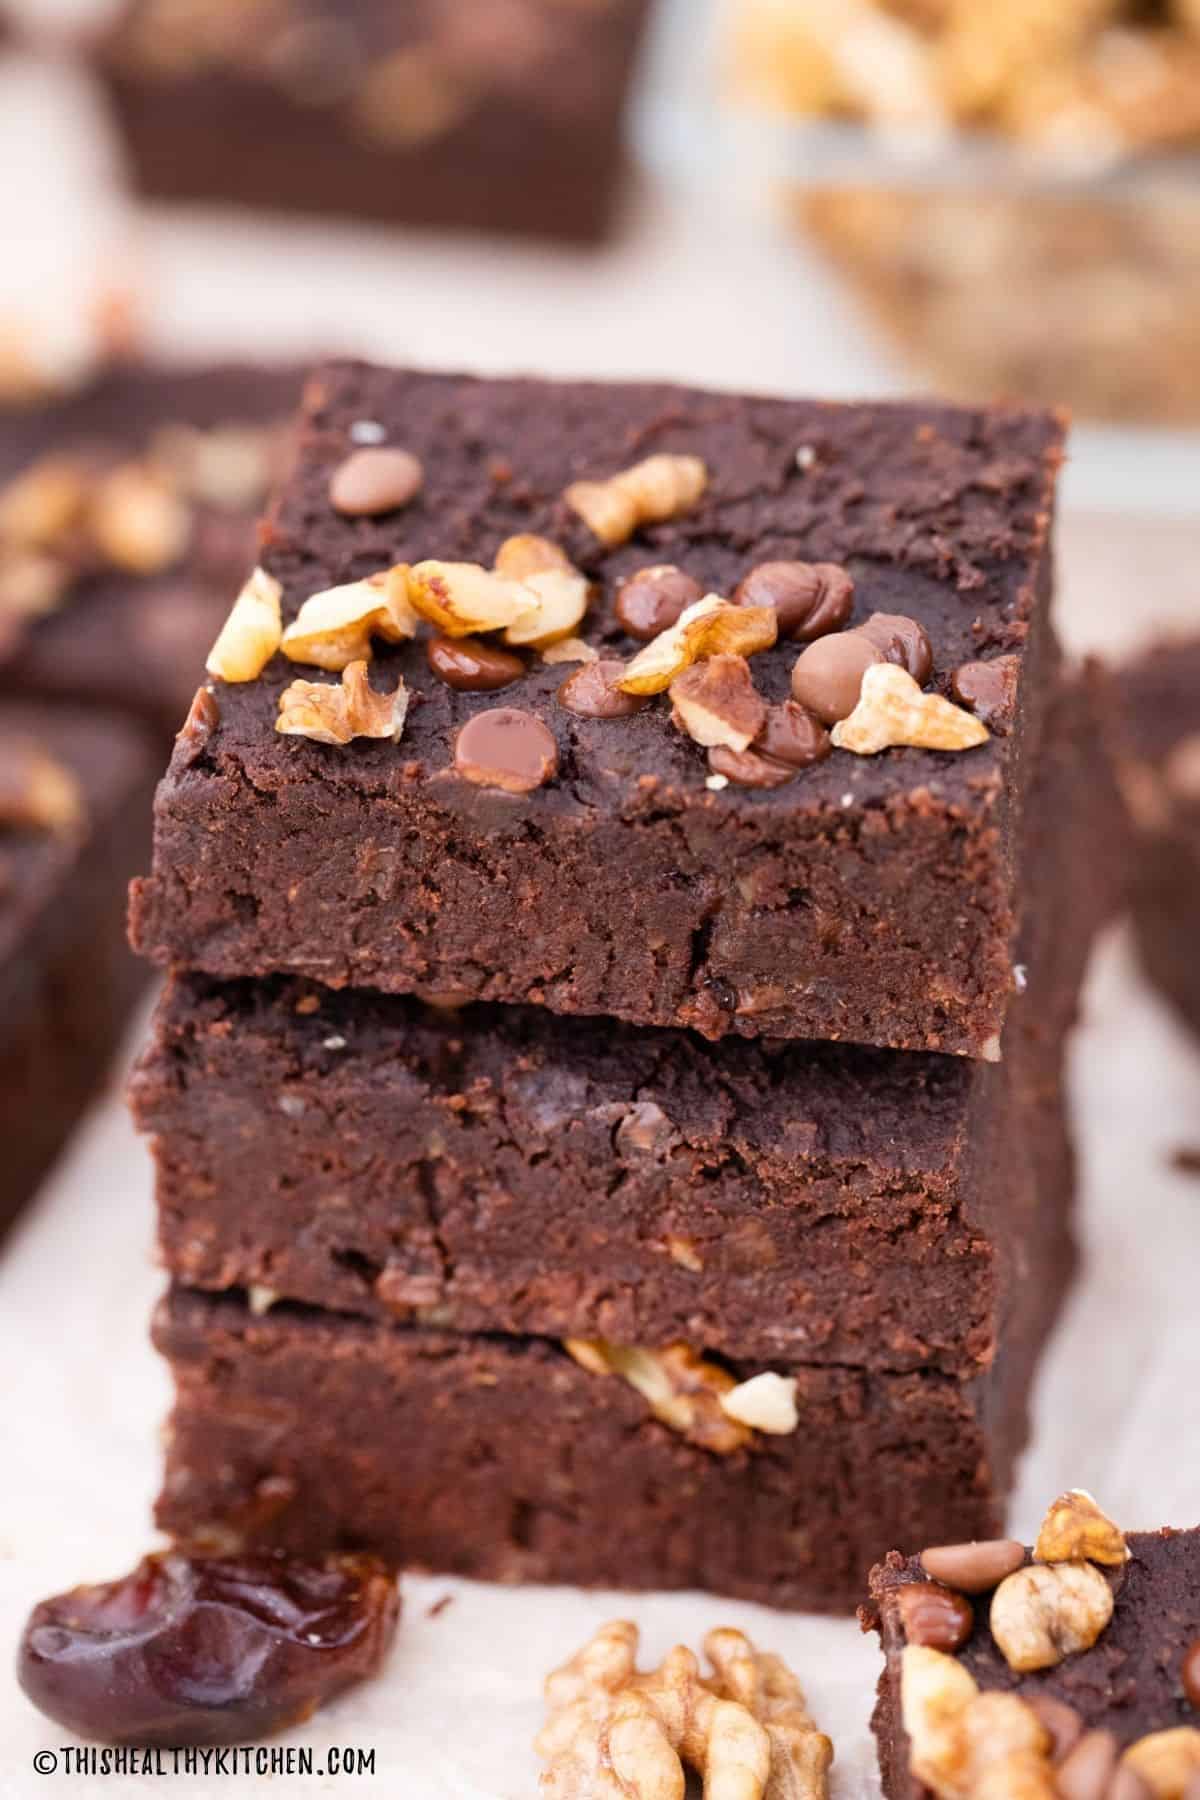
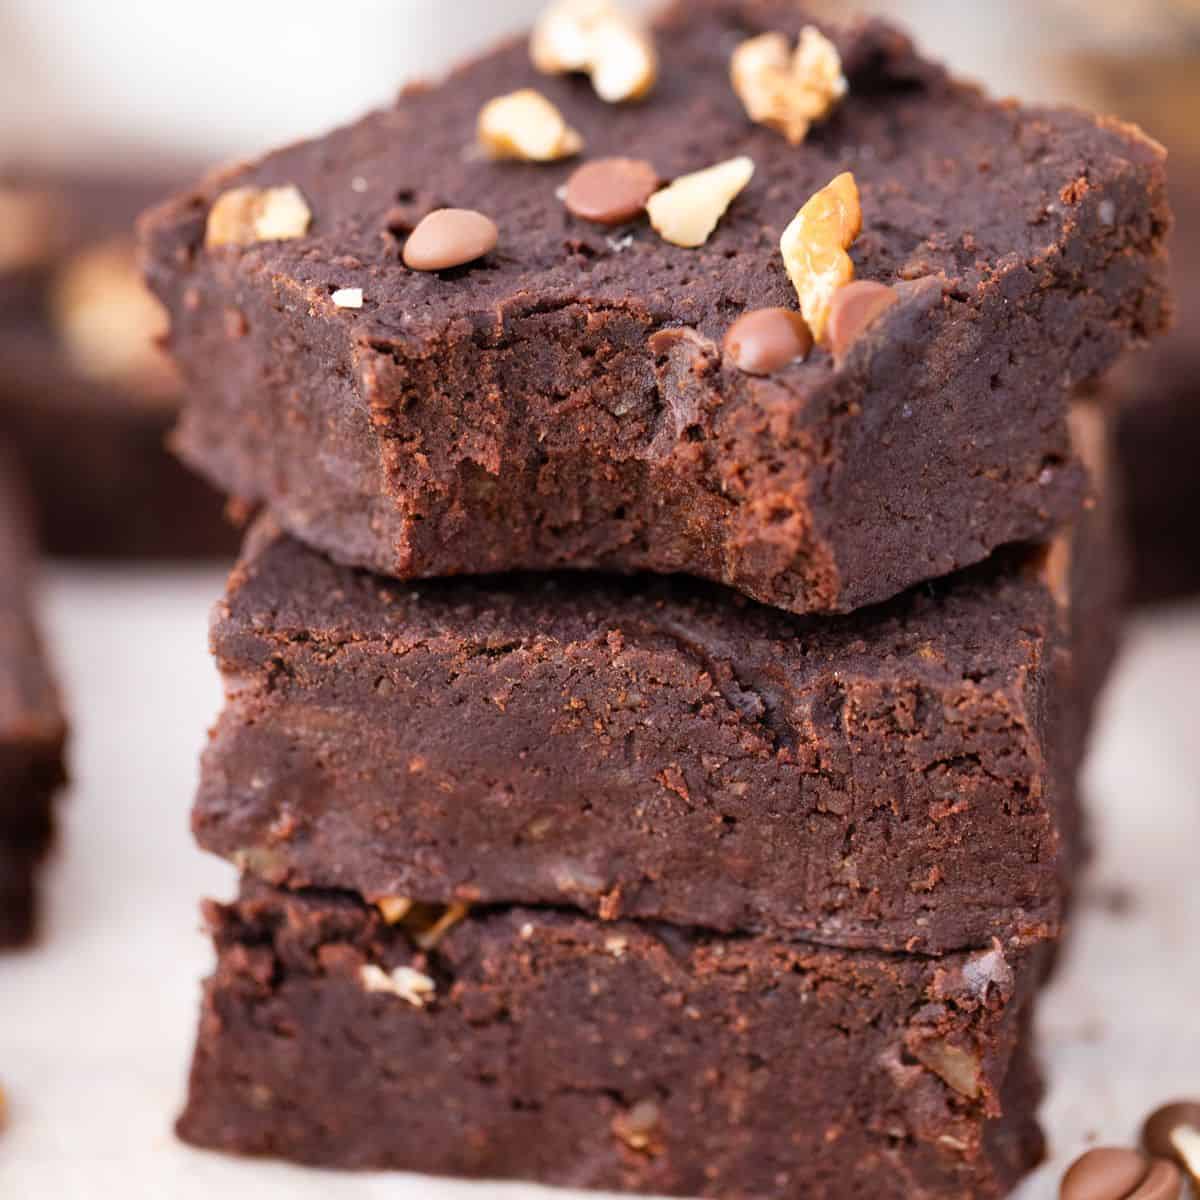
Flourless chickpea brownies are fudgy, chocolatey, decadent, naturally sweetened, and wholesome! They’re made with just 5 ingredients for the perfect any-time snack.
This recipe was originally published in November 2018. It has been updated for content, photos, and video.
If you’ve been following along the blog for a while, you know I just LOVE sneaking nutrients into all of my dishes, including dessert.
BUT!
Just like my chickpea cookies, no one will guess that the main ingredient in this decadent treat is chickpeas!
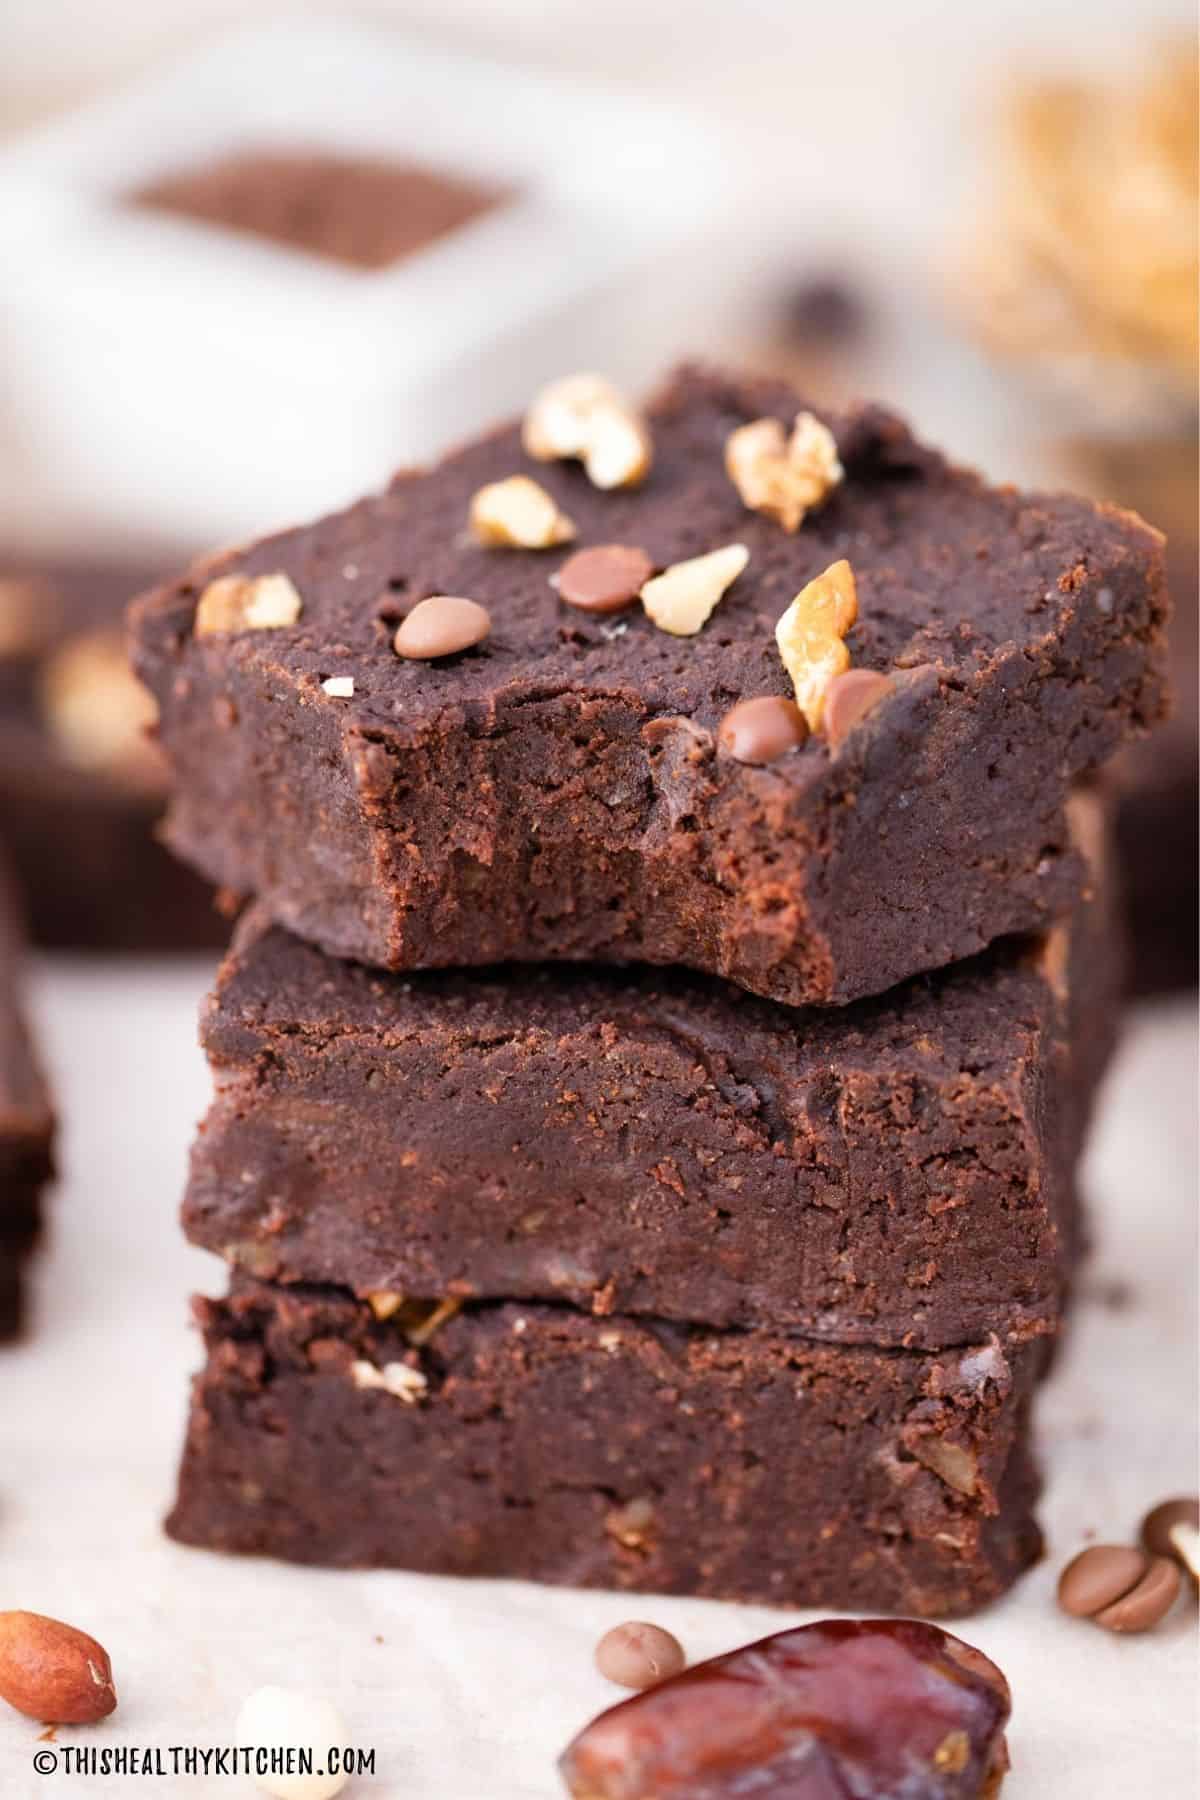
The taste is out of this world amazing, and the texture is rich and fudgy, all without the guilt.
Who knew chocolate and chickpeas would marry so well together?? OH! Don’t forget to try my chocolate covered chickpeas next.
Jump to:
Reader Feedback:
⭐⭐⭐⭐⭐ I made these today for the first time! I'm trying to eliminate flours and sugar and was craving something sweet! This was soooo yummy! I will definitely make it again and again! My very picky kids also loved it! My daughter who doesn’t like chocolate, hummus or peanut butter, absolutely loved them!! So funny! Yummm! Thank you for always providing tasty and healthy recipes!! ❤ - Michelle
Why you’ll love these!
- Wholesome!! Feel good about the vitamins and minerals these chickpea brownies bring to the dessert table!
- Great flavour! Lightly sweetened, with a rich chocolatey flavour, but not overwhelmingly sweet. It’s just right. 😉
- Naturally sweetened. Dates sweeten these delicious, fudgy bites which keeps them free from refined sugar! No artificial sweeteners are needed.
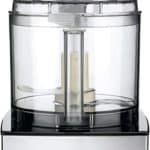
- Easy to make. These chickpea brownies are so simple to prepare and come together in your food processor with minimal prep needed.
- Allergen friendly. These incredible treats are vegan, dairy-free, egg-free, gluten-free, and flour-free. PLUS, they’re also oil-free, making them suitable for my WFPB eaters. Lastly, with a simple swap, these can be made nut-free by skipping the optional walnuts and using sun butter instead of nut butter.
Ingredients
Here’s everything you’ll need to make these incredible chickpea brownies.
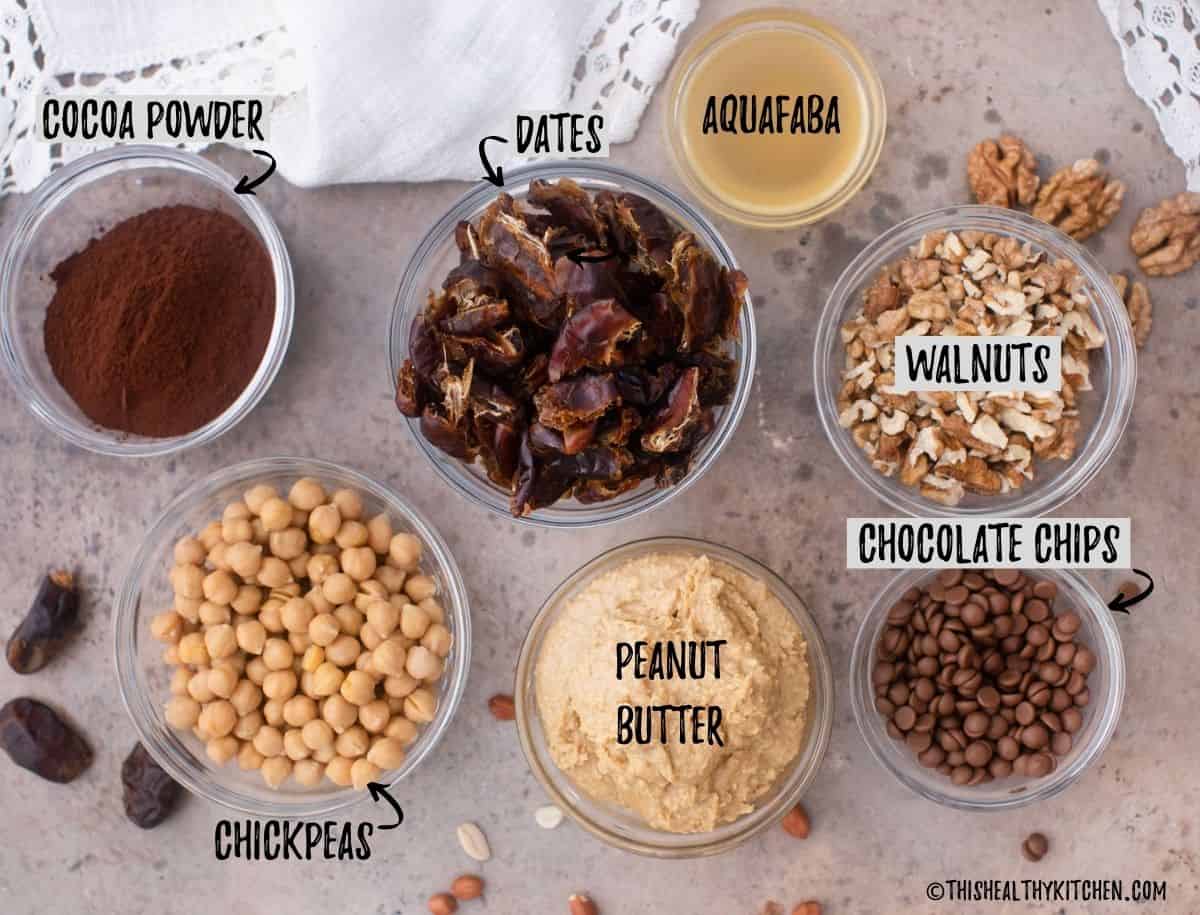
- Dates: Use pitted dates for convenience or Medjool dates for extra sweetness and remove their pits. If your dates appear very dry, soak them first in hot water for 10-15 minutes and then drain them.
- Chickpeas: Use canned or cooked chickpeas. Also known as garbanzo beans.
- Aquafaba: The liquid remaining from a can of chickpeas, or the liquid remaining after cooking dried chickpeas. This acts as the egg replacer and helps bind the ingredients, so don’t skip it.
- Peanut Butter: Use natural peanut butter without oil or sugar added. (The kind that is JUST peanuts.) Or try these with cashew butter, almond butter, or another nut butter of your choice.
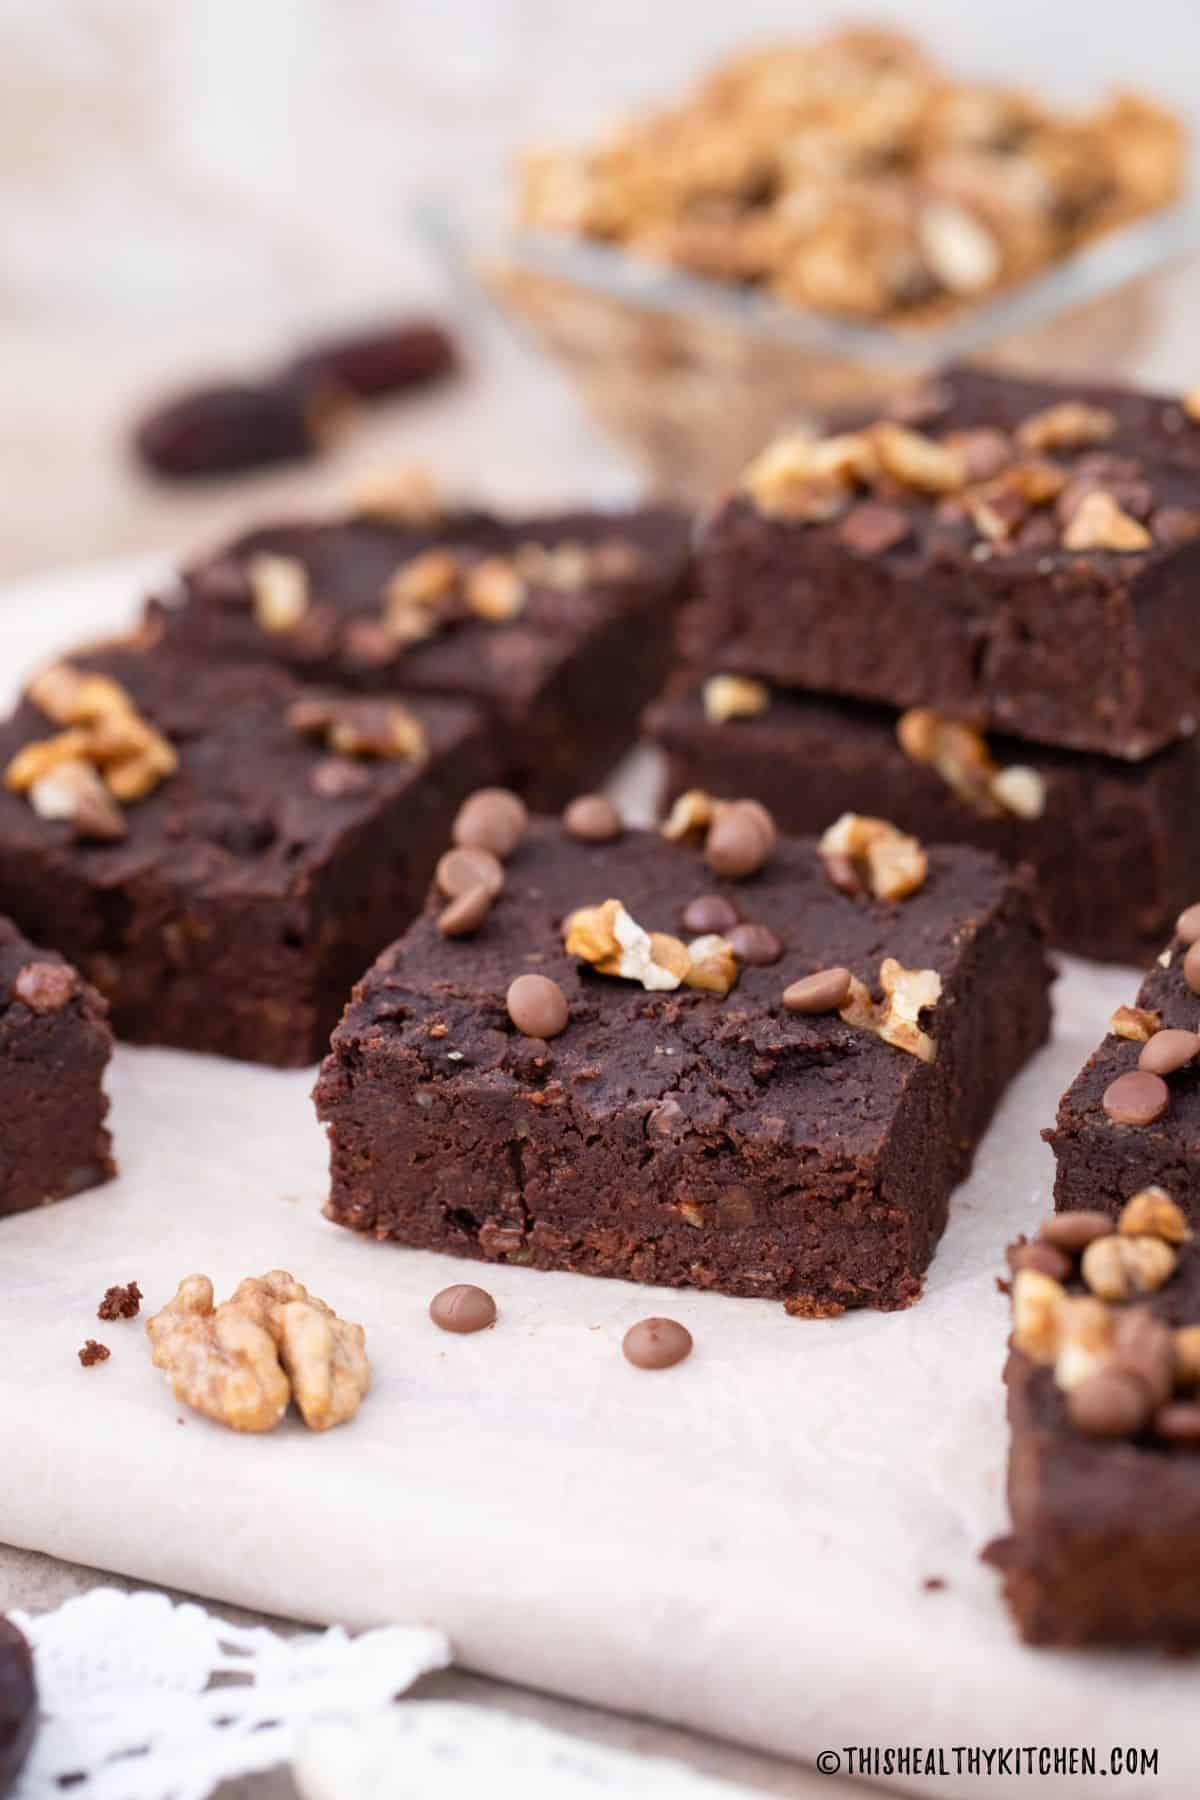
- Fill-ins: Walnuts and dark chocolate chips are optional fill-ins, but recommended for added flavour and texture.
Instructions
(This is a summary with step by step photos, full recipe measurements and instructions are in the recipe card below.)
Drain your chickpeas in a bowl to reserve the chickpea liquid. (AKA aquafaba.)
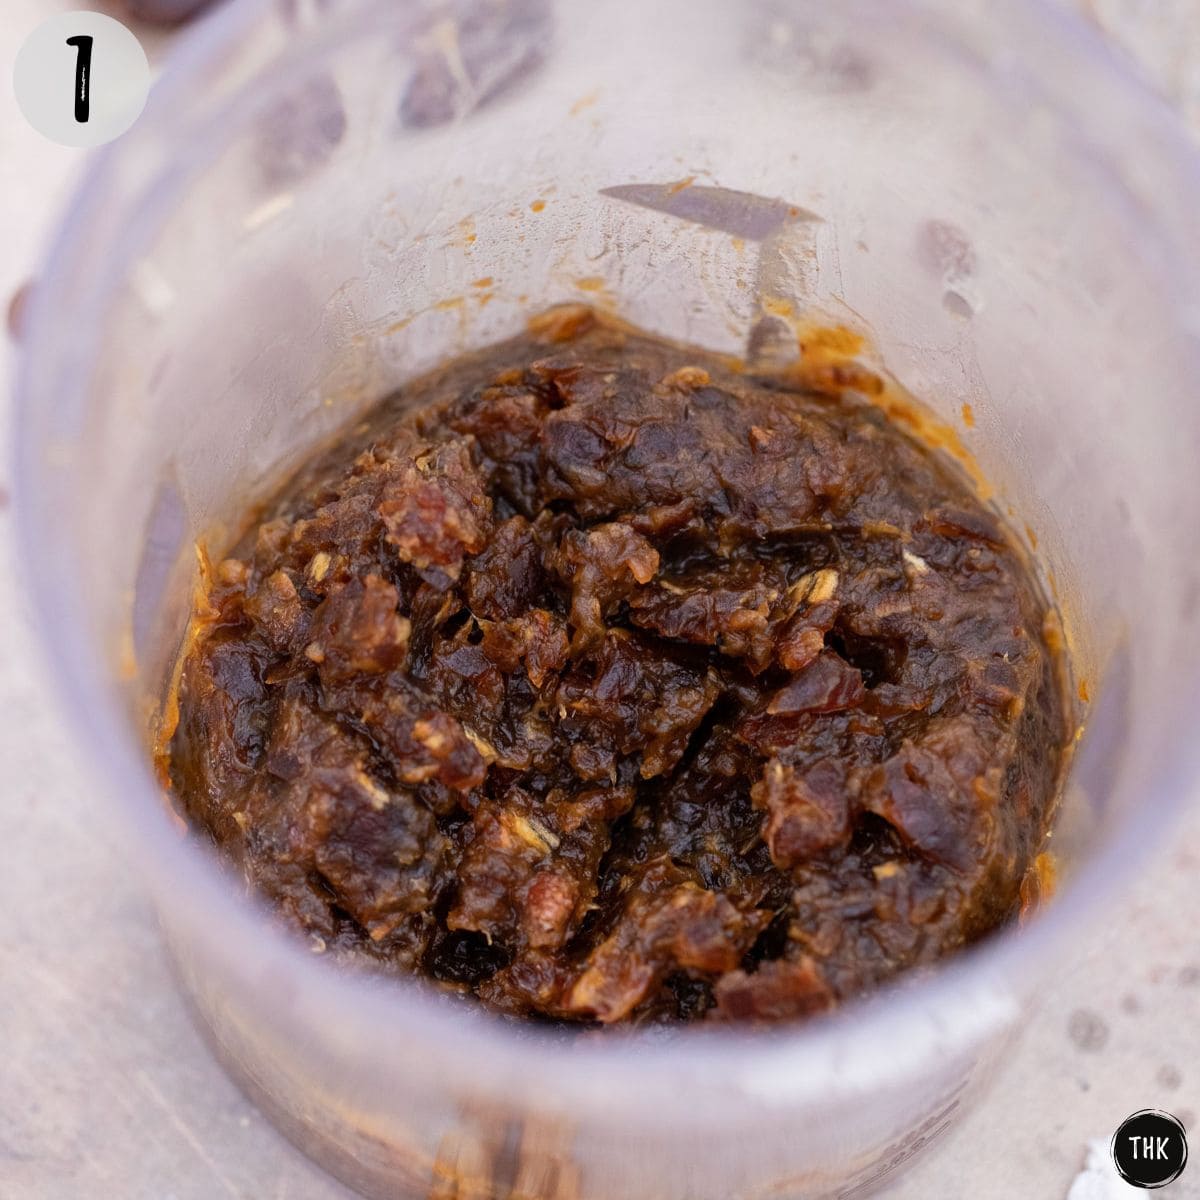
Add the dates and water to your food processor and process until mostly smooth. (photo 1)
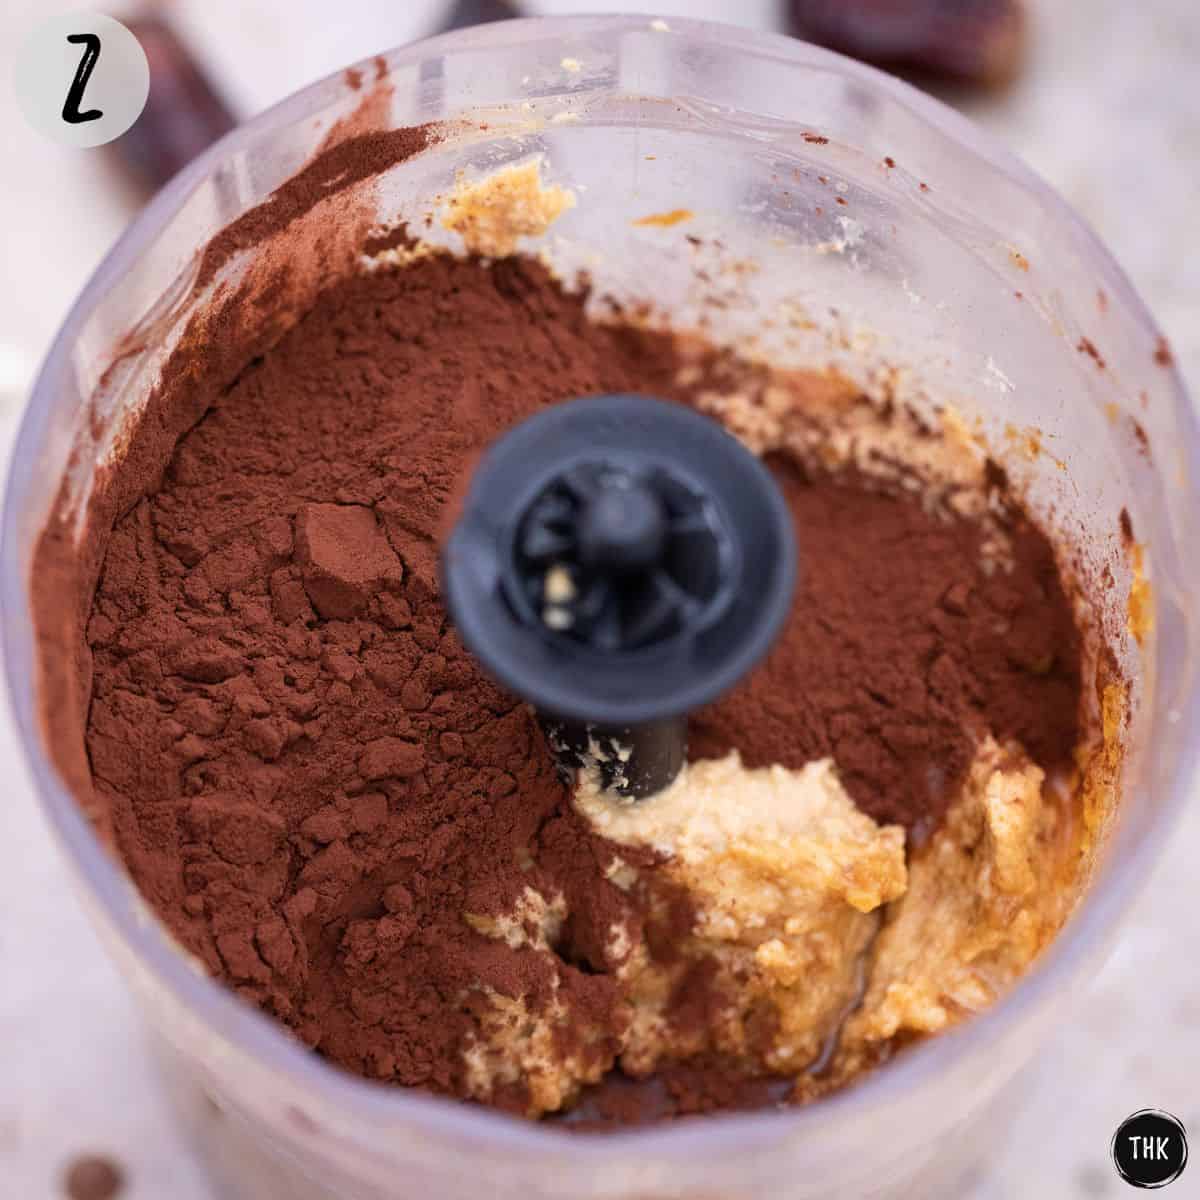
Then add the chickpeas, cacao powder, peanut butter, aquafaba, and blend. (photo 2)
NOTE: Process until smooth, stopping to scrape down the sides, as needed. Once smooth, add the optional chocolate chips and walnut pieces, if using.
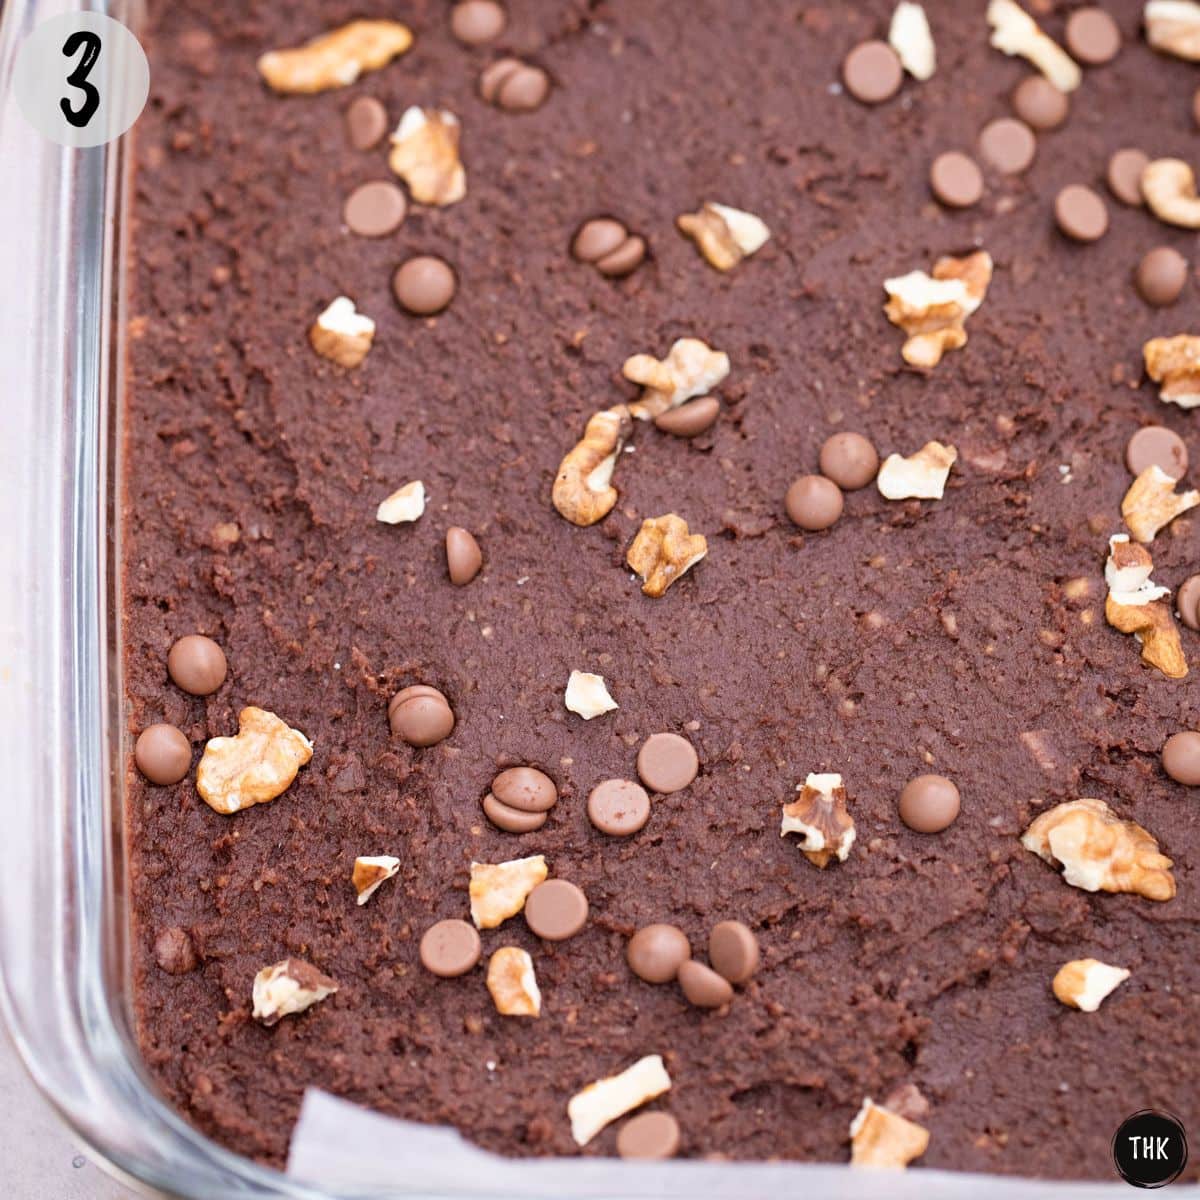
Spread the mixture into your baking dish, press it down, and smooth out the top. Sprinkle extra chocolate chips and walnuts if you’d like. (photo 3)
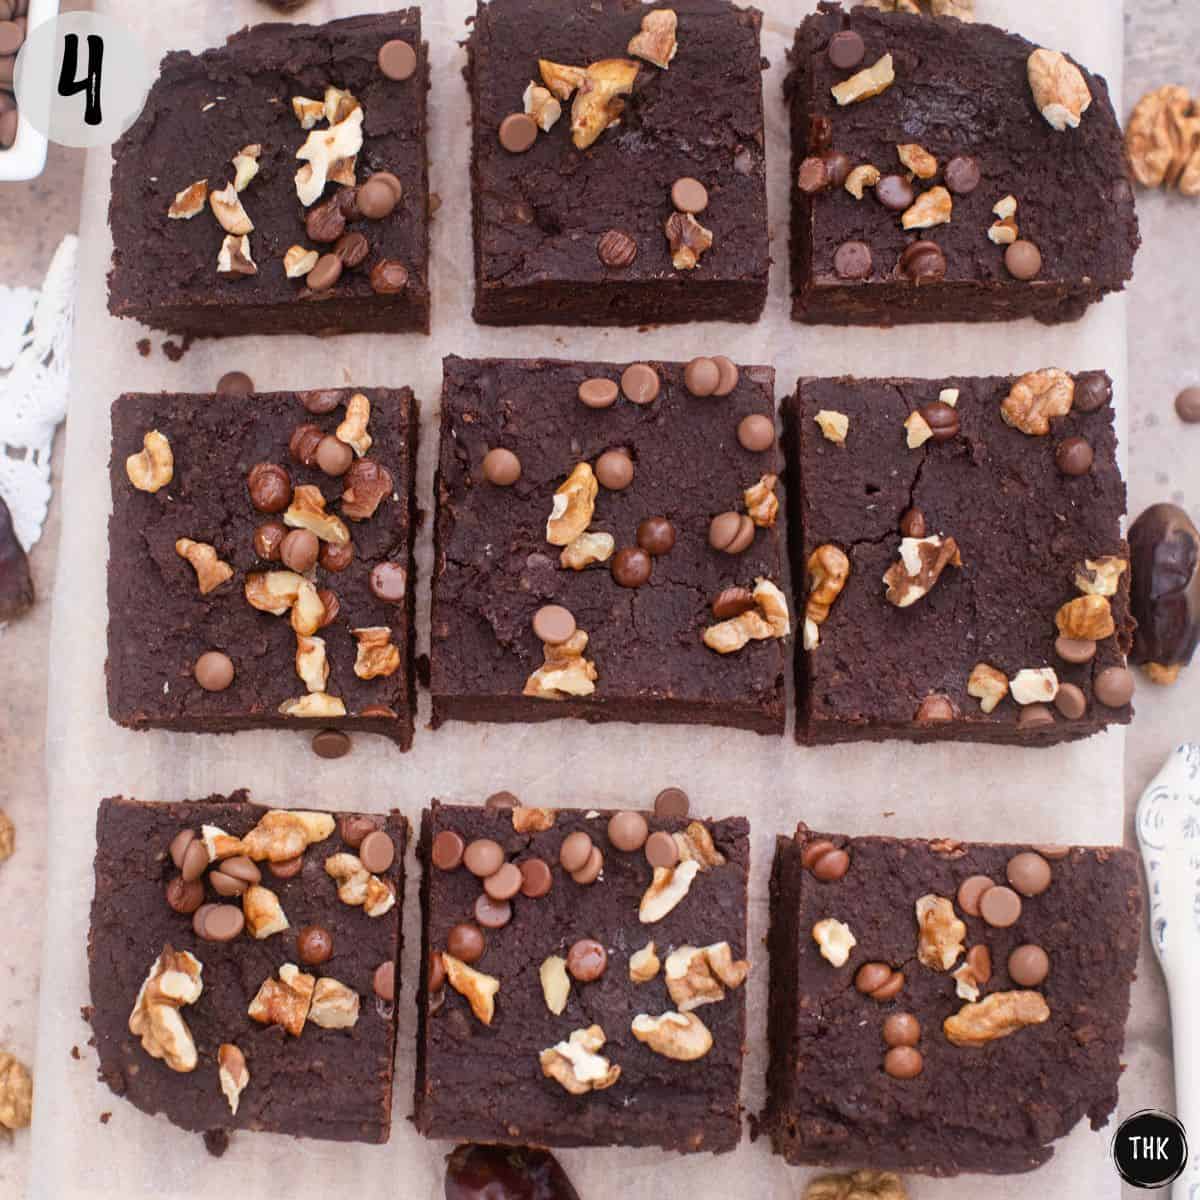
Bake the chickpea brownies for 25-30 minutes, remove them from the oven, and let them rest before slicing them into squares. (photo 4)
NOTE: The brownies will look under-done, but do not overcook. They will set as they cool and the longer you wait to cut them, the firmer they will be.
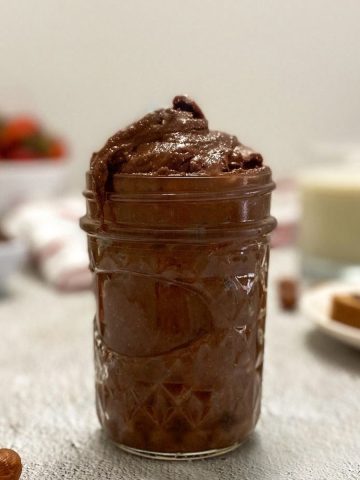
If you want to take this dessert up a notch, serve it with a scoop of vegan no churn ice cream on top.
Storage
Once completely cooled, store the chickpea brownies in an airtight container at room temperature for 3-4 days.
Refrigerate them to keep for up to 1 week. Or freeze them in an airtight container to keep up to 2 months.
Make sure to separate any layers with parchment paper before freezing.
Substitutions + Variations
- For nut-free: Swap the peanut butter with sunflower seed butter, tahini, or soy butter and omit the optional walnuts.
- Sub the chocolate chips and/or walnuts for other fill-ins like raisins, pecans, or dried cranberries.
- Skip the optional chocolate chips to keep these chickpea brownies refined sugar-free.
- For sweeter brownies, add 2-3 tablespoons of maple syrup to the mix after processing the dates, and/or use up to ½ cup of chocolate chips.
- For salty/sweet chickpea brownies spinkle the top with sea salt flakes.
Expert Tips
- Use parchment paper to line your pan. Although greasing will do the trick for nonstick, it will be a lot easier to remove the brownies using the paper to lift them out. (And they’ll cool faster this way!)
- Do not overbake! Overbaking will result in drier, less fudgy-tasting brownies. They will look underdone when you take them out of the oven, but they will set as they cool. The longer you wait, the firmer they will get.
- Wet your knife in between cuts when slicing your chickpea brownies, for smoother, nicer-looking edges and to prevent sticking.
More secretly healthy desserts
If you tried this recipe, please let me know in the comments below. I always love hearing from you! Don't forget to Subscribe to This Healthy Kitchen to be among the first to get my new recipes! You can also FOLLOW ME on Facebook, Instagram, Pinterest, and YouTube to see more delicious food.
Buon appetito
Rosa
📖 Recipe
Equipment
Ingredients
- 1 cup pitted dates packed
- ¼ cup water
- 15 ounce can chickpeas drained but liquid reserved
- 3 tablespoons aquafaba from the chickpea liquid reserved above
- ½ cup natural peanut butter smooth or chunky
- ⅓ cup raw unsweetened cocoa powder
Optional Fill Ins
- ⅓ cup vegan chocolate chips
- ½ cup walnut pieces
Instructions
- Preheat your oven to 350℉/176℃ and line a square 8 inch baking pan with parchment paper.
- Add the dates and water to your food processor and process until you have a smooth paste. Then add the chickpeas, aquafaba, peanut butter, cocoa, and process until well combined.
- Next, add the optional fill-ins, if using, and pulse a few times to mix them through without overprocessing.
- Scoop the brownie batter into your dish and smooth out the top with a silicone spatula. The batter will be very thick, so press it down to ensure there are no gaps. Sprinkle more chocolate chips and walnuts on top if you'd like and bake for 25-30 minutes.
- Let it cool in the pan for 5 minutes, and then lift the brownies out, using the parchment paper, and transfer to a cutting board. Let cool for AT LEAST 20 minutes before slicing.
Mar-see-uh says
I have made this twice – it is the tastiest chickpea brownie recipe I have found (and I have tried quite a few). The dough is delicious and easy to eat ‘raw’ since there are no eggs. I baked it a little longer the second time (30 minutes) and it was easier to cut into squares. I sprinkle chocolate chips on the top and let the heat of the brownies melt them. I then spread the melted chips like frosting. I love getting some nutrition instead of just sugar and fat with m brownies. I think I am going to try refrigerating it, rolling it into balls, and rolling it in cocoa powder instead of baking. Just for a change of pace.
Rosa says
Thrilled you enjoyed it! Thanks so much for taking the time to leave a review. 🙂
janine says
The recipe looks soo good. I’m excited to try it.
However,…..it is such a job to print it out though. so many pop ups. finally i took snap shots so that i can at least try the recipe.
Rosa says
There is a printer friendly page in the recipe card so you can click “print recipe” from there. Enjoy!
Judith Ball says
Made these three times now! Second time I was rushed and did not Wizz until smooth yet this time week wizzed and also added cashew nut butter as well as last of a jar of peanut butter plus choc nibs. Delicious with Greek yogurt!
Rosa says
Thrilled you’ve been enjoying these, Judith. 🙂
Priya Sharma says
Chickpea brownies are such a clever way to sneak in fiber and protein. For pregnant readers: blended chickpeas in a baked brownie are completely safe, and the fiber genuinely helps with the constipation that comes with pregnancy.
Paula Burch says
The brownies taste great, but they’re not nearly as thick as the picture shows.
Rosa says
Glad you enjoyed them Paula! 🙂 The thickness will depend on the size of the pan used.
Laura says
These are fantastic! I saved the recipe in order to make them again. Really good. Unfortunately, I had to ballpark the quantity of chickpeas, as I salways tart from dry chickpeas, and a 15-ounce can does not mean 15 ounces of net weight, right?
Rosa says
Hi Laura, you can use about 1.5 cups of chickpeas. Hope that helps. 🙂
Emily says
Absolutely love these! The perfect amount of sweetness for a treat, without the guilt.
Rosa says
Thrilled you enjoyed, Emily. 🙂
SUE says
This batter is so darn good. I honest didn’t want to bake them. Great recipe! Thank you so much
Rosa says
Thrilled you enjoyed Sue! Thanks so much for the review.
Brian says
I made this delicious recipe for a potluck & it was a huge hit. I subbed homemade cashew butter for the peanut butter & I did not have any walnuts on hand, so I used chopped pecans.
Rosa says
Thrilled to hear it was a hit, Brian. Thanks so much for sharing. 🙂
Magnus says
Fantastically delicious, even my very picky daughter who would never touch a chickpea or a date loves them. Healthy with lots of protein, fibre, vitamins and what not. A word of caution though. The batch in the recipe totals about 2800 kcal. Divided in 14 pieces that’s 200 kcal a piece.
Rosa says
Thrilled you both enjoyed these Magnus! Thanks for taking the time to share your review. 🙂
The entire batch WITH the optional ingredients (although we normally calculate without the extras) is around 2300 calories.