

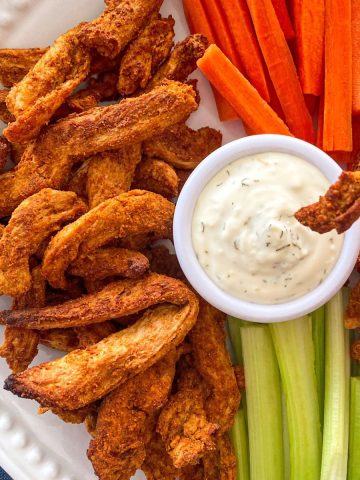
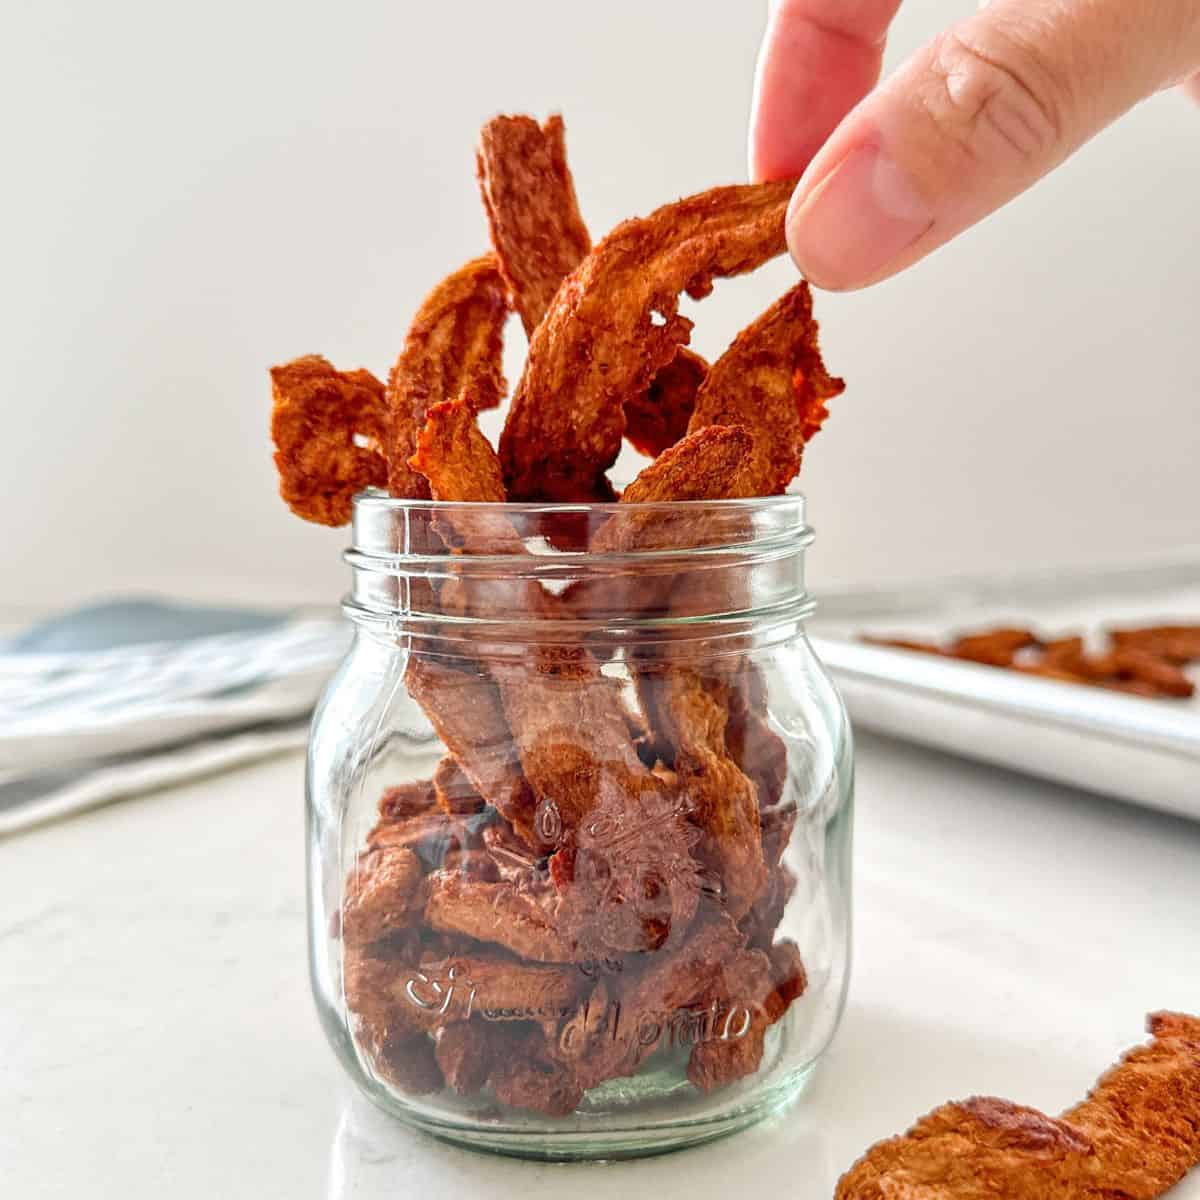
Chewy, smoky, and addictive soy curl jerky! You won’t be able to stop munching on this high-protein snack.

The texture is perfect, and the flavour is incredible. This is a recipe you don’t want to miss! As far as vegan jerky recipes go, I haven’t tasted anything quite like this.
So add this plant-based treat to your snack list. It’s delicious, affordable, and filled with protein.
Use the biggest pieces in your bag of Butler soy curls for the vegan beef jerky, and save the crumbs for this fantastic vegan hamburger helper.
Jump to:
Ingredients + Substitutions
Here’s everything you’ll need to make this incredible soy curl jerky recipe.
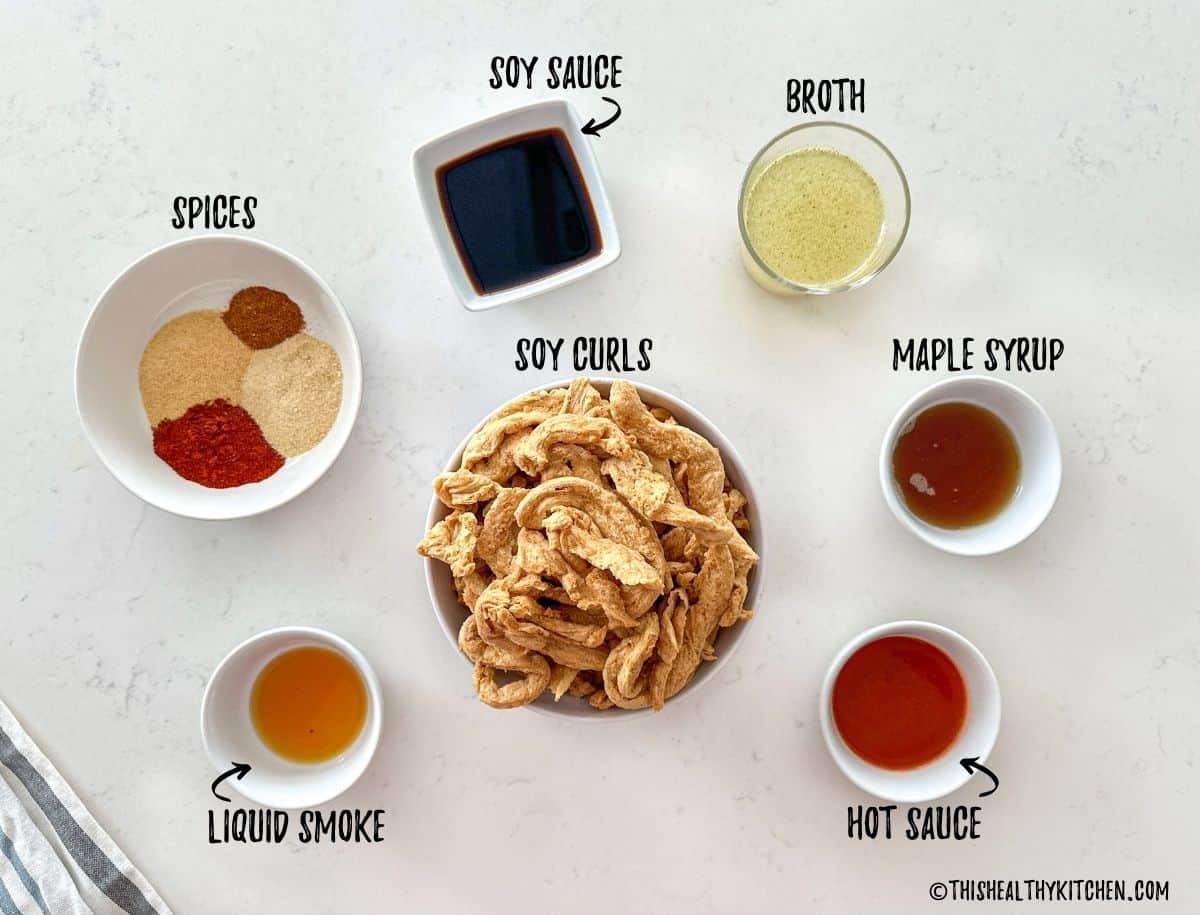
- Soy curls: I use a full 8 oz bag of Butler’s soy curls.
- Soy sauce: Stick with low sodium to watch your salt intake, but if you like your jerky salty, use regular sodium. You may also use Tamari for gluten-free.
- Broth: I use this flavourful bouillon powder mixed with water for all my broth needs.
- Maple syrup: Choose pure maple syrup (not artificial syrup) or another liquid sweetener of your choice. Date syrup or molasses would also work well.
- Hot sauce: I like Frank’s RedHot Original, but sriracha or another hot sauce also works.
- Liquid smoke: I love the flavour that liquid smoke adds, but you may omit it if preferred.
- Spices: A mix of garlic powder, onion powder, smoked paprika, and cayenne pepper make a great combo of flavour in this vegan jerky recipe. Add salt and black pepper if you’d like, to your taste.
Instructions
(This is a summary with step by step photos, full recipe measurements and instructions are in the recipe card below.)
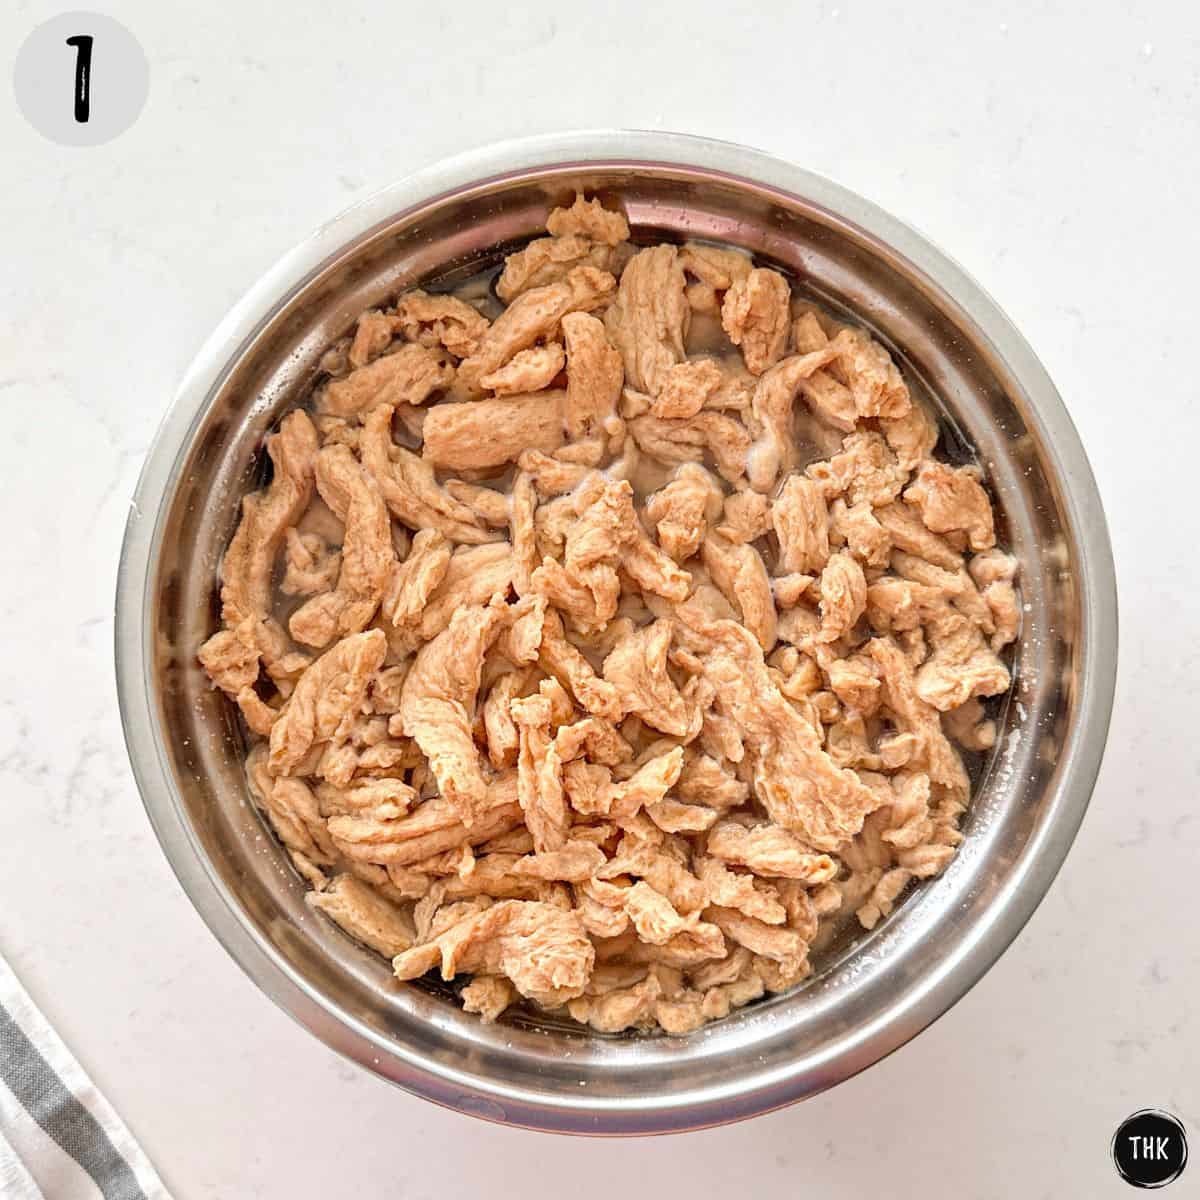
Soak the dehydrated soy curls in a bowl of water for 10 minutes, and then drain them. (photo 1)
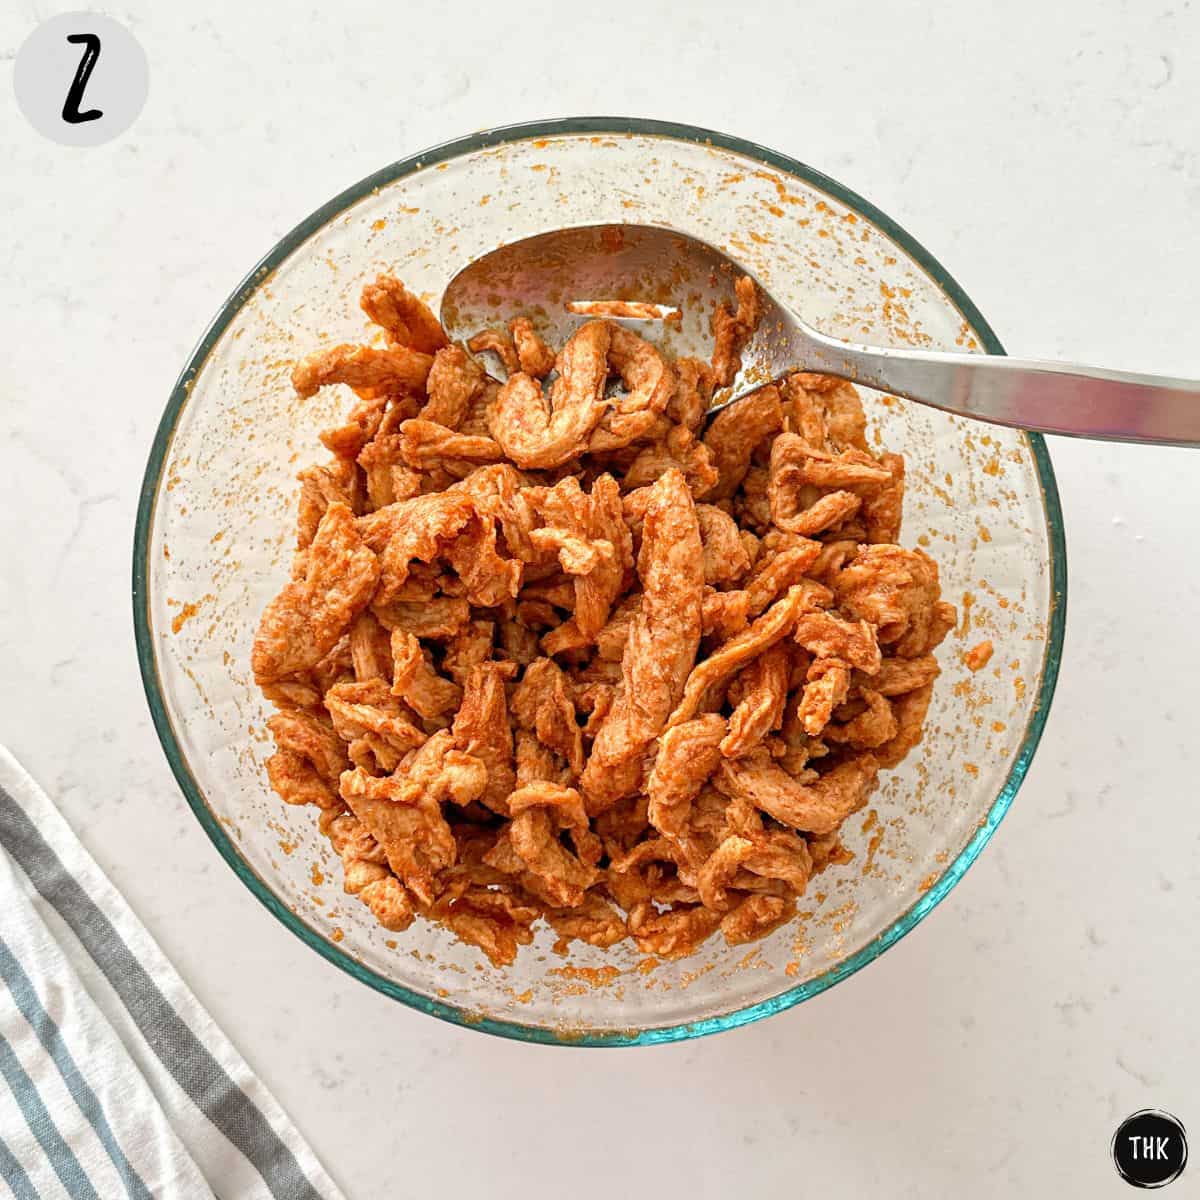
Combine the marinade ingredients in another bowl and add the drained and squeezed curls. Mix well. (photo 2)
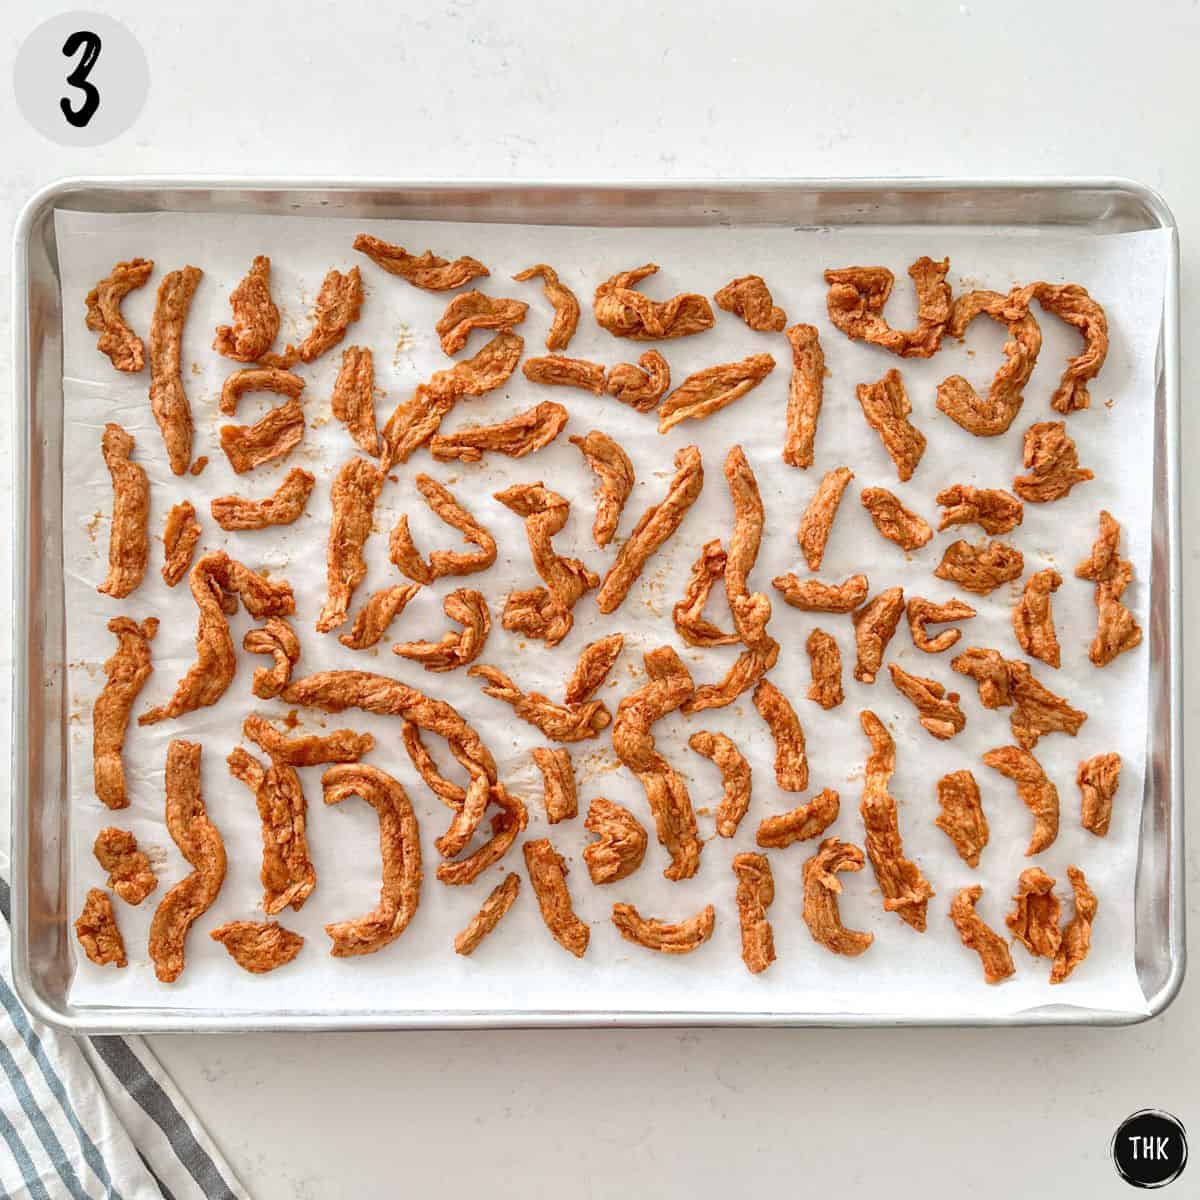
Arrange the marinated curls in a single layer on your baking tray. (photo 3)
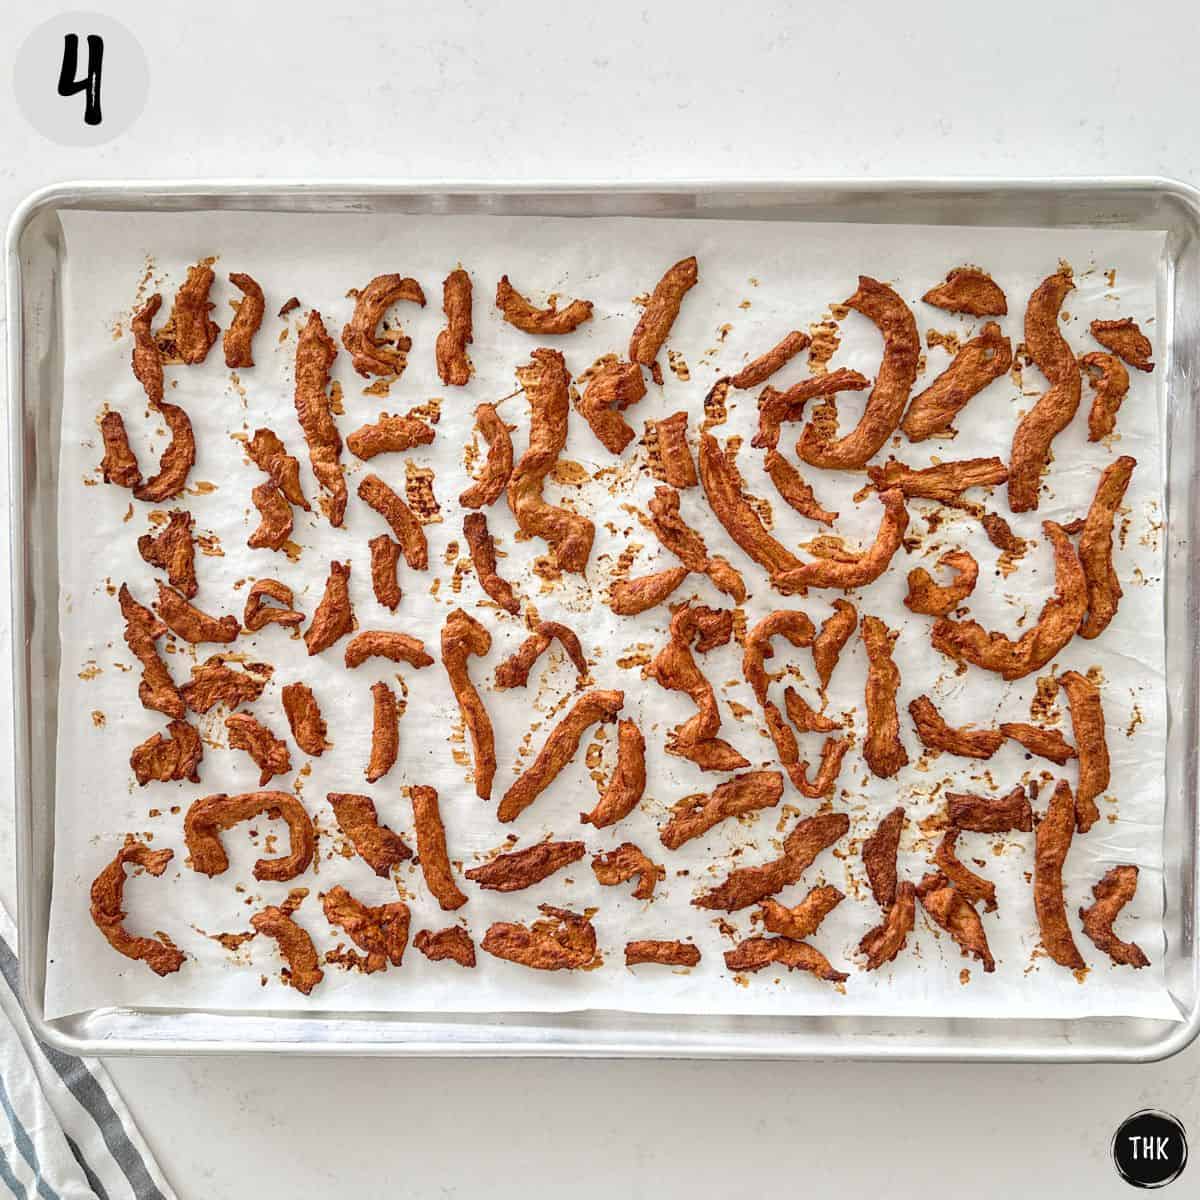
Bake for 30 mins, then flip them and continue baking until desired texture is reached. (photo 4)
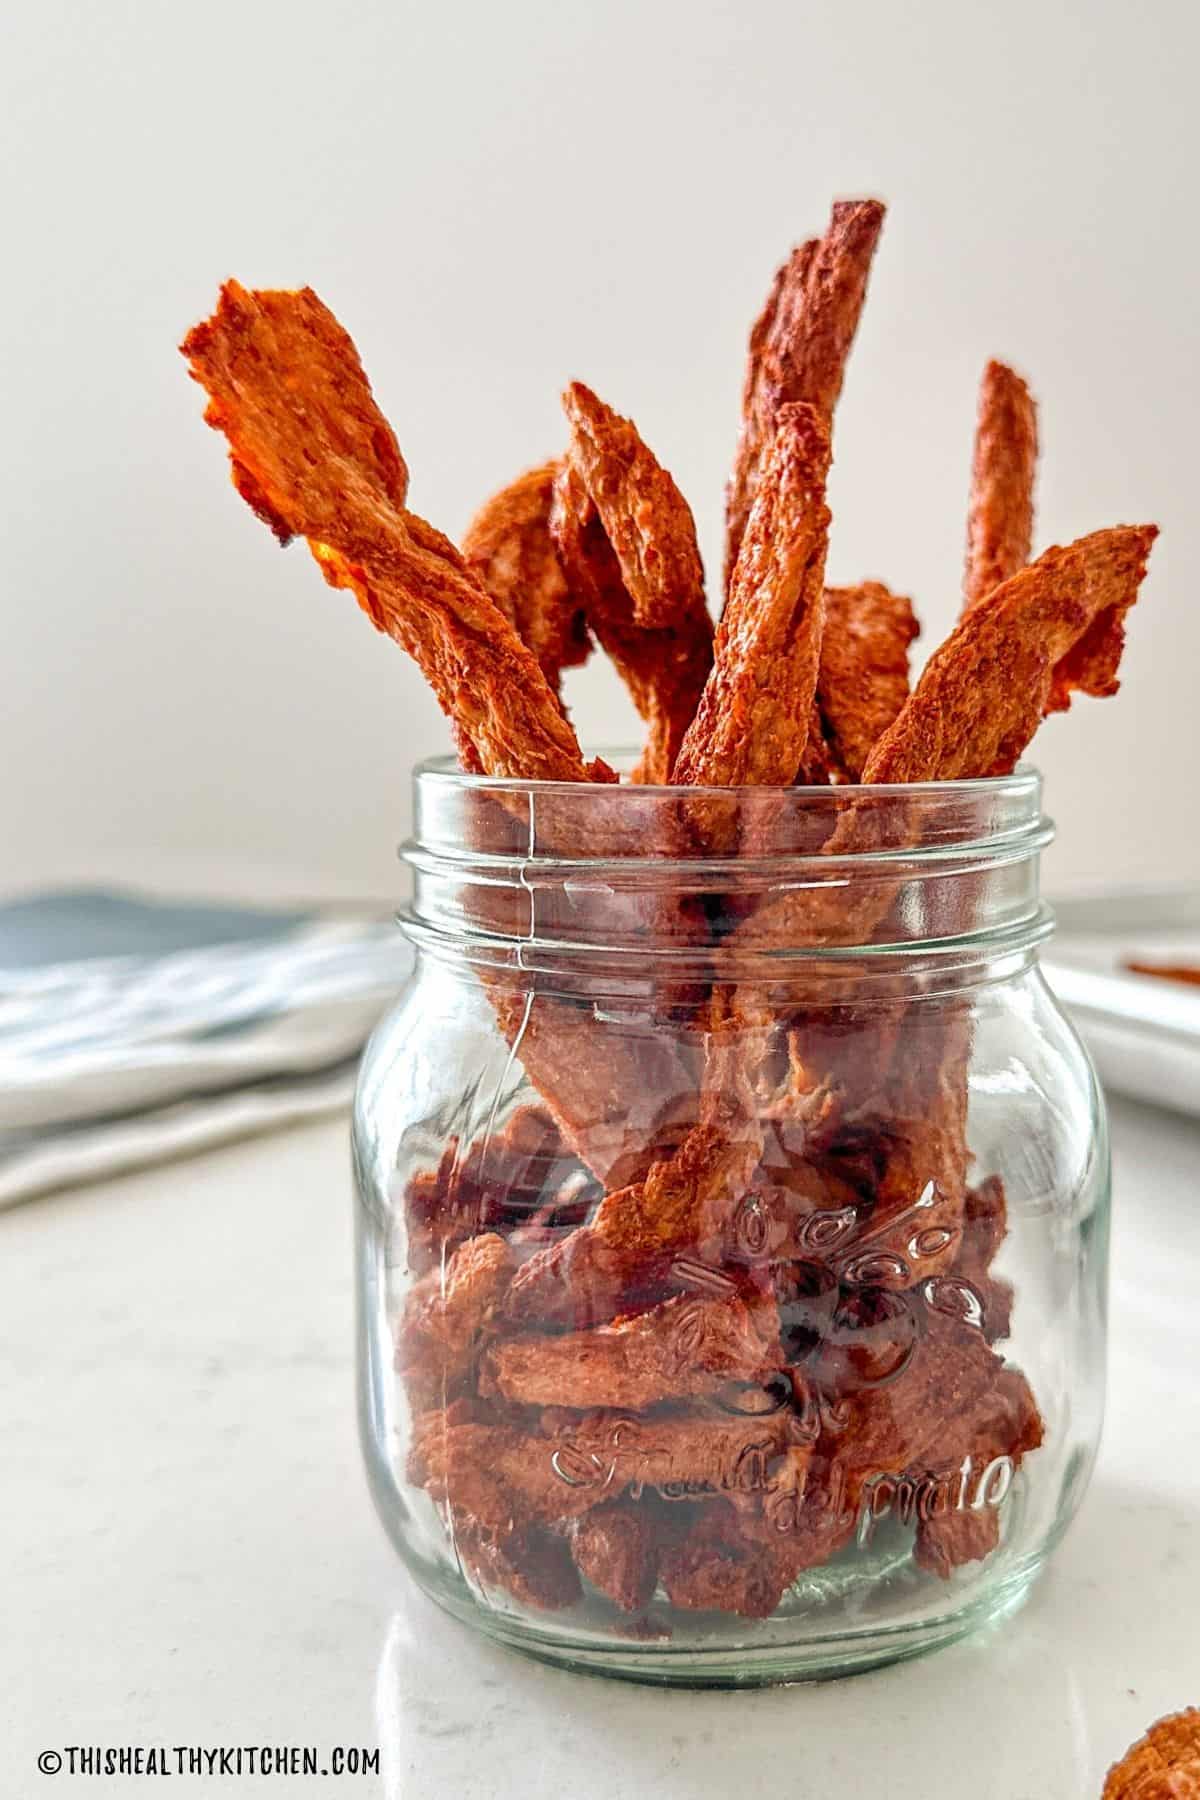
Remove the soy curl jerky from your oven and let the pieces cool for a few minutes before enjoying.
Storage
Store leftovers in a sealed container or jar and keep them at room temperature for up to 5 days. (If it lasts that long.)
Make sure to let your jerky fully cool to room temperature before storing it.
Expert Tips
- Squeeze out the excess moisture after soaking the soy curls. If you don’t, they will absorb less of the delicious marinade resulting in less flavourful soy curl jerky.
- Don’t overcook the jerky or it will get too crispy and dry. The sweet spot is chewy insides with a firm exterior, so check on it often towards the end of baking.
- Smaller pieces may be ready sooner so remove pieces from the tray as needed, so you don’t let any get overcooked.
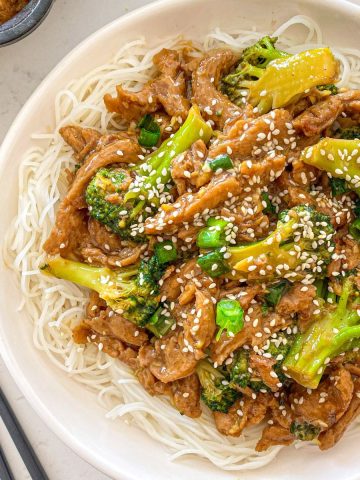
More delicious soy curl recipes
If you tried this recipe, please let me know in the comments below. I always love hearing from you! Don't forget to Subscribe to This Healthy Kitchen to be among the first to get my new recipes! You can also FOLLOW ME on Facebook, Instagram, Pinterest, and YouTube to see more delicious food.
Buon appetito
Rosa
📖 Recipe
Ingredients
- 8 ounce soy curls 1 bag of Butler's soy curls
- ½ cup low-sodium vegetable broth
- ¼ cup low-sodium soy sauce or Tamari for gluten-free
- 2 tablespoons maple syrup
- 2 tablespoons hot sauce I like Frank's
- 1 tablespoon liquid smoke
- 3 teaspoons smoked paprika
- 3 teaspoons onion powder
- 3 teaspoons garlic powder
- ½ teaspoon cayenne pepper optional
- salt + pepper to taste
Instructions
- Add your soy curls to a large bowl and cover with water. Set that aside and let it soak for 10 minutes to rehydrate them. Then preheat the oven to 300℉/149℃ and line a large baking sheet with parchment paper.
- Meanwhile, combine all the marinade ingredients (everything except the soy curls) in another large bowl and stir until combined.
- Drain your soy curls, and grab them one handful at a time, squeeze out the excess moisture in your kitchen sink, and transfer to the bowl with the marinade. Once all the curls are in your bowl of sauce, stir to evenly coat each piece. Let the curls absorb all the sauce, letting it rest for a couple of minutes if needed, then stir again.
- Arrange the marinated soy curls in a single layer on your tray and bake for 30 minutes. Then flip the pieces and continue baking in 10-minute increments until the desired doneness is reached. Mine were perfect after 60 minutes in total. (Smaller pieces may be ready sooner.)
- Remove from the oven and let rest for a few minutes before enjoying.
Notes
- Squeeze out the excess moisture after soaking the soy curls. If you don’t, they will absorb less of the delicious marinade resulting in less flavourful soy curl jerky.
- Don’t overcook the jerky or it will get too crispy and dry. The sweet spot is chewy insides with a firm exterior, so check on it often towards the end of baking.
- Smaller pieces may be ready sooner so remove pieces from the tray as needed, so you don’t let any get overcooked.
Mary says
I can’t consume soy so did not make this recipe.
It appears to me that soy curls might be highly processed, certainly far distant from their natural state, edamame beans. Am I wrong?
Ps medical Medium followers never consume soy. It is GMO’d and therefore full of glyphosate and other pesticides. Many of your recipes work fine with a tweak or 2 but never soy. There are millions of followers world wide. A great market for you.
Yvonne Jones says
Delish! Loved the flavour and the soy curls came out just right – chewy, not crispy. Lots of opportunities to tweak the heat.
Rosa says
Thrilled you enjoyed these, Yvonne!
Moon says
Can’t wait to try these. How much is a serving size and what would you recommend to lower the sodium? Thanks much
Rosa says
The serving size is 1/4 of an 8 ounce bag of soy curls, so approx. 2 ounces dry or one quarter of your final result. To lower the sodium, you could use no-salt broth, and/or replace some of the soy sauce with water, however, this will also reduce its flavour.
Marty says
Would it work to skip water soak/ rehydrate and do with broth or just go straight to marinade….maybe soak for longer? Thanks
Rosa says
There won’t be enough marinade to fully rehydrate the curls if skipping the water soak. It may work, but the jerky will be crunchier, and won’t have that “chew” texture.